
Brow makeup
Straight vs arched eyebrows: which line feels right?
Compare two restrained brow directions on one portrait in Hair Muse, then check a removable makeup trial with real hairs and expression.

Straight vs arched eyebrows is a choice about the visible path of the brow, not a test of which face shape you are allowed to have. A straighter direction keeps the change in height modest; an arched direction makes a rise and turn more noticeable. Neither requires a ruler-flat line or a sharply drawn peak. Before changing hair, compare two restrained versions of that direction and ask which one you would actually want to recreate with your existing brows.
This guide uses one clear portrait in Hair Muse for planning, followed by a removable makeup trial. MaqAI publishes the article; Hair Muse is the app used for the visual comparison. A generated brow cannot prove how real hairs will lie, how a pencil will wear or whether a particular outline can be recreated comfortably. The photographs here illustrate the process rather than document a product test. Keep the original brows as a reference throughout. You can finish with a small change, retain your usual shape or decide that the difference is too slight to matter.
Straight vs arched eyebrows: isolate the line direction
Name the difference you want to see. For the first option, imagine a shallower rise through the brow body without flattening every hair into a horizontal bar. For the second, imagine a gentle, more visible change in height around the existing arch. The comparison is easier when both options remain plausible beside the same face. Keep the brow fronts, approximate width, apparent density, color and tail length similar. A thin pale straight brow beside a thick dark arch changes several decisions together, so you cannot tell which one shaped your preference.
Separate color from outline. If your current brow pencil already looks too warm or too dark, settle that question separately before interpreting a shape change. The linked placement guide helps distinguish observed proportions from fixed facial rules. A stronger pigment can make an ordinary arc look much more graphic. Likewise, a feathery top edge and a crisp filled border can appear different even along a similar path. You are not assigning a personality, age or gender to either direction. Describe what you can see: a lower rise, a softer turn, a shorter visible peak or a more continuous line across the face.
Read the hair you have before sketching another brow
Look at clean brows with a relaxed forehead. Notice the front, fuller body, natural turn and tail on each side without forcing them into matching diagrams. A clean spoolie can help you see the growth direction with a few gentle movements. Keep hairs near their comfortable natural position rather than pulling them into a style they immediately leave. Small gaps, a slightly different peak or a tail that points differently are useful information. They tell you where makeup may add an impression and where the proposed silhouette would require more than a few strokes.
Distinguish hair from painted shape. A preview can make the outer tail vanish or move the highest point while leaving no evidence of the original hair. That is an image edit, not proof that your brows can take that form without other changes. This guide does not ask you to pluck, shave, trim, dye or laminate them to fit a candidate. The goal is a makeup-based exploration you can remove. If the natural arc remains visible under an attempted straighter line, accept that limit as part of the real option rather than treating your existing brow as an error.
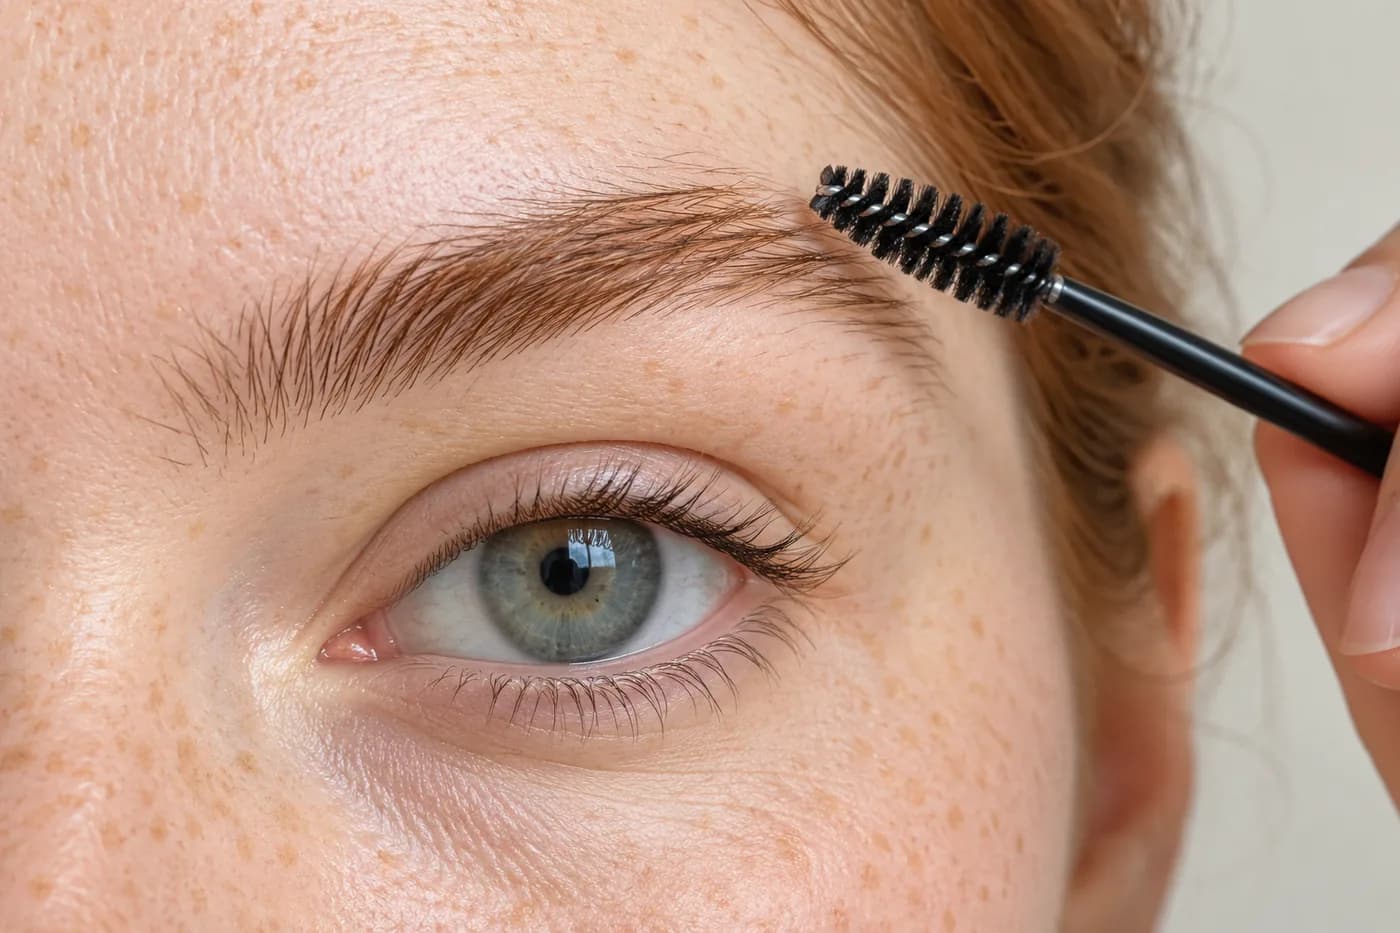
Take a portrait with the forehead at rest
Use even light and a clear front-facing view showing both brows, eyes and enough surrounding face to read the relationship. Keep hair away from the brow area. Avoid lifting the brows to make them easier to see: that changes the line you are trying to compare. A side tilt, a raised forehead or a strong directional shadow can also make the apparent arch different. The source-photo guide linked here covers practical framing. You do not need a dramatic beauty portrait; you need a stable reference that resembles your ordinary relaxed expression.
Keep the original photograph with the candidates, and use the same source for both. Do not take one photo while smiling and another while concentrating, then attribute the whole difference to brow shape. Disable beauty filters that smooth the brow edge or reshape the upper face. If you wear glasses most days, make a separate real-frame check later rather than changing frames between the two previews. The initial portrait should make the brows legible. It is not a measurement of hair position, product shade or exact symmetry, and a high-resolution image does not remove those limits.
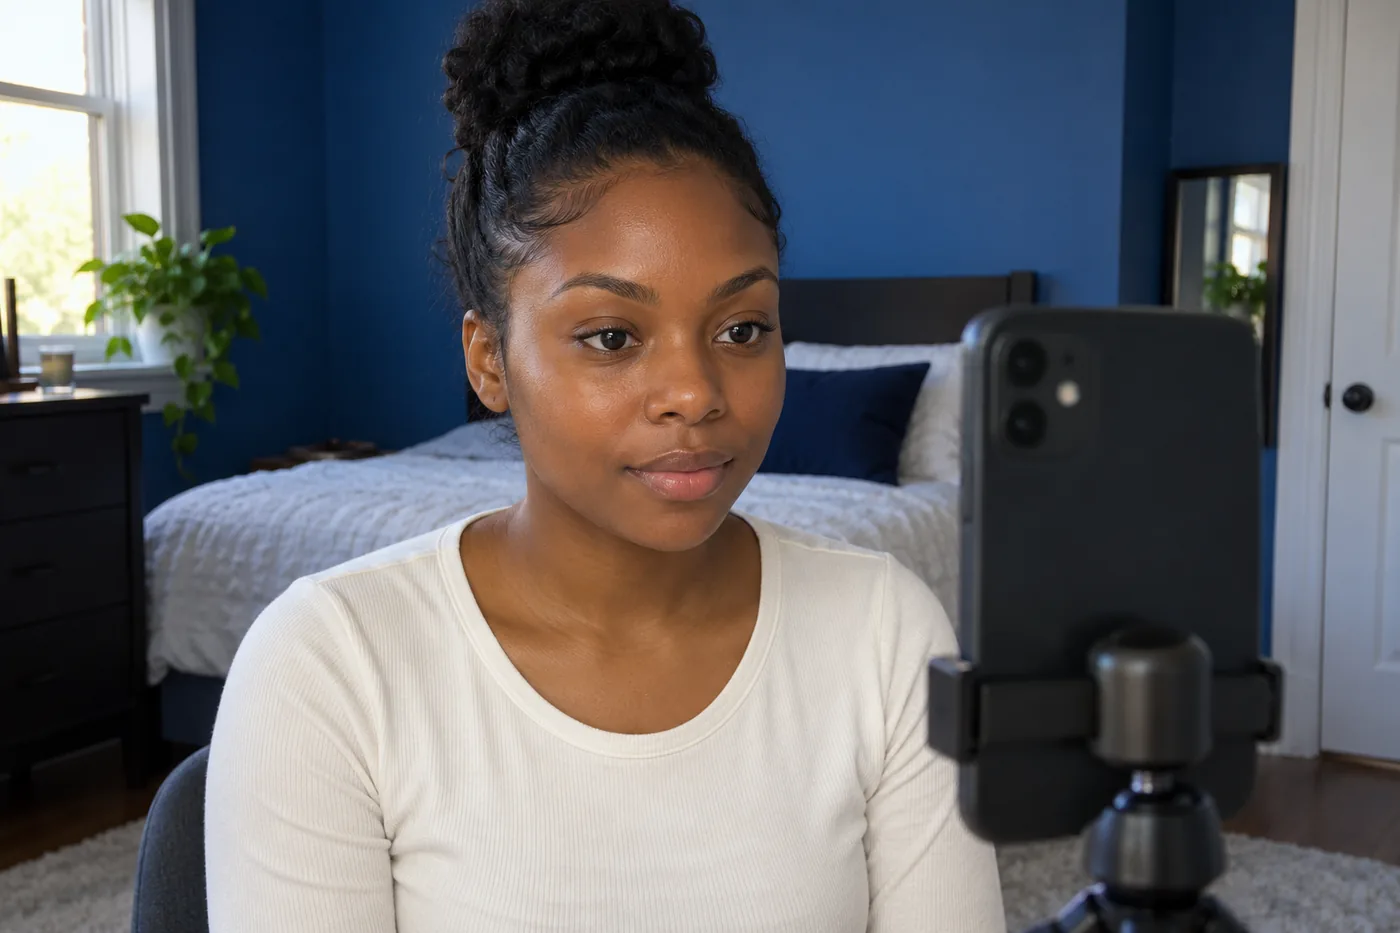
Define two small changes instead of two makeovers
Write a short description of each candidate. One might be a straighter brow body with only a small natural rise; the other a soft arc whose highest part is a little clearer. Keep the difference modest enough that you can still recognize your natural brow structure. Ask to retain color, width, density and approximate front and tail positions. Those constraints will not guarantee an unchanged result, but they give you something concrete to inspect. A dramatic high arch paired with an extended straight tail would answer a broader makeover question instead.
Use relative language rather than exact millimeters in an image request. A little less rise is a visual idea; a generated picture cannot establish the precise coordinates for a real pencil application. If the two candidates remain almost identical from whole-face distance, that may be enough information. The shape difference might matter less to you than density or edge softness. Explore one of those separately only if you still have an unresolved decision. There is no need to enlarge the arch or erase the tail just to make the first comparison look more impressive.
Compare the brow direction in Hair Muse
In Hair Muse, explore the two descriptions on the same portrait. Review each result against the original before deciding which you like. Check the forehead, eyes, eyelids, hairline and distance between brow and eye. If a candidate changes those features as well as the brow, the image no longer isolates your question. Reject it or narrow the request. Also watch for one side being drawn denser or longer. A pleasing face in a generated picture is not automatically evidence that its brow outline is the more useful choice for your real routine.
Look at the whole image first, then enlarge the brow area to understand what changed. Does the straighter idea still preserve some natural hair texture? Does the arc look like a gentle directional change rather than a new block of pigment? Keep two workable candidates and a brief note about their visible path. If the app repeatedly removes hairs to achieve one version, record that limitation and use it only as an illustration of direction. You can still prefer the idea while deciding not to pursue it physically. More generated images do not make a difficult real outline easier to apply.
Recreate the useful part with removable makeup
Choose a product intended for brows and follow its instructions, with clean hands and tools. FDA eye-cosmetic guidance emphasizes clean instruments, suitable products for the area and stopping use if irritation occurs. That advice supports careful handling; it does not validate either brow shape. Sit still, work with a light hand and keep the tool away from the eye itself. Start by adding a few short strokes within existing sparse areas, not by drawing a heavy new border around the entire brow. You are testing a suggestion, not reproducing every pixel.
For a straighter impression, you may be able to soften the emphasis on the peak while filling a small gap through the body. For a soft arch, you may only need to clarify a few hairs near the existing turn. Neither method can relocate the actual brow or guarantee that a dark natural tail becomes invisible. Keep the amount small enough that you can judge the result before adding more. Remove the trial gently as directed and compare another direction on a separate occasion if useful. There is no requirement to apply and remove several versions repeatedly in one sitting.
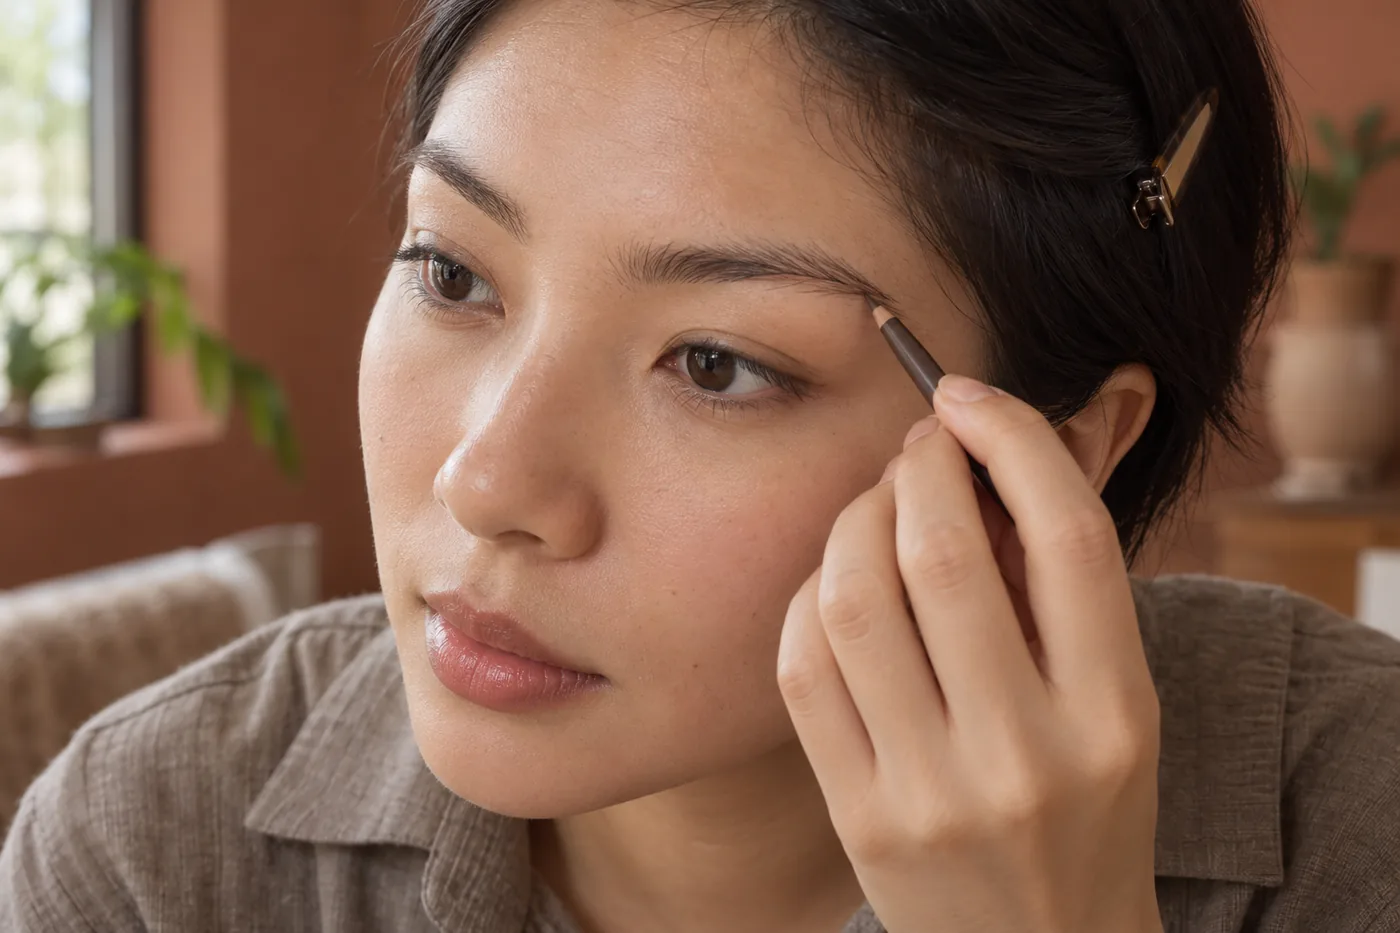
Check expression and ordinary light, not one frozen frame
Stand back from the mirror with your forehead relaxed. Look at both brows as part of the face, then turn slightly in each direction. Speak or smile normally and return to rest. The aim is not to stop the brow from moving. You are seeing whether the makeup still looks intentional through expressions you actually use. An arc that seems strong in a close still image may read quietly in conversation; a subtle straight edge may become obvious from another angle. Let those observations refine the idea without demanding perfectly identical sides.
Check in indirect daylight and the indoor light you normally use. Keep the same pencil color and amount while comparing the directions. A warm lamp or a dark shadow beneath the brow can change the apparent weight of the line. A phone photograph can help you remember placement, but avoid treating its processed contrast as the final authority. Notice gaps, drawn edges and individual hairs in the real mirror. If the makeup looks like a second brow sitting above the natural one, reduce the change rather than adding a darker outline to make the two compete more clearly.
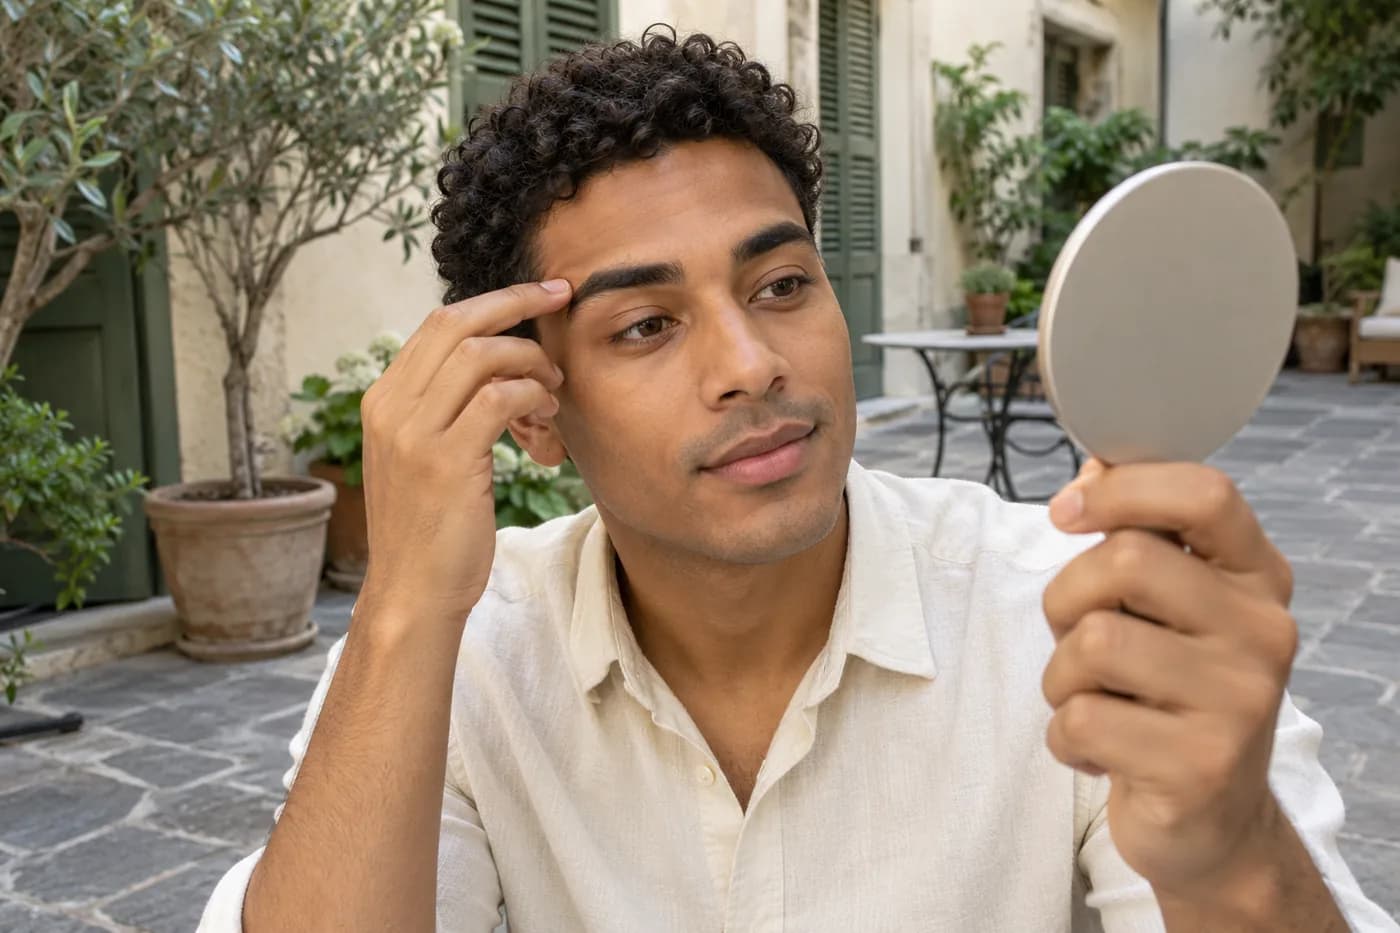
Separate shape preference from product upkeep
Once a direction feels useful, wear the actual small application through an ordinary part of your day. Note whether strokes soften, pigment transfers or the hairs move away from where you brushed them. Those are formula and handling observations, not proof that the shape choice was wrong. If you use a brow gel, follow its own purpose and directions instead of assuming it makes every hair stay in a new position all day. A preview cannot test hold, flaking, comfortable removal or the feeling of a product on your skin.
Keep changes separate. If you like the line but it reads too dark, try less pigment or revisit the color decision before raising the arch again. If you like the shape only when brows are held unnaturally high, return to a relaxed reference. If the daily effort is greater than you want, retain a smaller version close to your existing hair. You are allowed to choose maintenance over a more dramatic picture. The useful result is something you can apply and remove comfortably, not an obligation to turn a visual shortlist into a permanent grooming plan.
Save a decision you can explain in one sentence
Keep the original photo, the two selected ideas and a note from the real makeup trial. Describe the change you preferred: a shallow rise through the body, a softly emphasized natural turn or simply less drawn weight at the peak. Add the actual product, light, application amount and first wear observation. Separate what the image suggested from what happened with real hairs and skin. That record is more useful than saying one shape suits you without knowing whether you responded to the line, the darker fill or an expression changed by the preview.
Return only to the unfinished part of the decision. You may prefer a straighter direction for one look and a soft arc for another without needing an identity label or a rule for your face type. You may also discover that your usual brows already sit between the examples. When the real application is comfortable and the visible path feels right in the whole face, the comparison has done its job. Keep the natural hair as your starting point, use the preview as a planning aid and let the removable trial set the practical limit.