
Complexion makeup
Cover dark circles with makeup: color before layers
Read the color and the shadow separately, then use a small corrector and thin concealer only where they help.
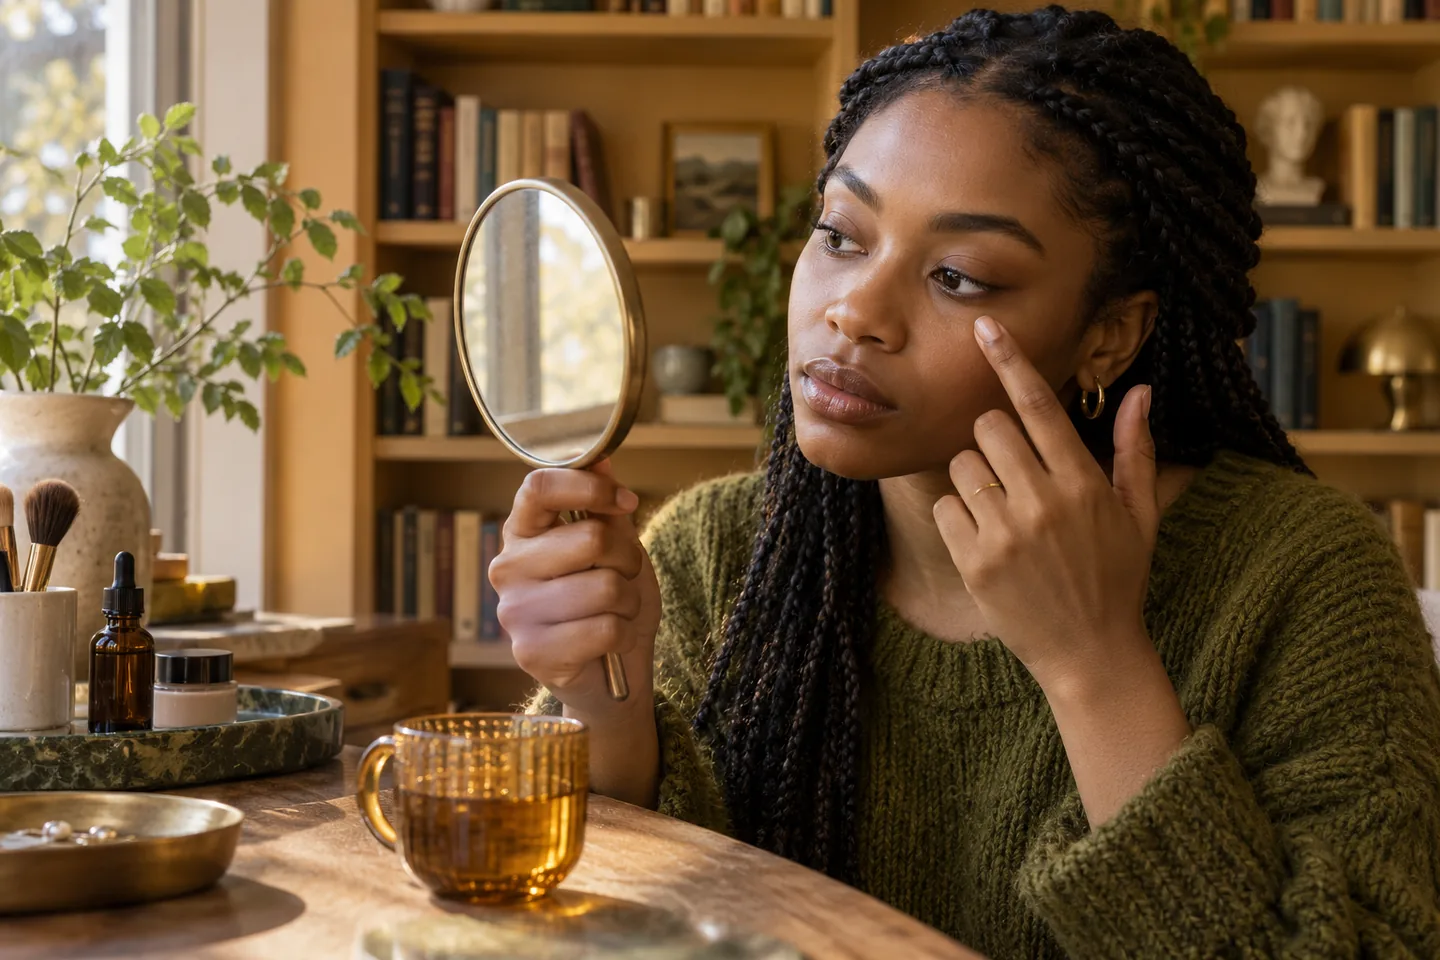
To cover dark circles with makeup, begin by deciding what you can actually see. A blue or brown area needs a different response from a hollow that becomes darker only when a lamp moves. Concealer can soften both visually, but piling on an opaque pale layer often turns the area gray, emphasizes texture and leaves the eye looking separate from the rest of the face. The useful question is not how much product you can fit beneath the eye. It is where color remains after the lighting is made even, and where a very small change will make the face look balanced.
This guide keeps the experiment physical and simple. Observe the under-eye in ordinary light, choose a narrow correction only if the visible hue calls for it, then put a skin-related concealer on top in a thin layer. Check at normal conversation distance before adding more. A digital preview may help plan a direction, but it cannot establish your exact shade, formula behavior, oxidation, texture, wear or skin response. You can complete the whole method with a mirror, clean hands or brush, and the products you already use.
Cover dark circles with makeup by separating color from shadow
Stand near a window with daylight falling toward the front of your face, then look straight ahead into a mirror. Notice whether the darkness has a visible hue: blue, violet, gray, brown or a mixture. Tilt your head slightly and move the mirror without changing expression. If the darkness shifts dramatically with the angle of light, part of it is likely a cast shadow from facial shape. If a colored area remains in the same place, color correction may be more useful there. Most people see some of both, so the aim is to map a small zone, not label the entire under-eye one uniform problem.
Use the bare face as the starting reference rather than a phone filter or a strongly lit bathroom mirror. A camera can brighten an under-eye automatically and make a corrector look perfect in a picture while the real blend is obvious nearby. Do not stretch the skin or judge millimeter-level differences at a magnifying mirror. Look at the entire face from a step away and decide whether the inner corner, lower curve or outer edge actually draws your attention. That observation sets the placement for every later layer and prevents product from spreading across skin that did not need it.
Choose a correction direction, not the brightest shade
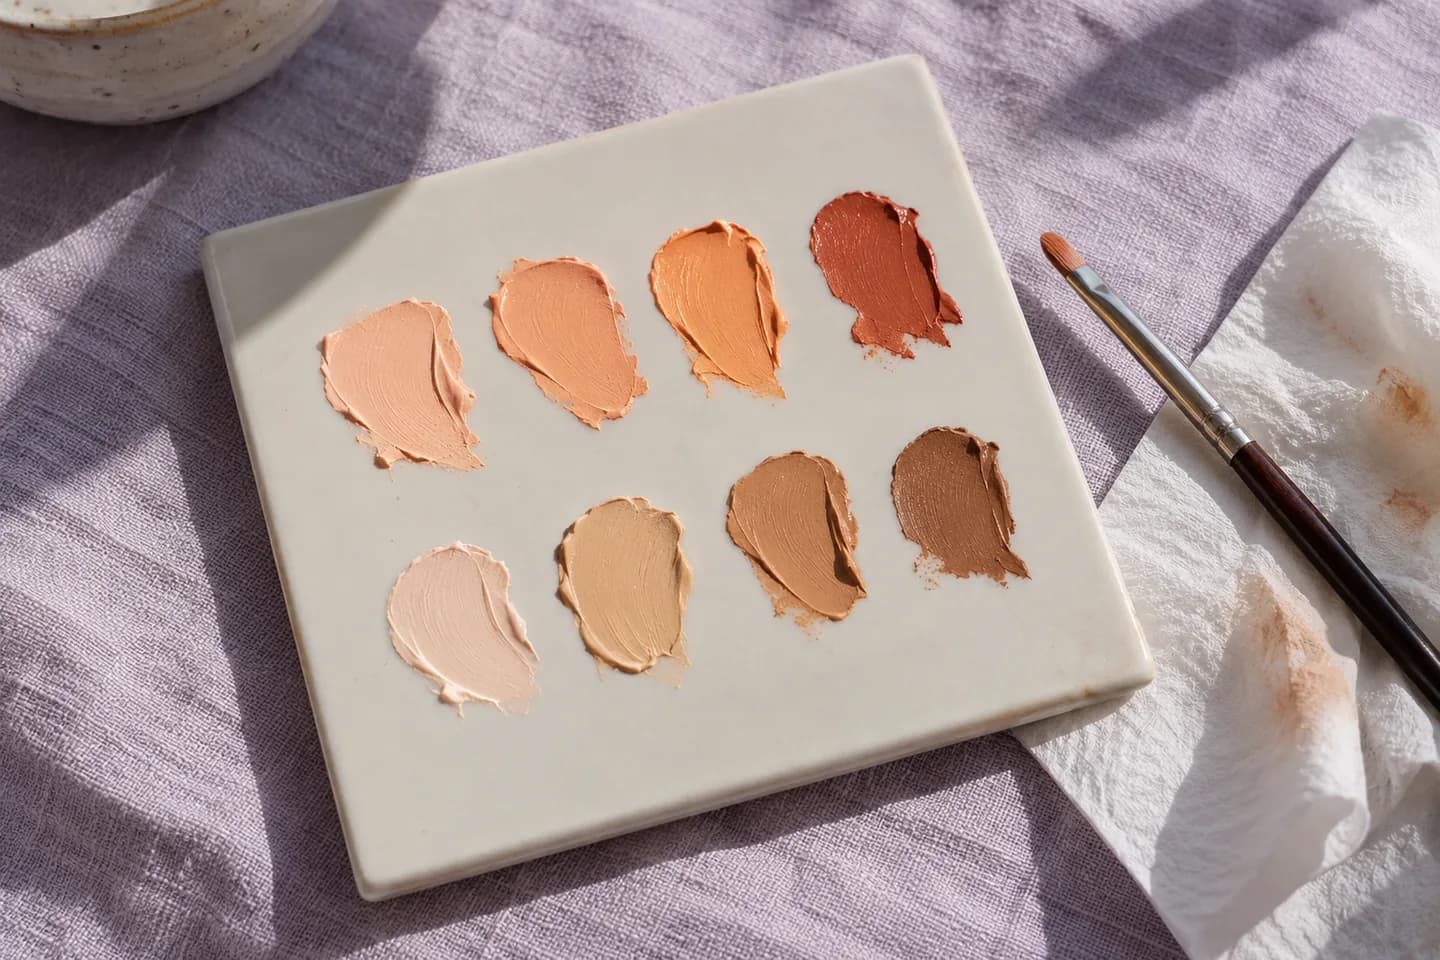
A peach or apricot corrector can make a blue or blue-violet area look quieter because it adds warmth where the eye reads coolness. Deeper skin may call for a richer orange-peach or terracotta direction; very light skin may need a restrained pale peach. These are starting families, not fixed matches for every person. A brown-looking circle can also include violet or shadow, so do not reach for a vivid orange simply because a chart says brown means orange. Try the smallest dab on the colored patch and compare with the uncovered side at normal distance.
The right depth matters as much as hue. A corrector that is much lighter than the surrounding skin can create a gray cast after concealer, while one that is too saturated may show as an orange rim. If your usual skin-tone concealer already softens the color without thickness, skip the extra step. Correction is optional. Keep a note of which hue needed help, where it sat and whether one thin pass did enough. That is more actionable than buying a palette of several colors on the assumption that the most complete kit gives the most natural eye.
Place the first tiny amount only on persistent color
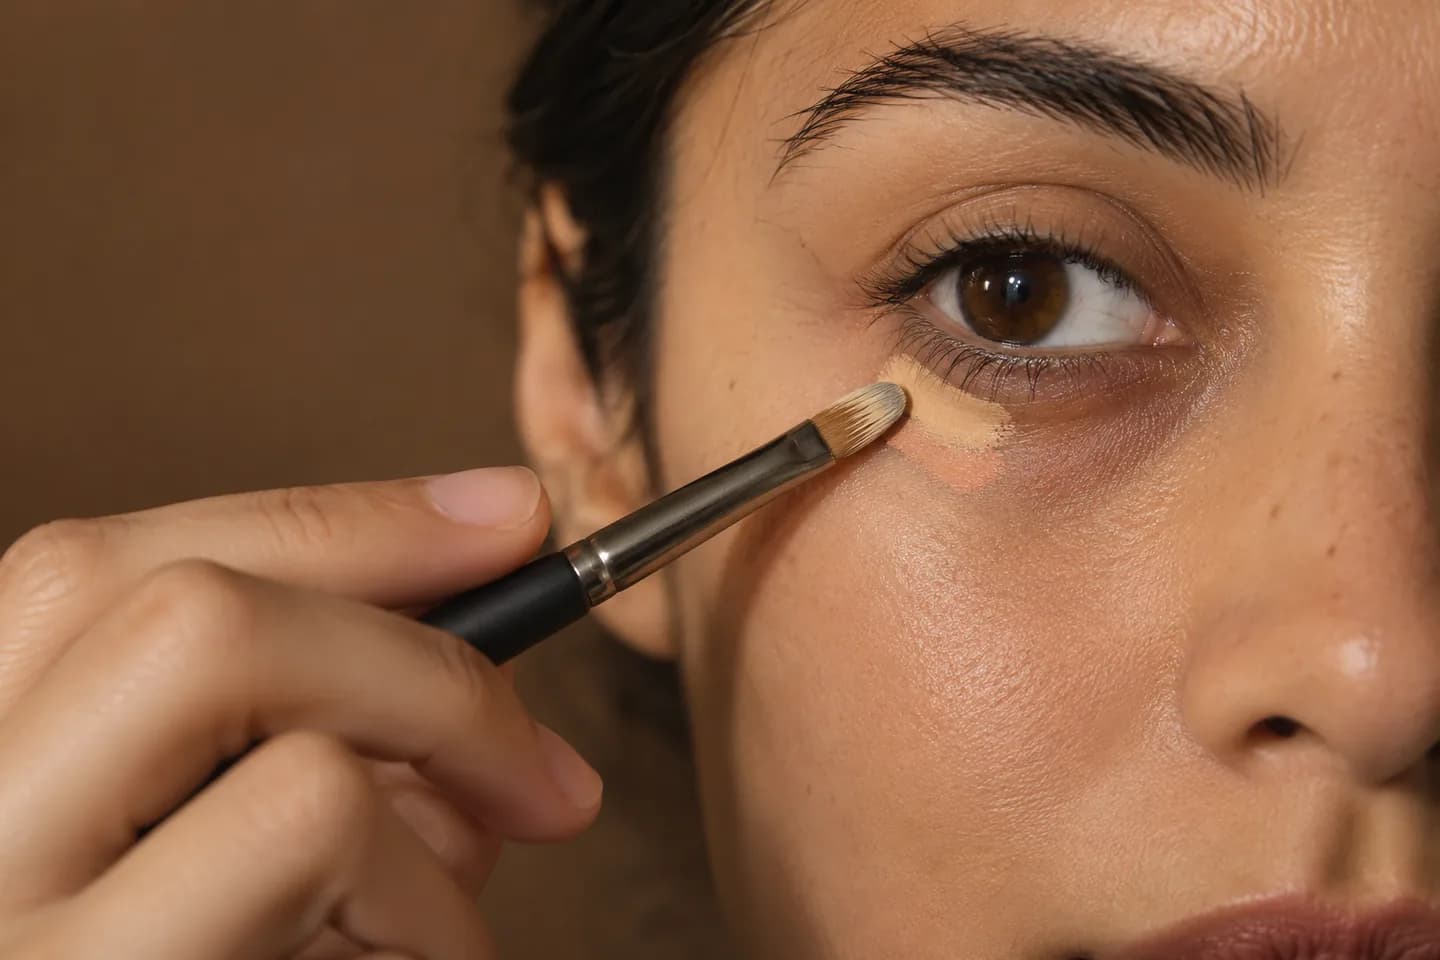
Start with clean, comfortable skin and a product intended for use close to the eyes. Put a small amount on a clean fingertip or brush, then tap rather than sweep over the darkest colored point. The inner corner is often the place that asks for attention, but your map may locate a lower crescent instead. Leave a narrow margin below the lashes and avoid working into the eye itself. Blend the edge into nearby skin while keeping some correction at the center. If the whole area becomes uniformly peach, you have likely covered more than you meant to.
Pause before concealer. From a step back, the colored area should look less conspicuous, not chalky, orange or fully opaque. If it still looks blue, first ask whether you used enough product at the actual colored point; adding a wide second coat usually costs texture without solving placement. If the hue is wrong, remove that small trial and try a different direction on another day. Repeated rubbing around the eye is an avoidable irritation. Work with gentle pressure and allow each thin application to settle before deciding whether anything else is needed.
Put concealer over corrector without making a thick band
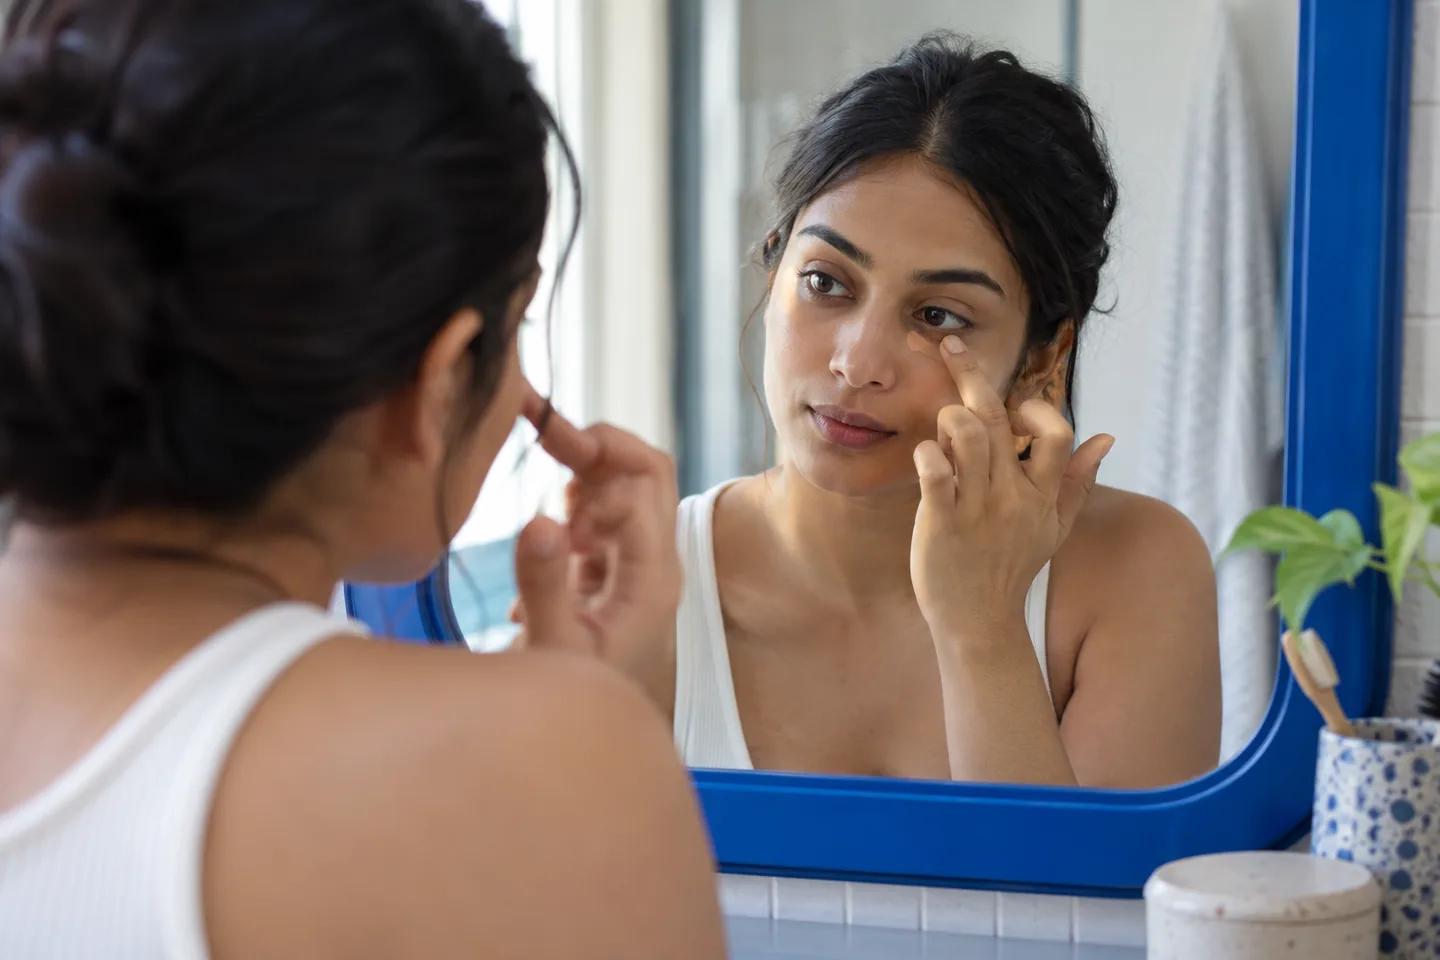
Choose a concealer close to the surrounding complexion rather than automatically several shades lighter. A small brightness difference can be useful, but excessive contrast may turn the corrected area into a bright triangle visible from across a room. Put a few dots where the corrector ends or where residual color still shows, then tap lightly toward the edge. Avoid dragging the base layer away. One thin pass should let your skin's normal variation remain visible. You are reducing a distracting patch, not painting out every natural contour beneath the eye.
If the first pass looks smooth at normal distance, stop. If one point still reads dark, add a pin-sized amount there and blend outward; do not extend a new stripe across both under-eyes. Compare your face in the mirror while talking or smiling, because an immobile close-up can hide how product gathers in a moving area. When the concealer creases rather than failing to cover color, that is a different wear question. The related guide on under-eye creasing addresses quantity, movement and setting; this article stays focused on choosing and placing color correction.
Check the shade against the whole complexion
Look from eyebrow to cheek and across both sides of the face. The under-eye should not have to match the cheek exactly: it sits in a different plane and catches different light. But a pale gray crescent, orange border or stark bright triangle usually means the combination has overshot. In that case, remove or soften the local layer before adding more. It is easier to change one small patch than to chase a mismatched eye with more foundation, powder and highlighter. A corrector that disappears under a skin-tone concealer is doing its job quietly.
If your concealer seems consistently too pink, yellow or light against the adjacent skin, evaluate the complexion shade separately from the correcting pigment. The undertone guide explains how to compare makeup colors on your own face without treating undertone as a rigid label. Make a small jaw or cheek comparison in the light where you normally wear makeup; an under-eye alone is too shadowed to be your sole shade reference. Avoid altering both corrector hue and concealer shade in the same trial, or you will not know which change improved the balance.
Set only where movement calls for it
Let the thin layers settle for a moment, then blink and make a normal expression. If the product remains comfortable and smooth, you may need little or no powder. Where a fold collects product, tap away the excess first with a clean fingertip or small puff. A tiny amount of fine powder on that precise line can reduce tackiness; a heavy veil across dry skin may make the area look more textured. The goal is not to freeze movement. Skin will move, and a corrector formula that slips or gathers may need a different amount or texture rather than a stronger setting step.
Check with ordinary eyes in a regular mirror before reaching for a magnifier. Under-eye skin has lines and texture in real life. If a powder makes them more visible, remove excess with a clean brush or revise the next application instead of adding a spray or another cream on top by reflex. Do not expect a single setting technique to overcome every combination of moisturizer, corrector and concealer. Record which layer moved first. That clue is more useful than describing the entire result as a failed concealer.
Use real light and a safe eye-area routine
Walk to a second familiar light source, perhaps an office window or a shaded outdoor entrance, and look at the whole face. Warm bathroom bulbs can hide a peach border; cool overhead light can exaggerate a hollow. A useful result should feel balanced across those normal settings, even though no makeup makes facial shadows disappear in every angle. If a photograph is part of your routine, take one unfiltered image with the light coming toward the face and compare it with the mirror. Use that image to notice broad changes, not to declare a pixel-perfect shade match.
Keep applicators clean and do not share eye products. The FDA's eye-cosmetic guidance advises stopping use if a product irritates and avoiding application in a moving vehicle, where an applicator may injure the eye. Do not keep working over irritated skin to perfect a photo. If a circle changes suddenly, is one-sided or concerns you for reasons beyond makeup, seek appropriate professional advice rather than treating this cosmetic technique as a diagnosis. Makeup can adjust how color reads; it cannot determine why the color is there.

Keep the result repeatable instead of chasing perfect coverage
Write down a plain three-part recipe: where the color remained, which small corrector direction softened it and how much skin-tone concealer finished the job. On the next day, repeat only that arrangement and check at the same distance. If you needed more coverage for a photograph than for daily life, keep those as separate choices rather than building the heavier version into every morning. A measured routine also lets you notice whether season, sleep or lighting changes what you want without declaring yesterday's technique wrong.
Some days the best result is no corrector and a dot of concealer. On others, color correction does more than extra coverage. If the under-eye still looks dark only because of a deep changing shadow, more peach pigment may simply show as makeup. Let the natural contour exist and use your own preference to decide how much visible difference matters. A successful method is comfortable, quick enough to repeat and credible in the lights you actually enter. The comparison belongs to your face and routine, not to a flawless close-up on a screen.