Tool care
Clean an eyelash curler and check the fit
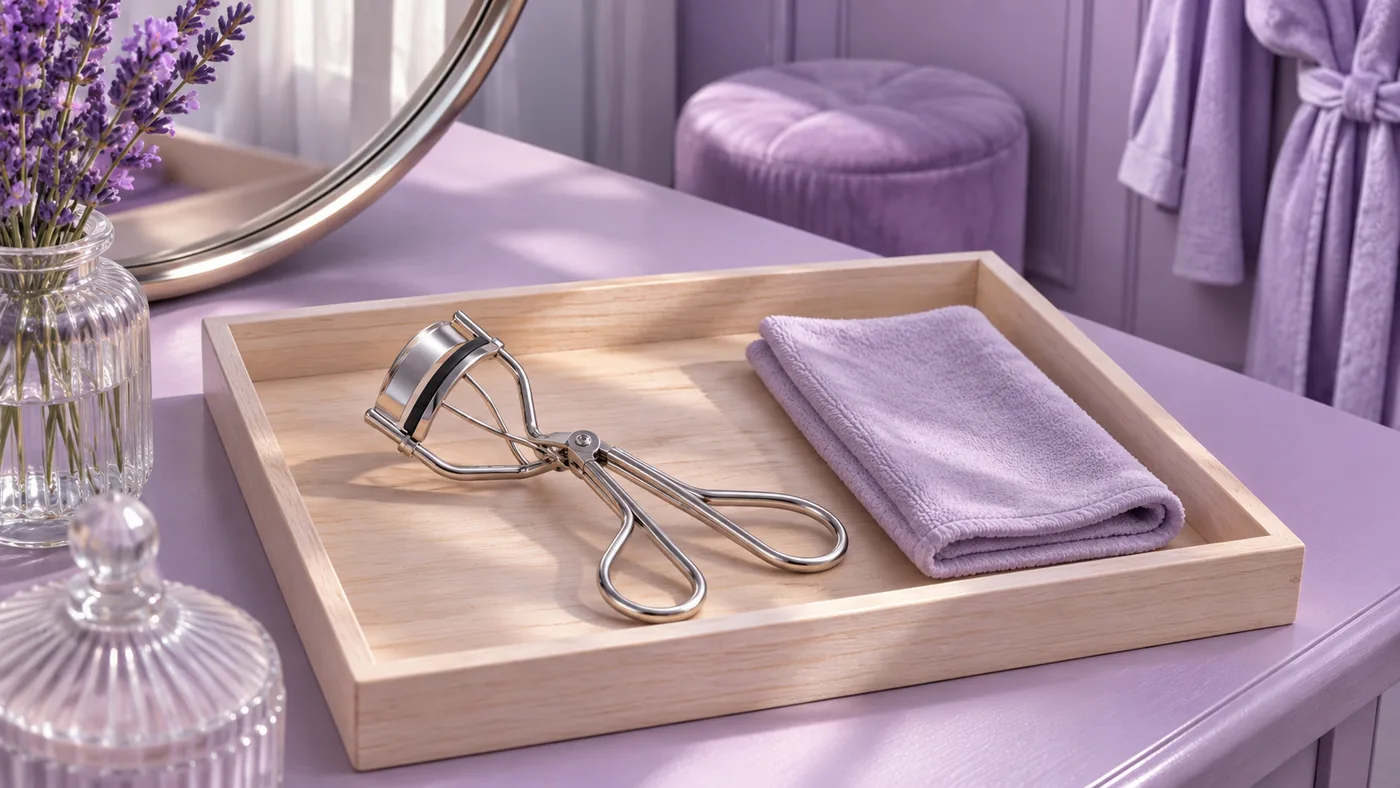
Clean an eyelash curler with the method for your model. Check the cushion, hinge, drying and fit before the tool goes near your eye.
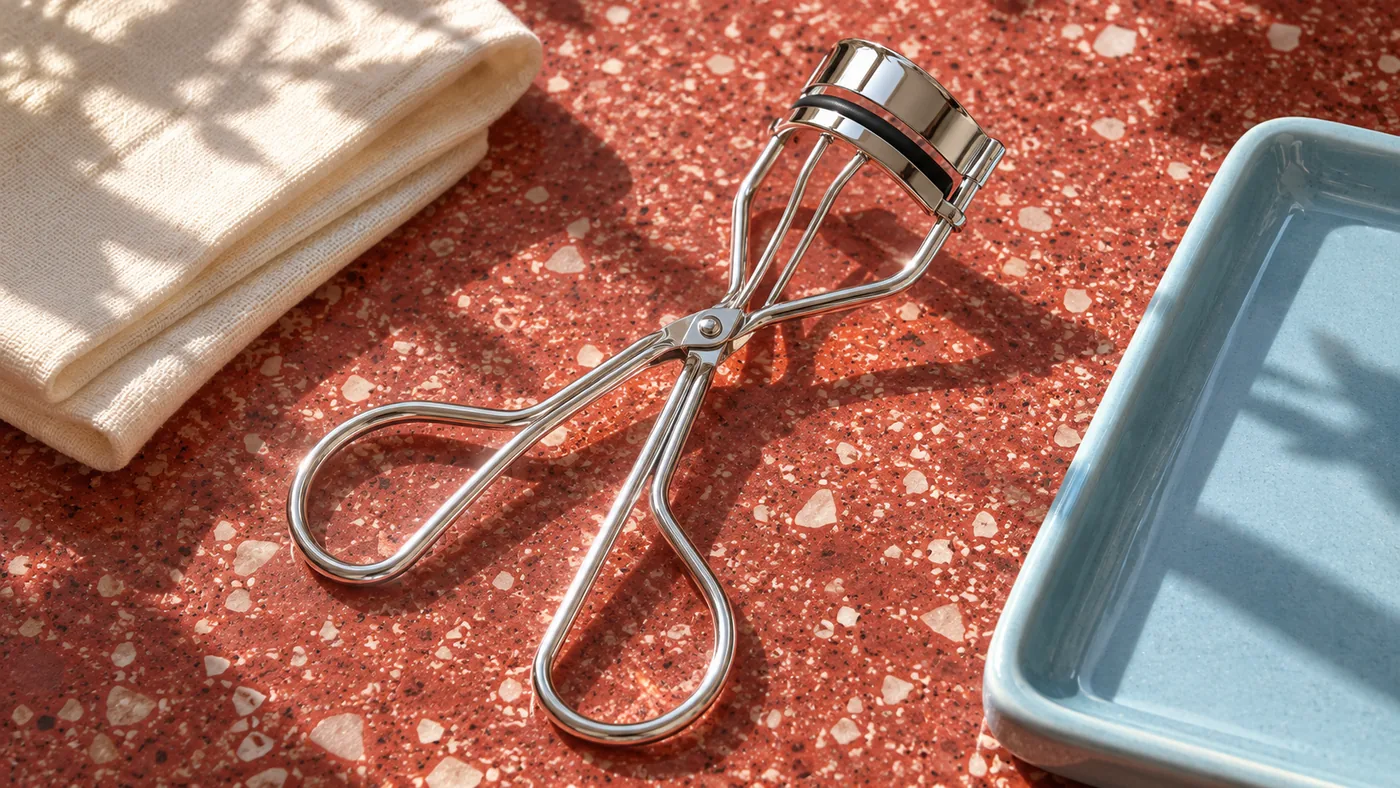
To clean an eyelash curler, start with the care instructions for your exact model. On a standard manual tool, the first places to inspect are the cushion, the edge that meets it and the frame around them. Use the method the maker specifies, let every part dry as directed and check the movement before the tool goes near your eye. A clean surface is useful only if the cushion still fits and the frame closes evenly.
A dark mark might be loose makeup, a stain in the pad or damage to the surface. Treating all three as dirt invites more rubbing than the tool needs. This guide helps you decide which parts to wipe, which to leave alone and when a worn tool needs a replacement rather than another cleaning attempt.
Clean an eyelash curler by identifying its parts
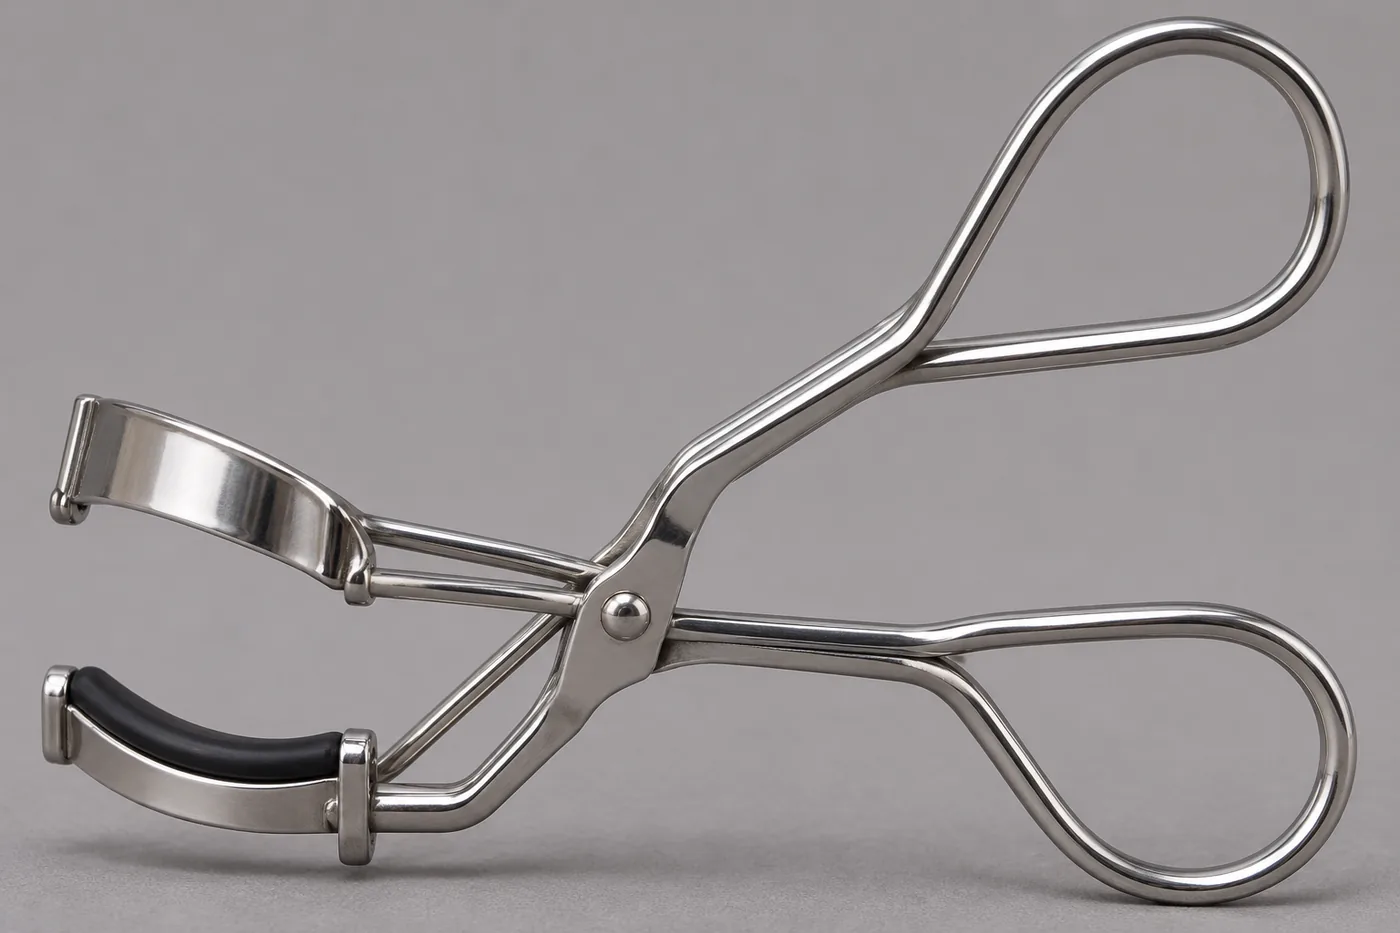
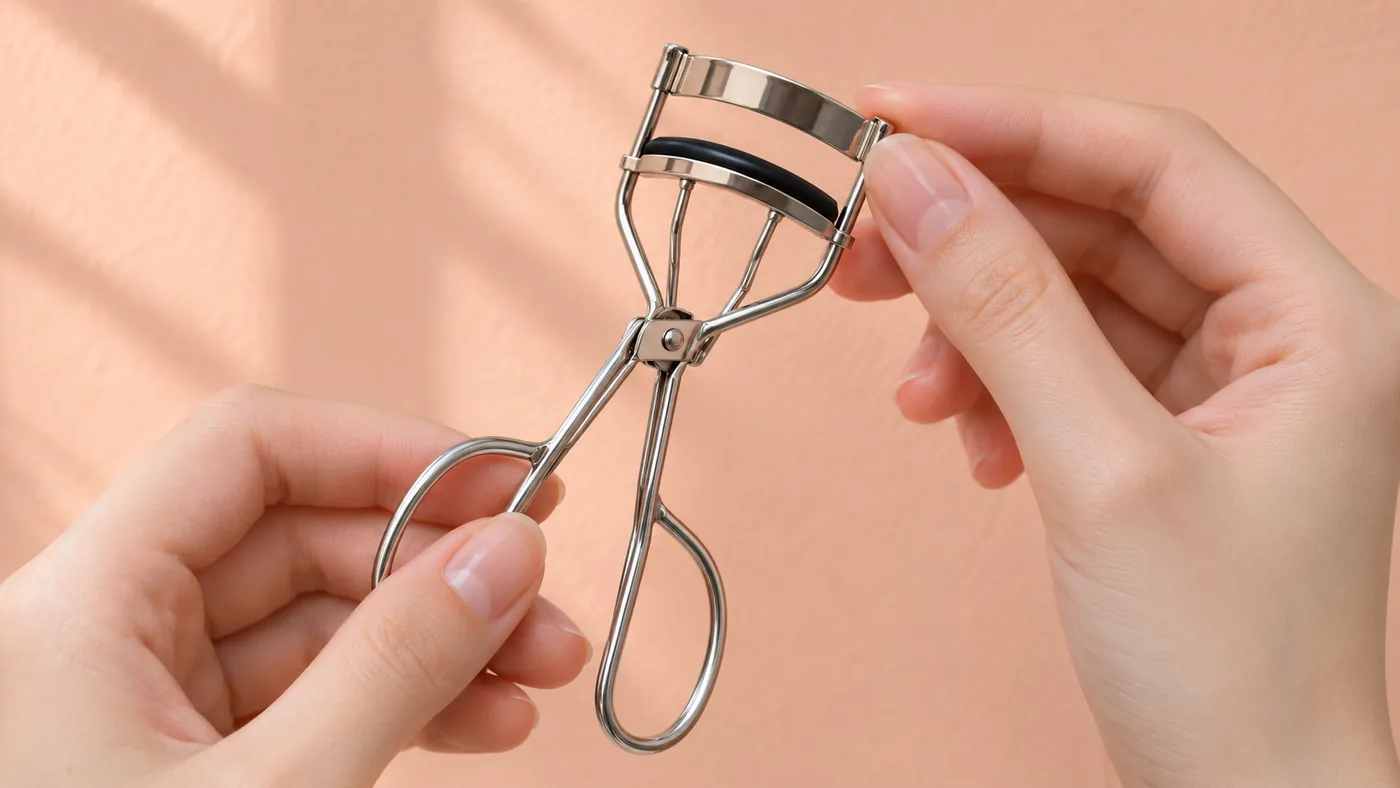
Set the curler on a clear surface under steady light and open it using the handles. A typical manual design has a curved upper bar, a soft pad below it, a channel that holds the pad and a moving joint. Look from the side and then from the front. Makeup may collect where the upper bar meets the pad even when the handle looks spotless. You may also see lint lodged beside the pad without finding anything in the hinge.
Find the model name on its packaging or in the maker’s care information. Some pads lift out for replacement, while others belong to a different assembly. A heated curler can have a comb, a switch, a charging port or battery contacts. Use the electrical model’s own instructions for cooling, disconnecting and cleaning. This guide’s handling examples apply to a manual tool and are not instructions to put an electrical device in water.
Choose the care method before opening a bottle
Compare the label with the tools you have ready. If the manufacturer specifies a clean dry cloth, start there. If it permits a particular wet method, follow its instructions for which parts can get wet, how to apply the cleaner and how to remove it. A method for a stainless steel model does not automatically apply to a painted frame, a plated finish or a different pad. Do not guess compatibility from the color or the way the metal feels.
The FDA’s eye cosmetic advice supports clean instruments, clean hands and personal use. These habits are the reason to prepare a fresh cloth and keep the tool away from shared makeup. A wipe can remove visible residue, but that does not prove disinfection or sterilization. If the maker calls for a specific maintenance process after an unusual exposure, follow that advice instead of counting repeated wiping passes as a substitute.
Set up clean and used areas on the counter
Wash and dry your hands. Put the clean cloth on one side of the work surface, and set aside a place for anything that has already picked up residue. Choose a soft surface that is unlikely to shed fibers around the pad. A towel already covered with powder or foundation can add a new layer of debris to the contact area. A pale cloth can make dark transfer easier to see, but a perfectly white cloth afterward is not a requirement.
Open the tool enough to see where the cloth will touch. Work away from your face and keep fingers clear of the closing bars. Holding a narrow tool over a dry tray is useful when a removable pad is small enough to fall into a sink. If the pad is staying in place, the same setup still gives you room to turn the tool without catching a handle on a bottle or knocking makeup into the clean area.
Wipe the contact surfaces first
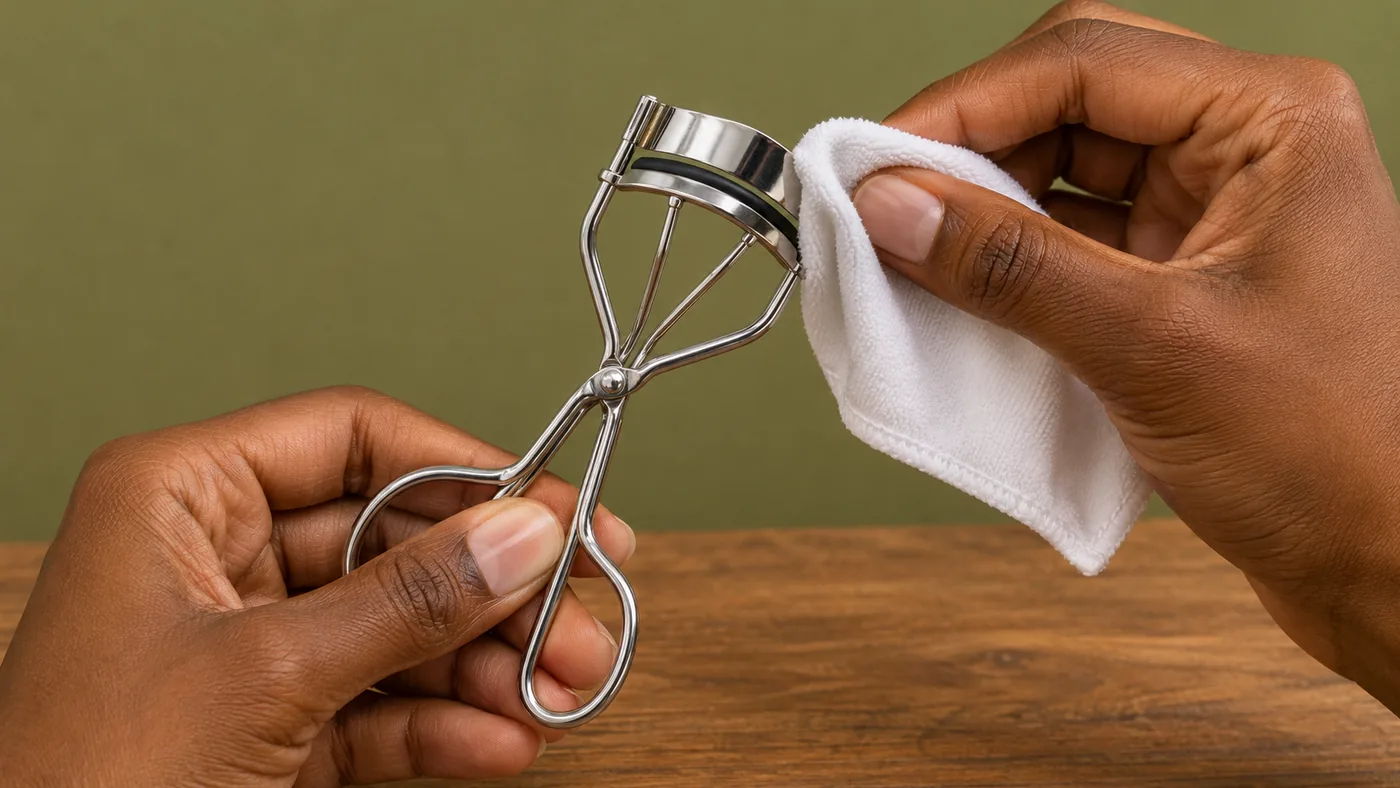
Start on the accessible surface the manufacturer describes. On a manual tool whose instructions allow dry wiping, fold the clean cloth over a fingertip and guide it along the accessible bar. Use a fresh part for the top of the cushion. The movement should lift visible residue without dragging the cloth under the cushion or forcing it between parts. If a seam catches the fabric, stop and unfold it rather than pulling against the frame.
Turn the tool to catch the light and inspect the cleaned area before deciding on another pass. Compare the spot you see with what transferred onto the cloth. A mark that no longer transfers may be discoloration, while a raised deposit may still have material to remove. If the permitted wipe does not shift it, check the care instructions again. Scraping with a pin or adding a stronger cleaner can damage the surface you need to remain smooth.
Handle the cushion according to the model
Leave the pad seated unless the manufacturer describes removal. If removal is permitted and needed, follow the direction and grip in those instructions. Lay the piece in a clean tray so you can keep track of its orientation. Look at the top, the ends and the channel it sat in. If the instructions allow cleaning those surfaces, clean and dry them before reassembly. Avoid stretching the cushion to see whether it will return to shape.
A cut, deep groove, hard patch or uneven fit deserves a separate decision from residue. Check the maker’s replacement guidance and use the pad specified for the model. Two pads can look nearly identical but sit differently in the curve. If the replacement stands higher on one side, can slide out or needs force to fit, stop. An unverified fit is a reason to set the curler aside. Padding the channel with tissue or adjusting the metal does not restore the original contact geometry.
Give the hinge its own inspection
Look at the joint without trying to dismantle it. A little powder on the outside can be addressed separately from anything that seems trapped inside. Use a fresh section of the permitted cloth on accessible surfaces and keep it clear of the pivot as you move the handles. If the joint feels gritty or sticks after the accessible surfaces are clean, that is a movement issue. A drop of household oil is not a default fix for a tool used so close to the eye. Ask the maker whether the hinge is serviceable.
Keep the mechanical check and the cleaning decision separate. For example, the bars may look clean after wiping, but if the frame rocks or closes unevenly, do not test it on your lashes to find out whether that matters. Put it aside. If it moves smoothly but a shallow stain remains on an otherwise intact pad, consult the care directions before adding more steps. These two observations tell you more than the amount of time spent wiping. If you are cleaning a sponge on the same day, use its own care method. Its porous surface and drying needs are different from the curler’s.
Let each part finish drying
After a permitted wet step, complete any rinse or follow-up wipe specified in the instructions. Place the tool and any separately cleaned parts on a clean surface where air can reach the contact area. A pad may feel dry on top while the underside still holds moisture. Check its underside before reinstalling it if the pad has been removed. For a model that must stay assembled, inspect the accessible seam and wait until it is dry before putting it away.
There is no single drying time for every material or room. Use the directions and the actual condition of the parts rather than a kitchen timer. Keep the tool away from dirty brushes and leave room for air around it. Avoid using a hair dryer, a radiator or a flame to speed things up. Heat can change materials, and a warm tool is hard to assess safely near the eye. A clean, dry cloth and a bit of space are enough for the routine described here when the model allows it.
Inspect the movement before using it again
When everything is dry and assembled as directed, open and close the tool gently away from the face. Watch whether the upper bar meets the cushion along its curve and releases without sticking. Check that the cushion does not lift or shift and that the metal looks smooth where it approaches the pad. If a handle feels loose or the bar seems twisted, do not straighten it with pliers. Ask the maker about repair or replace the tool if it can no longer close predictably.
This movement check addresses the tool’s condition, not how much curl it will produce. Once the curler is ready and the maker’s directions are clear, use the separate guide to plan a gentle lash-curling sequence. If a tool has been dropped, repeat the dry inspection even if it looks clean. A bent frame or loosened cushion can be easier to see from the side than from above, especially when the tool is open.
Make storage part of the routine
Store the dry tool in a clean place where the handles will not be crushed. A dedicated tray or clean pouch can keep the contact surfaces away from loose powder, old applicators and items carried around outside the bathroom. If you travel, check the pad and bar when you unpack. A clean tool can still pick up lint when carried loose. A wipe before storage also gives you the chance to spot a small groove early, when a matching pad may be easy to locate.
Keep a note of the model and the replacement pad if the instructions are hard to find. Put the cloth or disposable material where you will actually reach for it after use. The useful sequence is simple enough to repeat on a busy day. Identify the parts, use the permitted wipe, dry as directed and inspect the contact. If you cannot verify the fit or condition, give the lashes a break from that tool while you check the maker’s guidance.