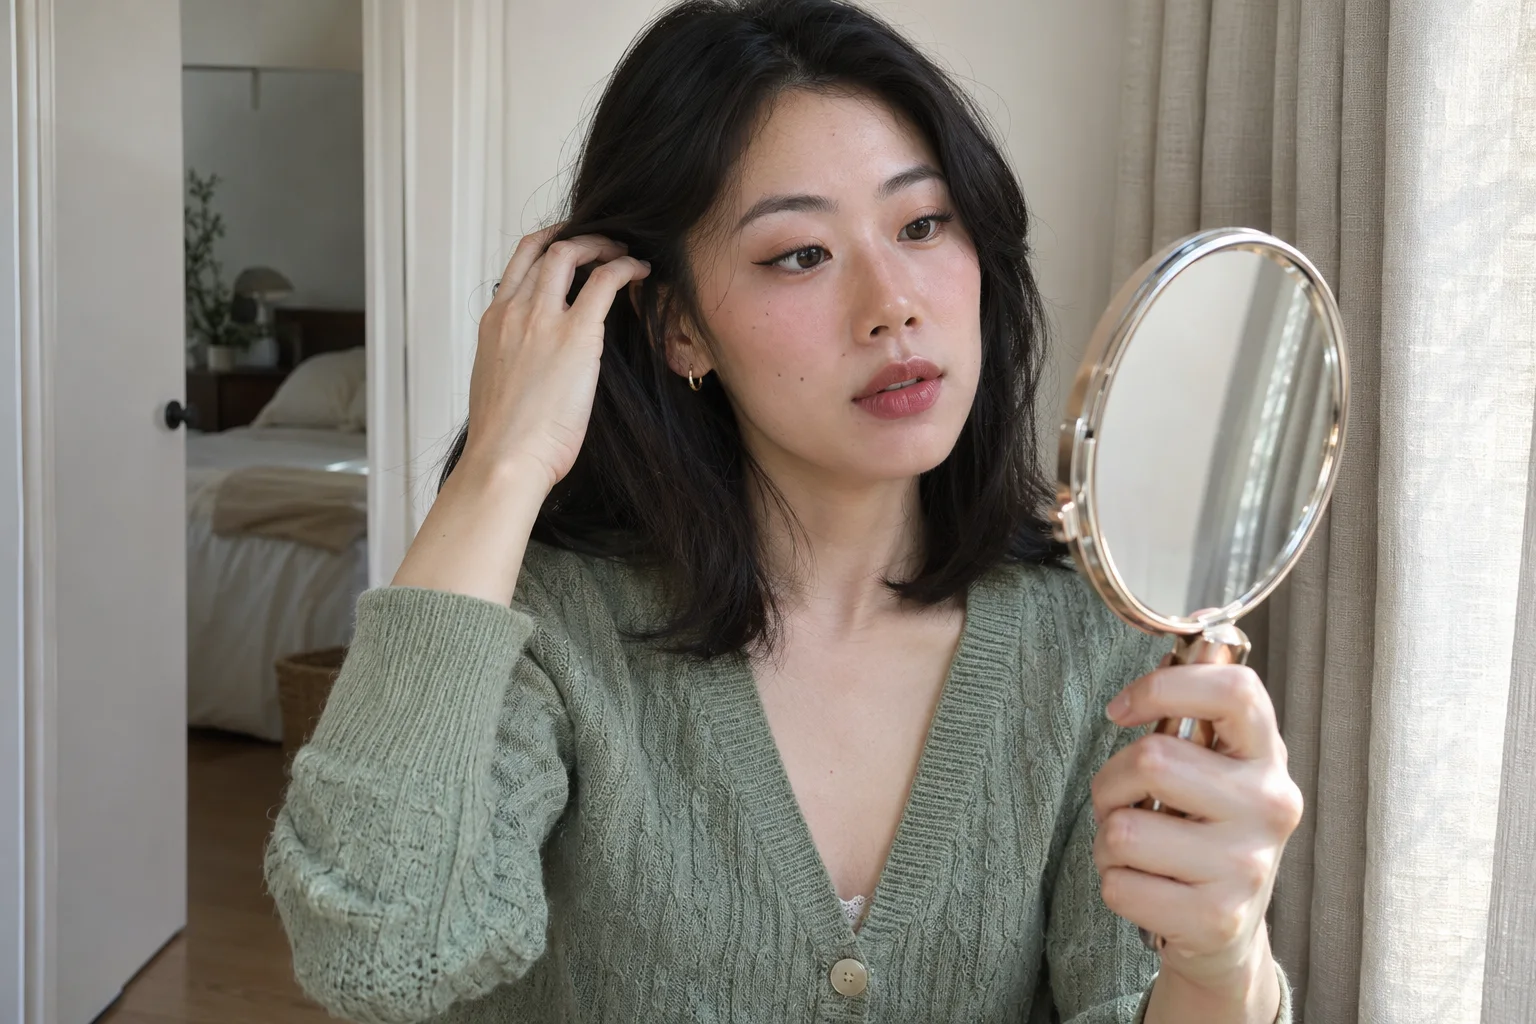
Eyebrow pencil
Apply eyebrow pencil where a few strokes are enough
Fill selected brow gaps with light separate strokes, brush gently and check the full face before adding more.

Apply eyebrow pencil by finding the small spaces you actually want to fill, then placing separate light strokes among the existing hairs. Brush the brows first, keep the pencil point controlled and step back before adding more. A natural-looking result does not require a continuous outline or an equally dark surface from beginning to end. The useful question is where a little pigment improves the brow you already have without obscuring its individual hairs.
This MaqAI guide explains physical pencil application with your own mirror and suitable tools. It is separate from choosing a pencil shade, redesigning an arch or using gel to hold hairs. Keep the color stable while learning the stroke. Hair Muse can offer makeup inspiration, but a preview cannot determine pencil pressure, actual pigment pickup, comfort or wear. Those decisions need a real product check on your own brows.
Apply eyebrow pencil to selected gaps, not every visible space
Look at both brows in ordinary light before touching the pencil to your face. A small opening between hairs is not automatically a defect that needs filling. Decide whether you want to connect an interrupted tail, soften one patch or give the middle slightly more definition. Pick one modest goal for the first pass. If you try to redraw the whole brow at once, it becomes harder to tell which mark improved the result and which merely made it darker.
Keep the existing shape as your reference. This exercise does not require measuring a new arch, removing hair or extending the tail beyond its familiar outline. If color is the unresolved issue, use our eyebrow pencil color guide before comparing application pressure. Otherwise, a shade that feels too warm or dark may keep prompting extra blending without addressing the real problem. Once the shade is acceptable, return to the small area you selected and leave the rest alone initially.
Prepare a surface that lets you see the actual hairs
Use the usual skin preparation appropriate to your products and follow their directions. Check the brow area itself rather than assuming that a completed foundation routine has left it ready. Obvious cream, oil or base caught in the hairs can change how the pencil deposits. Gently resolve visible excess with an appropriate clean tool instead of applying a thick pencil layer over it. Avoid scrubbing the delicate surrounding skin in pursuit of a perfectly bare surface.
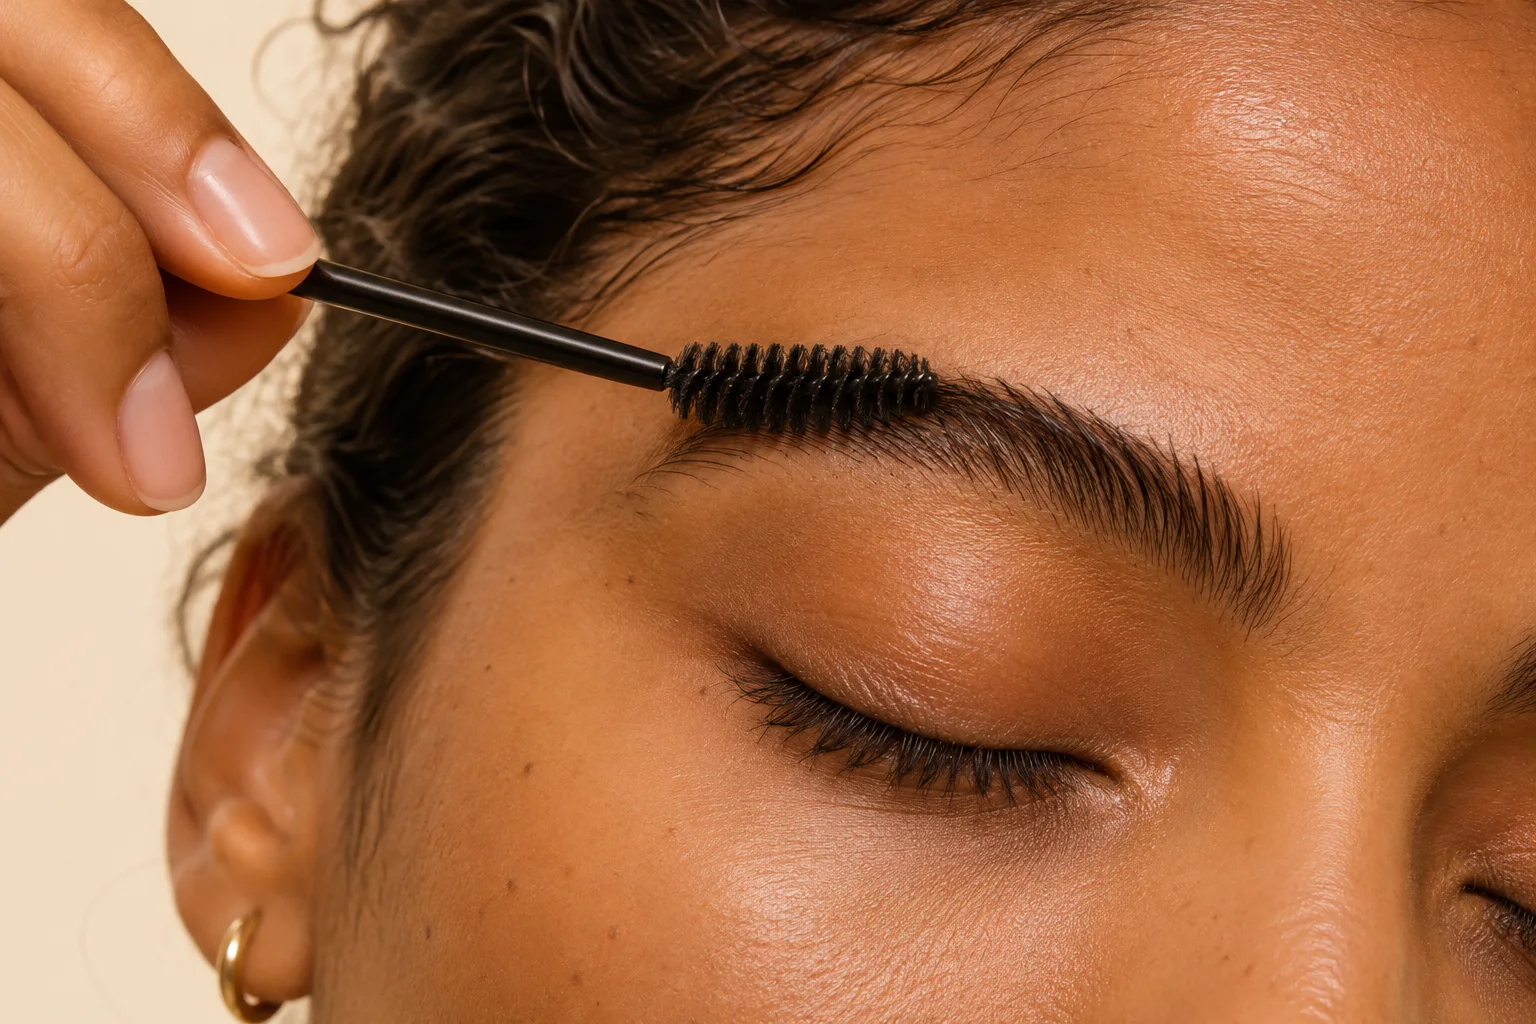
Brush the hairs gently into the position in which you plan to wear them. Follow their own direction; the inner hairs may rise more vertically while the outer hairs angle sideways. Do not force every hair straight upward just because a tutorial uses that style. A clean spoolie helps separate the strands so you can distinguish a real gap from hairs lying across one another. Let the arrangement settle and inspect it once more before deciding where your first mark belongs.
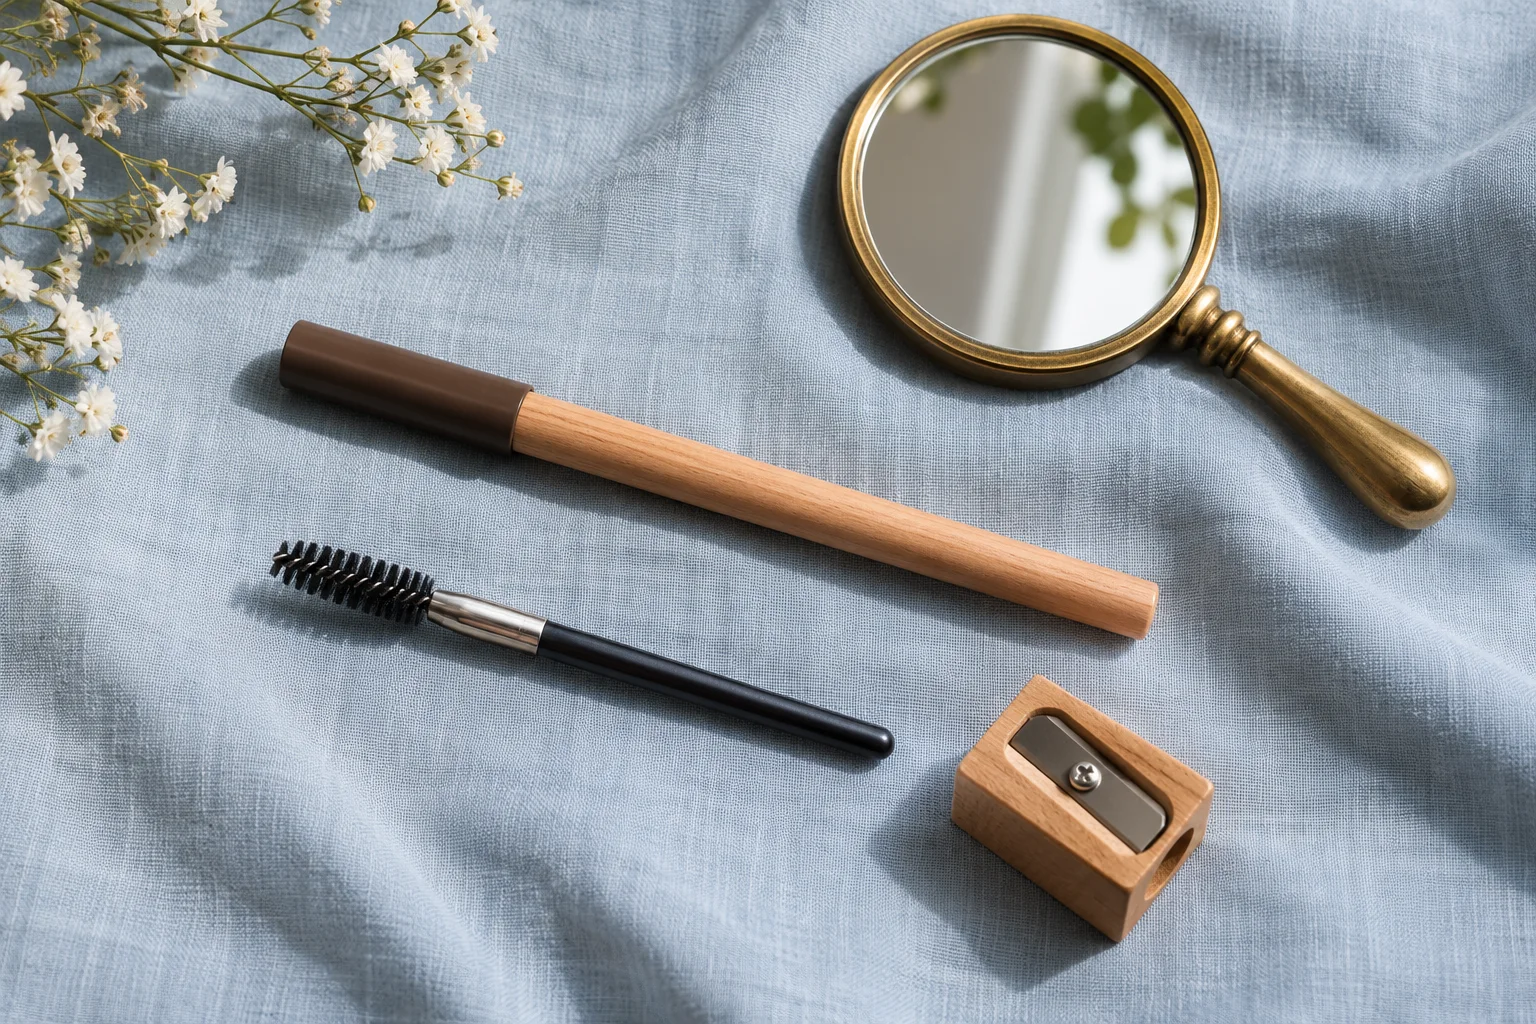
Check the point and learn its mark away from the eye
Identify the pencil type and use only the care method intended for it. A retractable tip may need very little product exposed, while a wooden pencil may use a compatible sharpener. Do not try to sharpen a twist-up mechanism like a wooden barrel, or extend a fragile tip far beyond its support. The goal is a manageable working edge, not the sharpest possible point. Stop if the product is damaged or cannot be used as its directions describe.
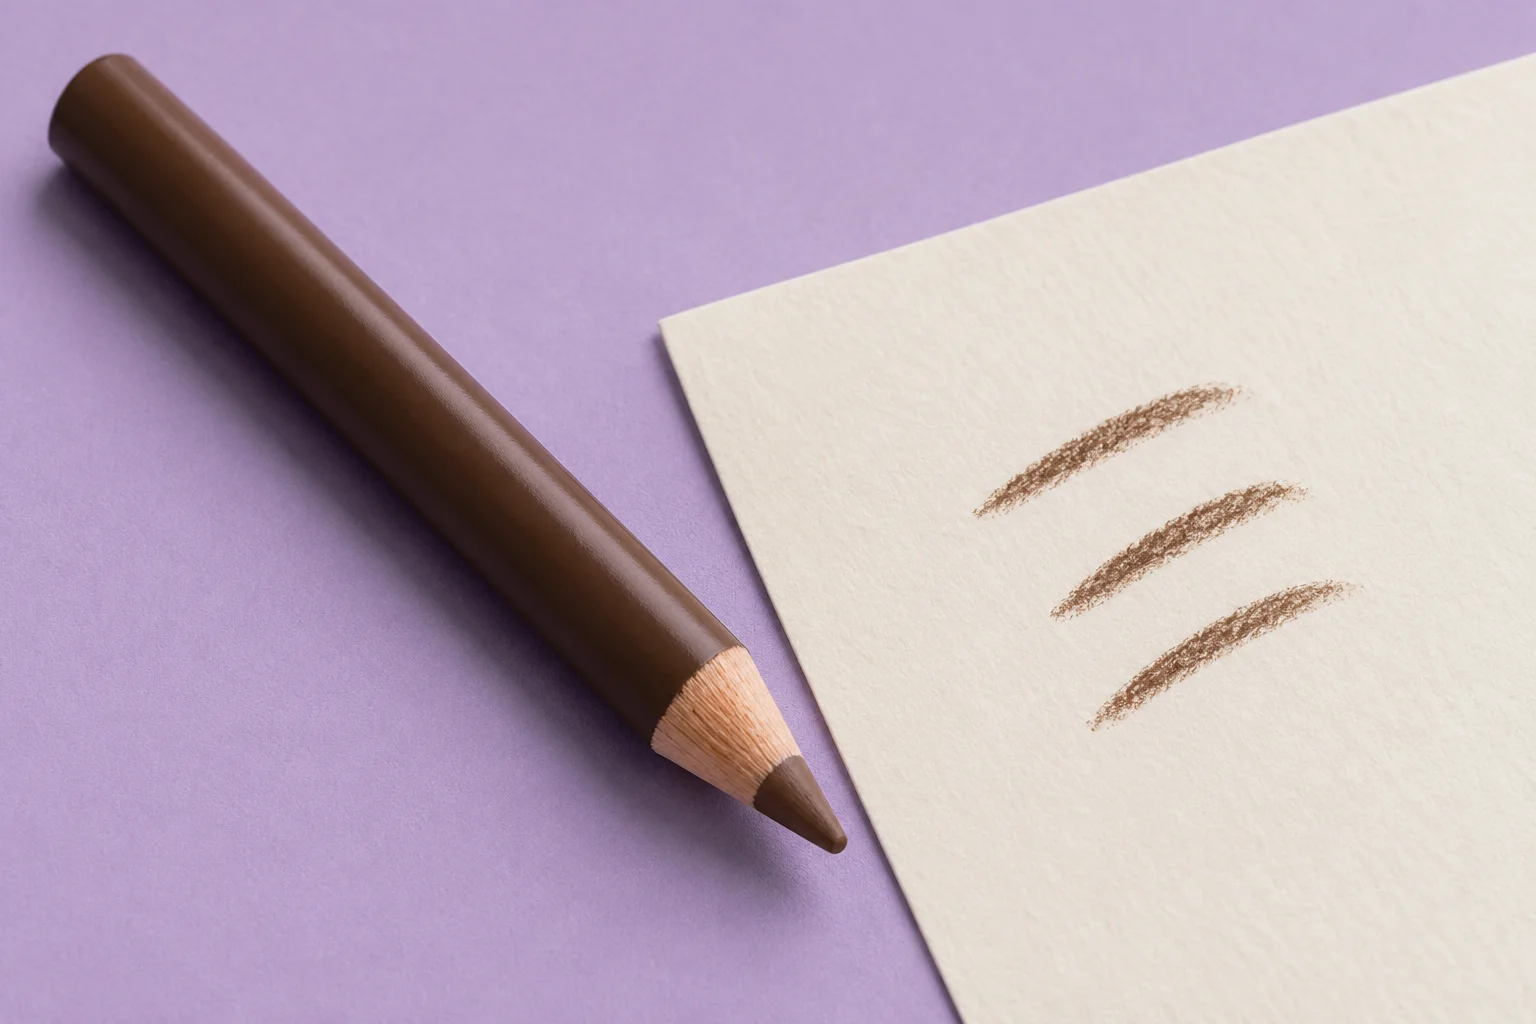
Make a small trial on clean external skin away from the eye if that suits the product instructions. Notice the width and darkness produced by a light touch. This is a check of the mark, not a guarantee against a reaction or a substitute for any manufacturer patch-test advice. If you need heavy pressure to get pigment, assess the pencil's condition and directions before pressing harder near the brow. A test elsewhere is easier to reconsider than a dense first mark above the eye.
Anchor your hand and begin in the selected middle area
Arrange the mirror so you can see without leaning precariously into it. A supported elbow or comfortable hand position can make small movements easier. Keep the working point on the external brow area and away from the eye. If your view is poor or your hand is unsteady, pause and improve the setup rather than continuing toward the eyelid. There is no advantage in completing a stroke that you cannot clearly see while making it.
Begin with one short light mark in the selected gap, often somewhere in the middle or outer portion where you can judge it against neighboring hairs. Lift the pencil before the next mark. Observe whether you have drawn a small strand-like accent or a broad solid patch. Adjust pressure or stroke length one at a time. Starting with a dense lower outline can commit you to filling a larger shape, so leave that approach aside while learning targeted gap filling.
Follow nearby hair direction and keep spaces between strokes
Use the existing hairs immediately beside the gap as a guide to angle and approximate length. A stroke near the front may point differently from one near the tail. Copying one identical diagonal mark all along the brow can create a pattern that competes with the actual hair. You do not need to draw every missing hair literally. A few separated accents may be sufficient to make the gap less prominent at a normal viewing distance.
Keep some skin visible between marks. If strokes merge into a continuous stripe, stop and assess the amount rather than filling the next space to match it. A sharp pencil can still produce a heavy result when pressed repeatedly over the same spot. Conversely, an extremely fine mark may disappear in ordinary light without being a failure. Judge the collection of marks together with the real hairs, and add only where the original small goal still needs help.
Leave the front softer unless your intended look says otherwise
The beginning of a brow often reads strongly when it becomes a single dark rectangle. After working on the selected gap, check whether the front needs anything at all. It may already have enough visible hair. If you add pigment, begin with a very small number of light marks that follow the local direction, then put the pencil down. Do not automatically carry the density of the middle all the way to the inner edge.
A deliberately graphic brow is a valid different choice, but it should be intentional. For this light gap-filling method, keep evaluating whether pigment supports the hairs or replaces their appearance. You can leave one brow's front slightly different from the other without treating the difference as an error. Natural brows are not identical templates. Repeatedly darkening both sides to make them perfectly equal often moves the result farther from the modest definition you originally wanted.
Brush lightly, then reassess before adding another layer
Use a clean spoolie with gentle short movements appropriate to the direction of the hairs. The purpose is to settle the hairs and soften obvious pencil marks, not to scrub the product until every trace disappears. Inspect after a few passes. If brushing removes nearly everything, review the product, underlying preparation and your application pressure before creating a much thicker replacement layer. More pigment is not automatically the answer to every change caused by the brush.
If a particular spot still needs definition, return to that spot rather than redrawing the whole brow. Keep the next correction small enough to understand. Our eyebrow gel application guide covers holding and arranging hairs as a separate step; adding gel is optional and depends on your products. When combining them, follow their directions and inspect whether the second product moves the first. Avoid assuming that every pencil needs another layer to become complete.
Correct one mark locally instead of rebuilding the outline
Step back from the close mirror before correcting anything. A mark that looks conspicuous at extreme magnification may be unobtrusive when the full face is visible. If you still want to change it, use a clean suitable tool and a method compatible with your makeup to lift or soften the small area. Keep the correction away from the eye and avoid broad rubbing that moves foundation or surrounding brow strokes unnecessarily. Let the area settle before deciding whether pigment needs replacing.
Do not use a new concealer border as an automatic repair for every uneven edge. It can introduce a second color and texture problem while hiding the original pencil decision. Sometimes removing a single heavy mark is enough. If correction repeatedly irritates the skin, stop instead of alternating more pencil and more removal. The aim is a comfortable, readable brow, not a perfectly symmetrical drawing obtained through repeated friction or an increasingly thick perimeter of makeup.
Finish at normal distance and record a repeatable small routine
Review both brows with the whole face visible, first in steady ordinary light and then in the light relevant to your day. Check the selected gap, the softness of the front and whether individual hairs remain readable. Turn your head slightly rather than judging only one close angle. If a minor difference remains but the overall result suits you, you can stop. Adding pigment until every angle looks identical is not a necessary finishing condition for a normal makeup routine.
Record what made this application manageable: the actual pencil, the selected gap, a light starting pressure and the point at which you brushed and checked. You need no fixed stroke count for every brow or day. Cap and store the pencil according to its instructions, and care for the spoolie as its maker directs. Next time, begin with the same limited goal and adjust only what you can actually observe. A small repeatable method is more useful than trying to reproduce an idealized image hair for hair.