
Brow routine
How to apply eyebrow gel with a lighter brush load
Guide existing brow hairs with small brush loads, short strokes and a real finish check before adding another layer.
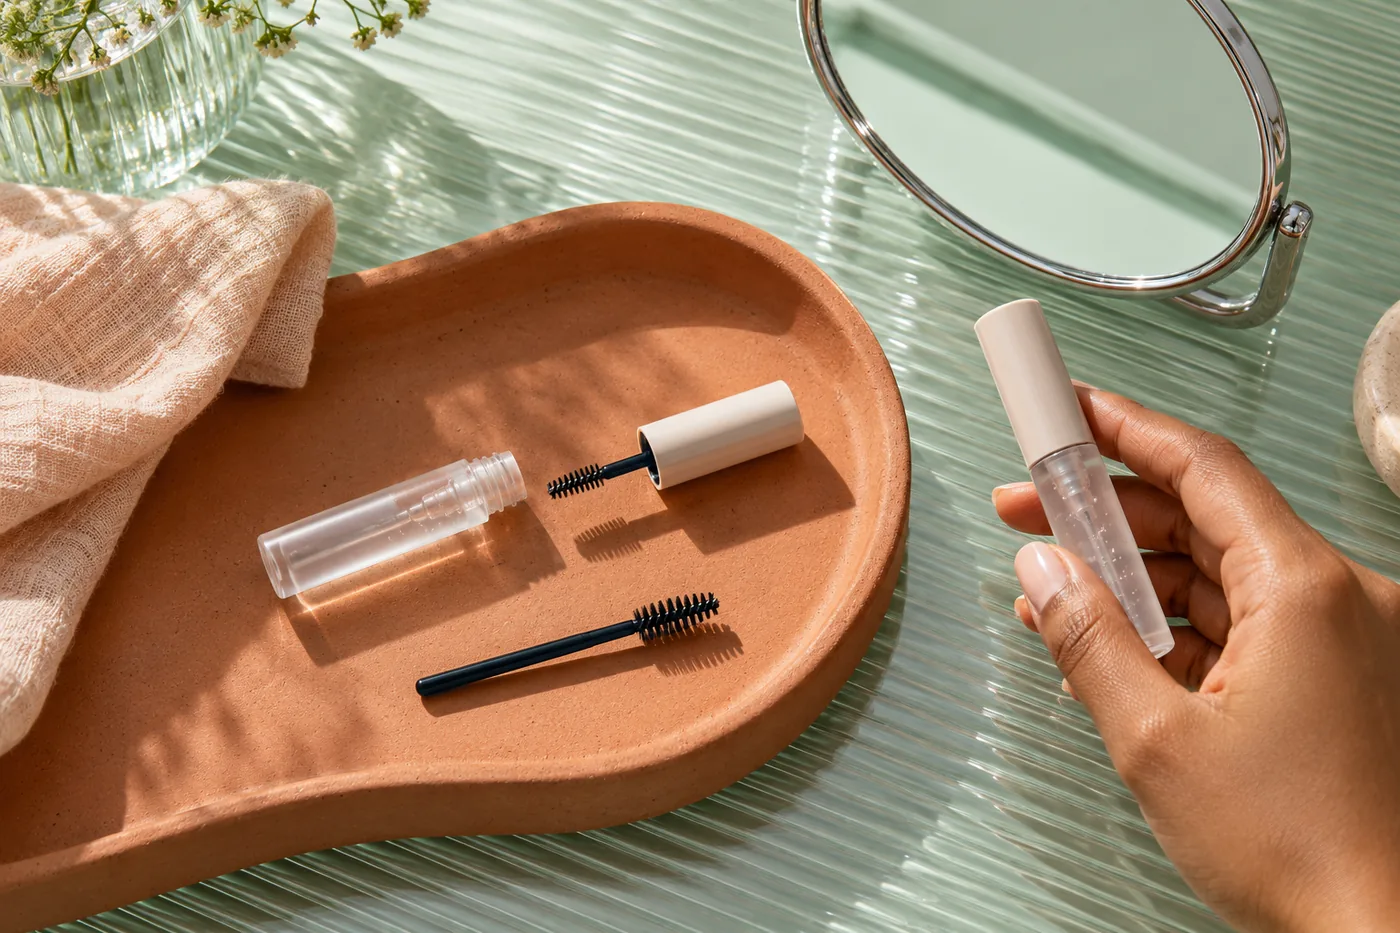
Learning how to apply eyebrow gel starts with a smaller brush load and a clear idea of where your existing hairs want to lie. You do not need to turn every hair vertically upward or redraw a new outline. A useful first attempt simply separates the hairs, guides a few unruly areas and leaves a comfortable finish that you can recognize at ordinary viewing distance.
This guide covers temporary cosmetic brow gel applied with a small spoolie. It does not cover chemical lamination, tinting, hair removal, growth treatments or lash products used on another area without label permission. MaqAI publishes the guide; the method works with your own mirror and suitable cosmetics. Hair Muse can help you explore a visual direction, but a generated image cannot demonstrate grip, residue, skin comfort or how a gel behaves on your actual hairs.
How to apply eyebrow gel: decide what needs guiding
Look at your brows before reaching for the tube. Perhaps the central hairs cross one another, the tail turns downward or a few longer hairs interrupt the upper edge. Choose one modest job, such as separating the middle or guiding the tail outward. That gives you a visible stopping point instead of an instruction to coat everything until the brows look dramatically different.
Observe each brow separately. Hair direction, density and length can differ across the same face. Your left brow might need a slight outward sweep while the right already rests comfortably. Aim for a related overall impression, not identical brush movements or perfectly matching silhouettes. The hairs you have are the starting material, rather than a mistake to erase with more product.
Step back from a magnifying mirror before making the decision. Small spaces between hairs usually look less conspicuous from conversation distance. Decide whether you actually want added color as well as arrangement. Clear gel can guide hairs without deliberately darkening them; tinted gel adds another variable. Neither kind automatically supplies the effect of a pencil, and neither needs to cover every visible patch of skin.
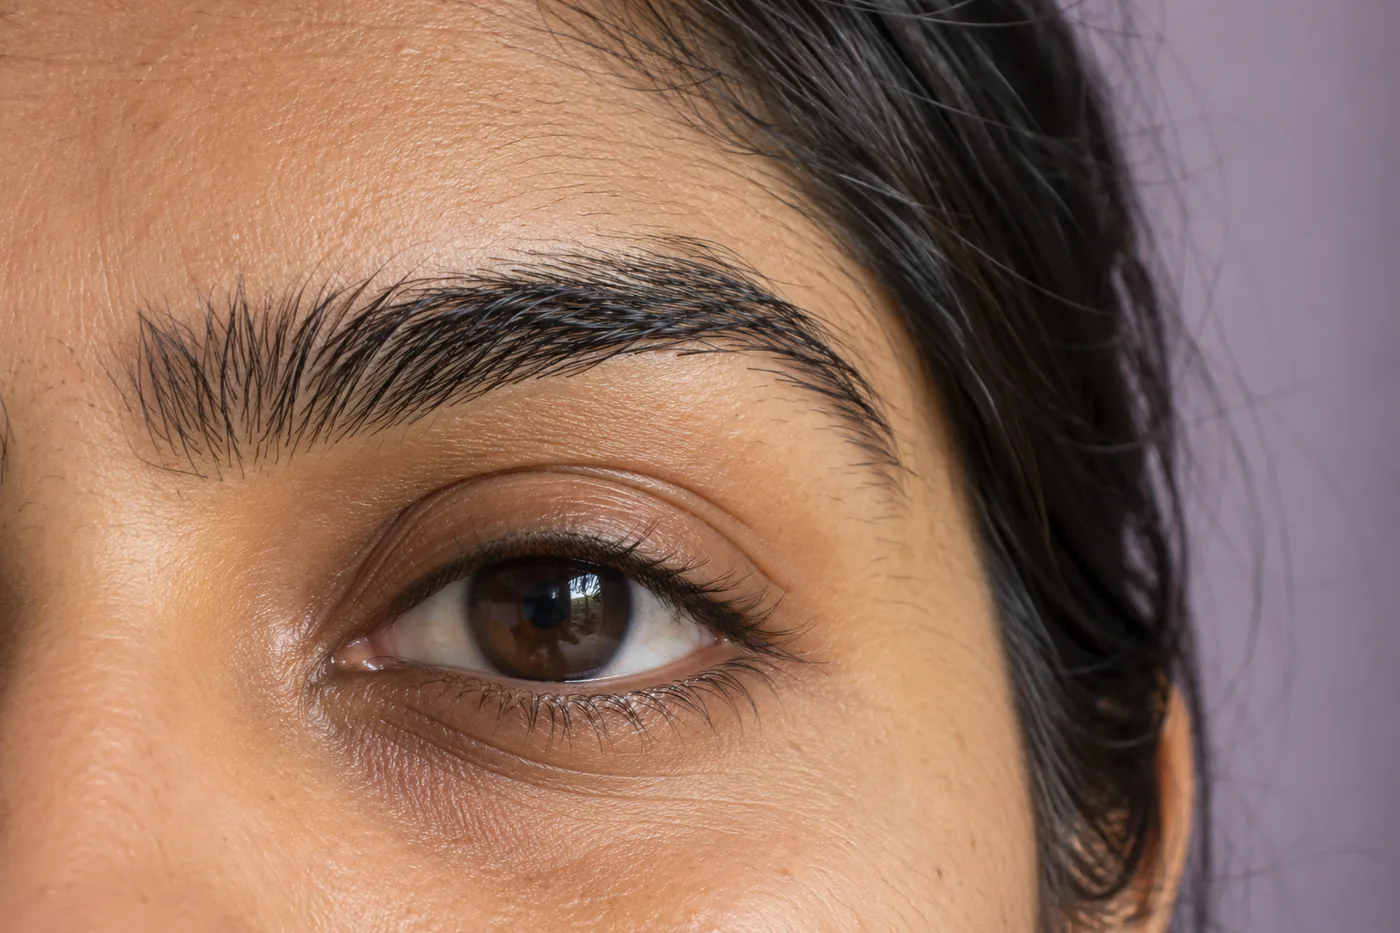
Read the product directions and prepare a stable surface
Check that the cosmetic is intended for eyebrows and note its application, drying and removal instructions. A tube with a brush, a firm wax and a salon lamination system are different products. Do not transfer a technique between them merely because they all mention hold. Use the manufacturer's permitted method, including any directions about layering or application over another brow product.
Work seated or standing still in good light with clean hands and tools. FDA eye-cosmetic guidance advises clean instruments, no sharing, appropriate intended use and stopping a product that irritates. Keep the brush on the brow area, away from the eyeball and lash line. If the skin is irritated or damaged, postpone the cosmetic trial; persistent discomfort needs appropriate professional advice rather than another styling experiment.
Let your usual skincare settle and check the brow hairs for obvious wetness or visible cream deposits. You are looking for a manageable starting surface, not trying to strip skin or remove necessary sun protection. If nearby makeup is already applied, keep the gel brush within the hairs and avoid dragging foundation into the tube. Follow any product-specific preparation instructions instead of adding household soap, alcohol or hair styling products.
Inspect the brush load before the first contact
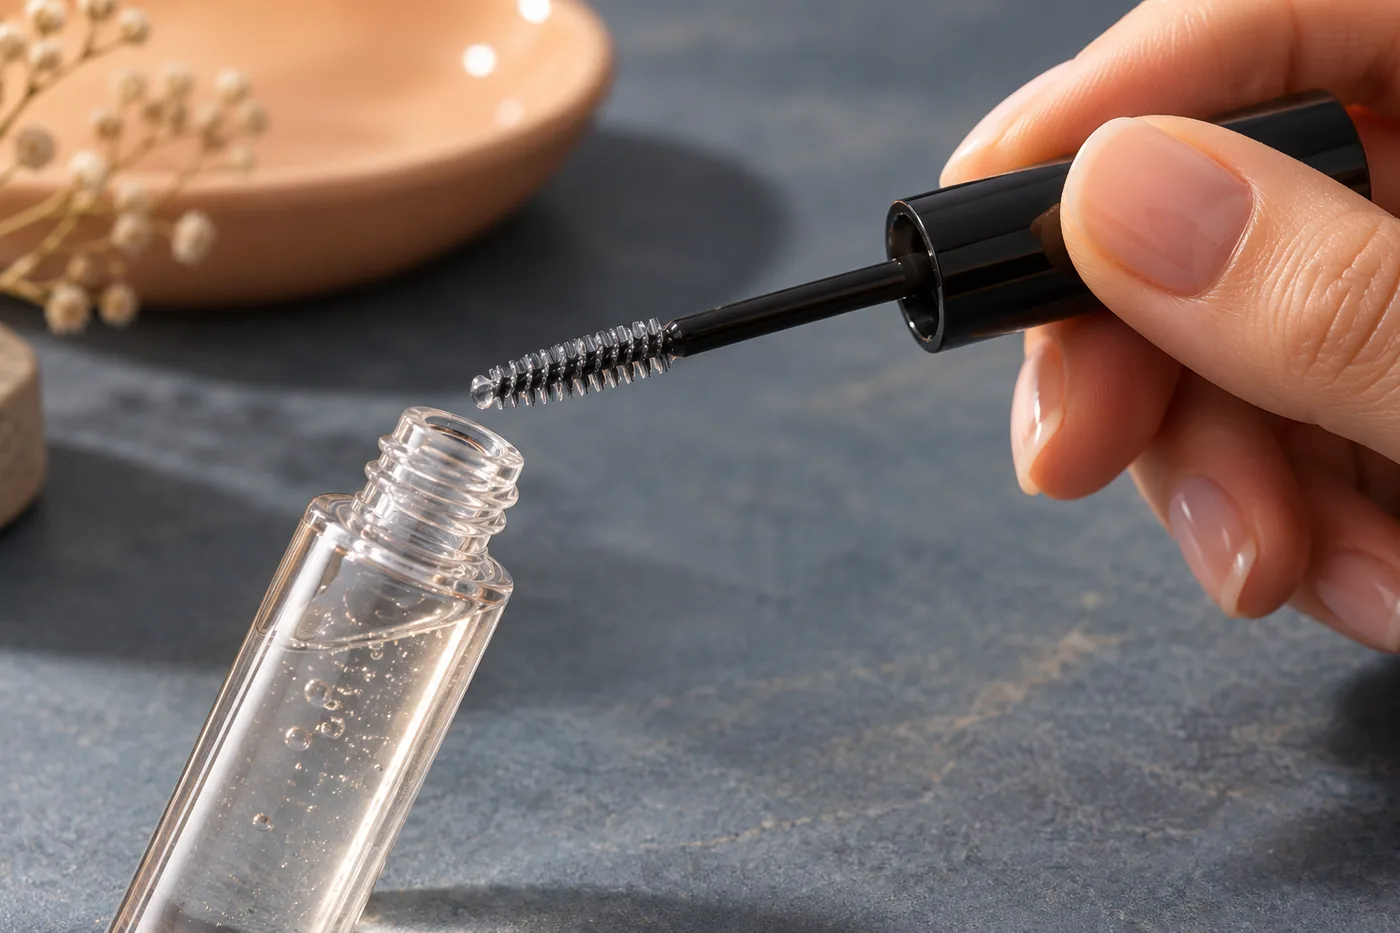
Remove the wand normally and inspect it at arm's length. A clear sheen between bristles is different from a visible mound at the tip. If the supplied directions allow, draw excess against the inside neck of the tube with a gentle movement. Avoid repeatedly pumping the wand or smearing product around the outside rim. Close the container promptly whenever you are not using it.
A small brush is easier to place deliberately when you can still see its bristles. If there is a heavy blob at the end, do not start by depositing it on the inner brow and then trying to spread it across both sides. Reduce the load first. With tinted gel, an overloaded tip can leave a dark spot on skin before the hairs have even been arranged.
There is no useful universal number of wipes or dips. Brush design, formula and hair density differ. Treat the first contact as a small trial: touch a limited section, make one short stroke and look. If it already coats several hairs, use what remains on the brush before deciding to reload. The goal is enough product for the intended section, not an empty-looking wand at all costs.
Follow changing hair direction in short sections
Begin with a section you can see clearly and guide it in the direction that feels natural and manageable. The inner hairs may tolerate a slightly upward movement, the middle may need an upward-and-outward sweep and the tail may sit better outward. These are observations to make on your own brows, not mandatory angles. Avoid forcing resistant hairs into a position that requires repeated pressure.
Use short strokes through the hairs rather than pressing a flat painted stripe against the skin. Keep your grip relaxed and adjust the brush angle so a small part of the spoolie reaches the section. Long sweeping passes can catch hairs that point in different directions and move them together as a clump. Pause after a few strokes to see whether the individual hairs remain readable.
If you want a more lifted front, increase that direction locally before changing the tail. Conversely, a softly side-swept brow does not need a vertical starting edge. Arrange the silhouette you prefer while preserving comfortable contact. Do not scrape skin or pull at the hairs to obtain a photographed trend; a slightly less dramatic position can be easier to maintain and repeat on an ordinary morning.
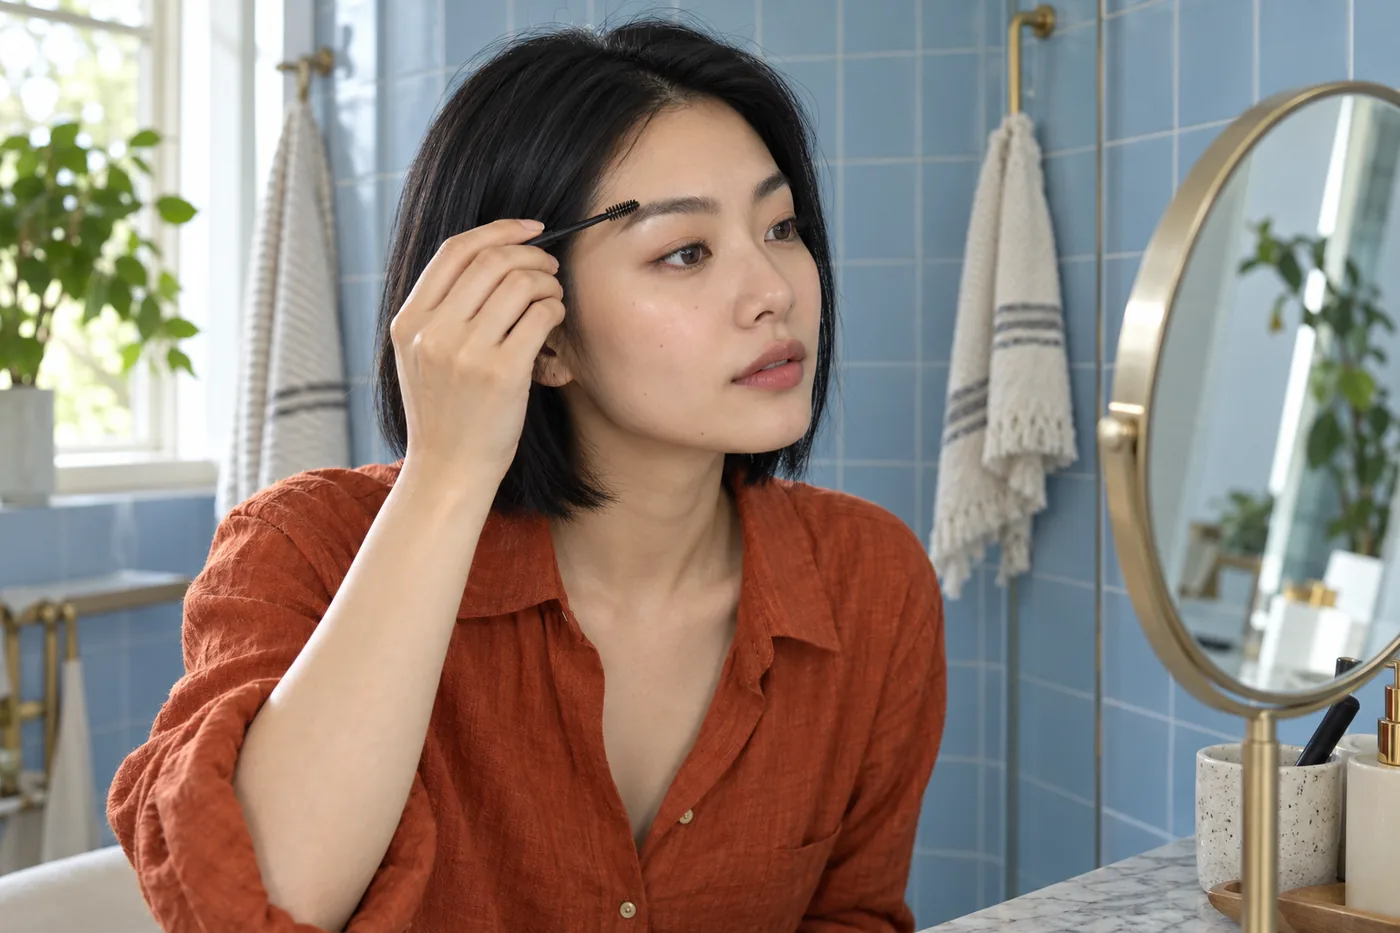
Use tinted gel without building a solid block
With tinted gel, judge pigment and arrangement separately. A darker appearance can come from coating the hairs, staining nearby skin or adding repeated wet layers. Check which one is happening before adding more. If the arrangement is already right but the result looks heavy, another combing pass with the loaded brush may deepen the same problem rather than soften it.
Work especially cautiously near the inner edge and the fine tail, where a small deposit can change the visible outline. You may choose to use only the product left after guiding a denser section. Stop if the brush stops separating hairs and begins drawing a broad mark. A brow can look deliberately defined without becoming one continuous rectangle of pigment from front to end.
A pencil can address a specific visible gap if you want that additional step, but check the gel's instructions about order and compatibility. Do not assume every pencil, powder and gel combination behaves alike. Test a small area and keep other changes limited. If the real question is pencil shade or overall brow shape, resolve that choice separately instead of using extra tinted gel as an all-purpose correction.
Let the film settle before judging the finish
Once the hairs sit where you want them, give the gel the settling time described on its packaging. Avoid touching, pressing or combing the same section continuously while it changes from wet to set. A shiny initial appearance may not describe the eventual finish, and a formula that is already firm may not welcome another pass. Follow the actual directions rather than a fixed timer borrowed from another product.
During the pause, look at the rest of your face. If the brow now seems stronger, you may decide to leave eye or lip makeup quieter; you do not have to intensify everything to match. The linked routine guide can help separate the jobs of each feature. That is a balance decision, not a reason to add a second layer before the first has settled.
Then inspect in ordinary light from a normal mirror distance. Turn your head a little and relax your forehead. Check for a heavy shiny patch, pale residue, crossed hairs or a tail that extends farther than intended. Look at both brows together, then at the specific section that concerned you. A comfortable arrangement with a few natural irregularities is a valid finished result.
Correct one small deposit or restart the affected section
If a little product lands outside the intended brow area, follow its removal directions using an appropriate clean tool and gentle contact. Work on the small mark instead of wiping across the whole brow and surrounding base. Keep liquid and loosened product away from the eye. After the area is suitable for makeup again, decide whether it needs another application at all.
White residue, a rigid clump or repeated lifting can have several causes, including excessive load, an unsettled underlying layer or a combination that does not work well. Do not diagnose the cause from appearance alone. For a later trial, change one controllable variable: less product, a simpler permitted layer sequence or fewer strokes. Avoid diluting the tube with water, oil or another cosmetic.
If the gel has already set into an uncomfortable shape, pulling apart the hairs or scraping the coating is a poor correction. Remove the affected product according to its directions and start smaller when the area is ready. A restart may cost a few minutes but gives you a clearer trial than stacking fresh wet gel onto a troublesome film. Stop entirely if discomfort appears.
Check expression, glasses and the first real wear period
Raise and relax your brows gently, talk and put on the glasses you normally wear. You are checking your actual routine, not testing whether the face can remain motionless. Notice whether a longer hair catches a frame or whether the gel feels tight when your forehead moves. An image that looks tidy straight ahead cannot answer these practical questions.
Review later under conditions you actually encountered: a commute, indoor heat or an ordinary work session. Note what changed and where, without treating one day's result as a universal wear test. If a few hairs move but the overall shape remains useful, you may accept that. If residue appears, record the product amount and layer sequence before deciding what to alter next time.
Do not keep adding gel automatically at every mirror check. A dried film and a new wet coat may interact differently from the initial application. Follow the product's refresh directions, or remove and reapply when appropriate. A simple routine includes a stopping rule: no touch-up merely because individual hairs no longer resemble the moment immediately after brushing.

Remove, store and keep a short repeatable note
At the end of wear, remove the brow cosmetic with a suitable method specified for the product. Allow the remover to do its intended job and use gentle contact rather than rubbing the hairs forcefully. Clean separate reusable brushes as their instructions require, let them dry appropriately and store them protected. Keep the supplied applicator and container in the condition the manufacturer describes.
Save a short practical note: the gel used, whether pencil was underneath, which section received the first contact and what amount proved manageable. Add the one change you would make next time. This is more useful than recording a promise such as perfect hold, because it connects the result to a repeatable action that you can actually control.
You can finish with one brow receiving less product than the other, or with a few hairs left in their familiar direction. Successful application is not compulsory symmetry or an entirely new brow identity. It is a comfortable temporary arrangement, a modest amount of product and a method you can reproduce without repeated corrections. Keep the smallest sequence that does the job you chose at the beginning.