
Eye makeup
Clumpy mascara: a lighter coat, a steadier brush
Find when lashes start joining, adjust the starting brush load and keep the application comfortable with a clear stopping point.

Clumpy mascara often begins with more product on the brush than the lashes can hold separately. The useful first step is to notice when the strands start joining: on the first pass, during another coat, or only when you try to repair a dry layer. Those moments call for different adjustments. A lighter first coat, a steadier brush path and a clear stopping point give you a practical way to investigate without replacing every product in your routine.
You do not need perfectly isolated hairs or a dramatic lash effect. Choose the amount of definition you enjoy, then aim for comfortable application that you can repeat. This guide deals with physical mascara buildup and separation, rather than color choice, lash curling or pigment transferring onto the lid. The editorial photographs illustrate the steps; they are not evidence of a formula test or a promise that any particular mascara will perform the same way.
Locate where clumpy mascara begins
Look closely before adding another coat. If several neighboring lashes join immediately, inspect the starting brush load and the part of the brush touching that area. A large bead at its tip can deposit a thick patch on the shorter inner lashes. If the first pass looks manageable but the next makes the tips stick together, the additional amount or repeated brushing may be the more useful variable. If you see small dry pieces rather than joined hairs, first check whether they are already on the wand. Do not assume every little particle has the same cause.
Keep the observation specific: inner corner, middle lengths, outer lashes or tips. You can notice a dense patch without deciding that the entire eye looks wrong. Step back from the magnifying mirror to check whether the patch matters at ordinary viewing distance. Natural lash spacing is uneven, and a few strands may sit together before makeup. Comparing with clean lashes helps you separate that normal arrangement from a new bridge of mascara. The goal is a controllable layer, not an impossible standard of uniform spacing.
Check the tube before adjusting the technique
Read the product's use, storage and replacement instructions and consider its opening history. Inspect the wand for persistent hardened buildup or an altered texture. A formula that has become dry is not a project for homemade dilution. FDA eye-cosmetic guidance advises against adding water or saliva to dried mascara. It also advises clean application tools and stopping a product that causes irritation. Keep that boundary separate from cosmetic troubleshooting: a lighter coat cannot make an unsuitable or uncomfortable product suitable again.
Keep the tube for your own use, close it after application and avoid using a questionable shared tester on your eyes. If you cannot establish the opening history or have reason to doubt the product's condition, resolve that before experimenting with layering. Appearance alone cannot verify a mascara's safety. For a broader sorting method, consider package information, opening history and condition together. You do not need to adopt a universal monthly calendar from a social post or use the remaining amount as a reason to continue.
Read FDA guidance on eye cosmeticsRead FDA advice on using cosmetics
Reduce the starting load without emptying the brush
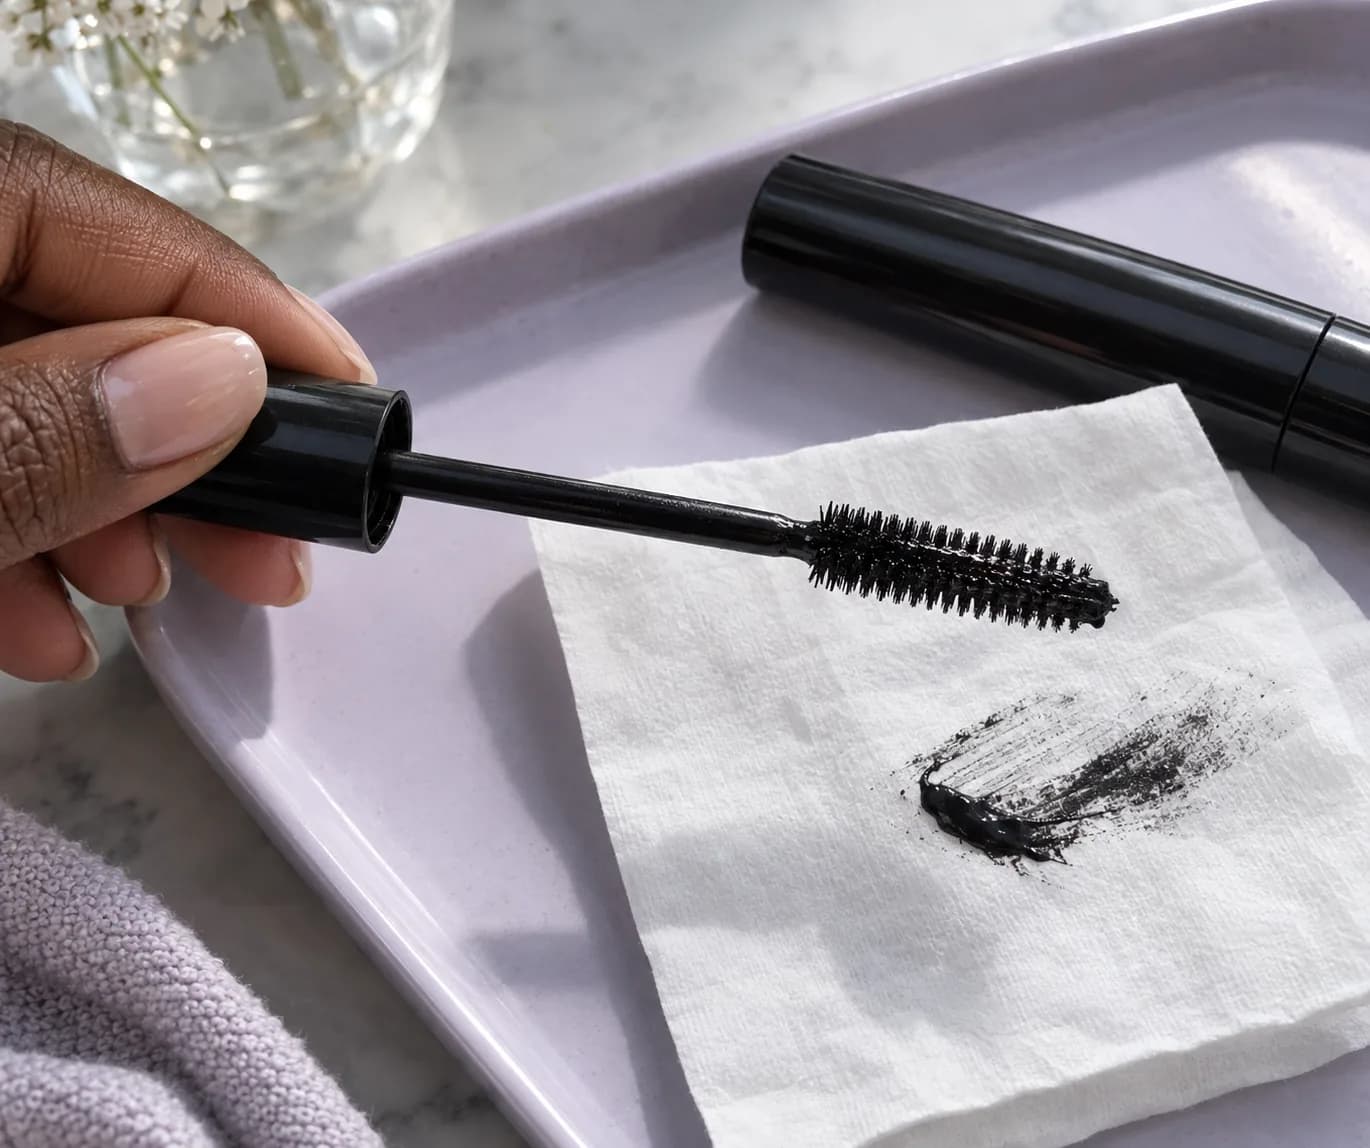
Withdraw the wand steadily through its own wiper and inspect the end before bringing it near your eye. Follow the package directions for this specific applicator. If there is a conspicuous surplus at the tip, a light touch on clean tissue can remove that bead; do not scrape all pigment from every bristle. The aim is a small, distributed load that can still coat the lashes, not a dry brush that drags. Keep tissue fibers out of the bristles and never return a visibly dirty tool to the tube.
Put the wand down briefly if you need to inspect it properly. A rushed cleanup beside the eye makes precise handling harder. When you resume, notice whether the same dense patch still appears on the very first pass. If it becomes smaller after reducing only the tip bead, you have useful information about the amount. If nothing changes, do not keep wiping and reloading indefinitely. Check the angle and stroke next, leaving the rest of your preparation unchanged. One identifiable adjustment is easier to repeat than a collection of tricks performed at once.
Make one steady pass through the upper lashes
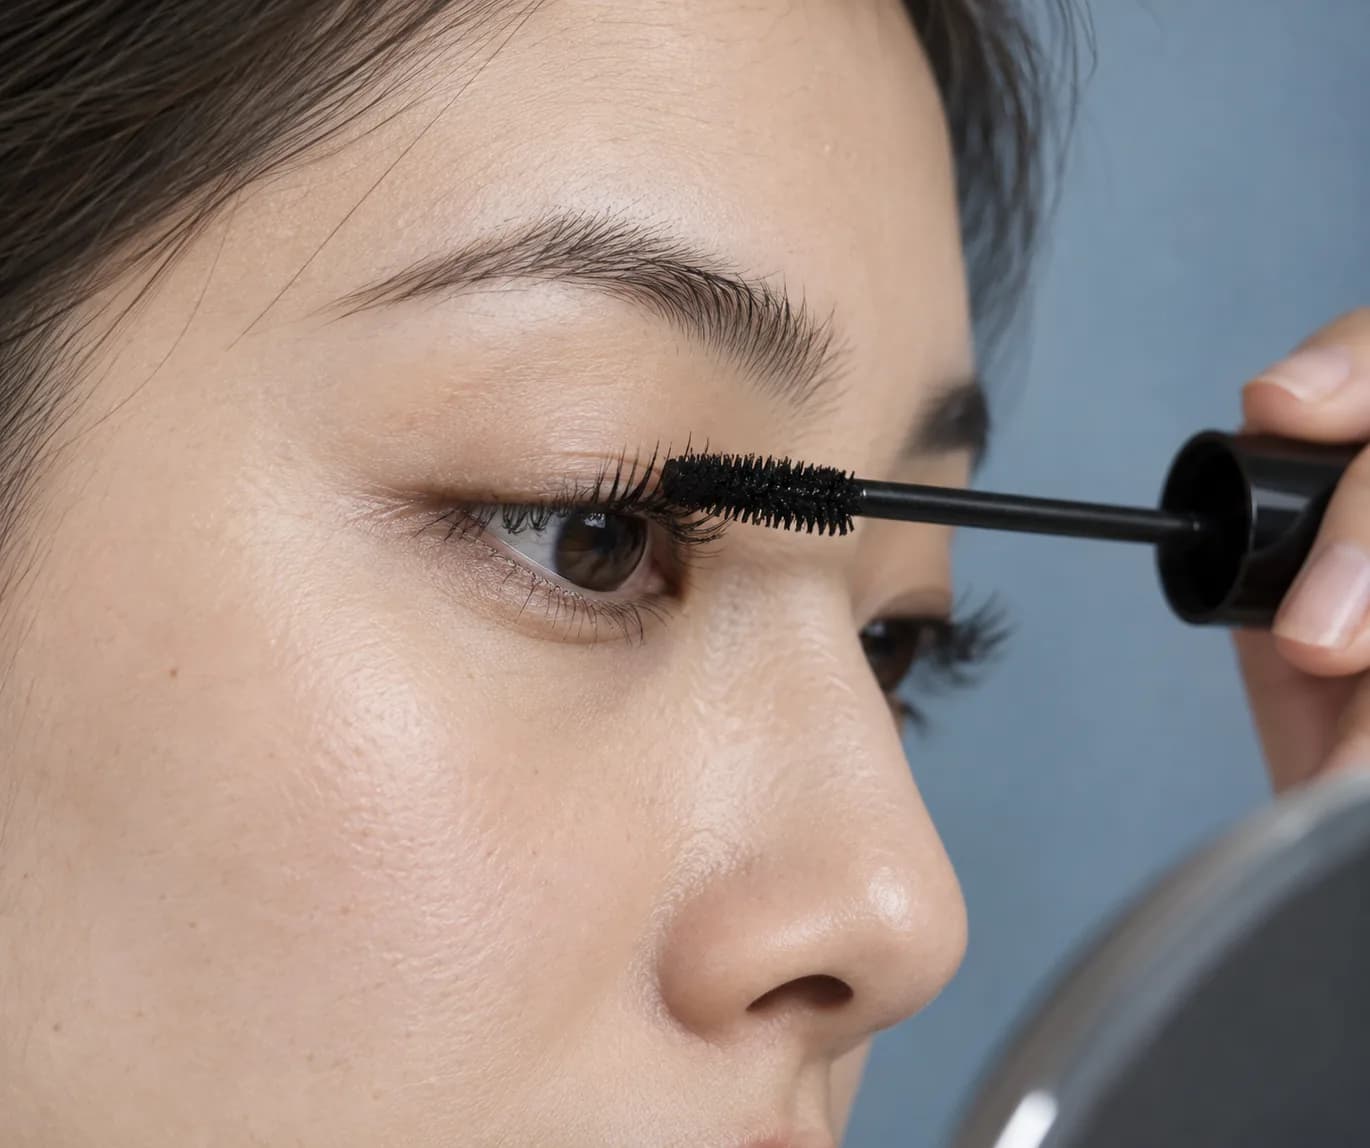
Use a stable mirror, good light and a supported arm. Look slightly downward only as far as feels comfortable and keeps the lash line visible. Bring the brush to the lash hairs without pressing against the eye or pushing into the eyelid. Work outward along the hairs in a small controlled motion. Divide the upper lashes into manageable areas rather than trying to sweep every strand at once. Short inner lashes may need less product and a different brush angle from the longer center section.
Avoid a large sideways motion that gathers several coated strands into one bundle. The right movement depends on your brush and your hand; it should feel controlled rather than energetic. Pause between areas and look at the result before repeating a stroke. If you cannot reach a corner comfortably, leave it lighter. A small area with less pigment often looks more balanced than a thick patch created by chasing every tiny hair. Do not apply while walking, riding in a moving vehicle or trying to hold several tools at the same time.
Decide whether another coat has a useful job
Ask what is missing after the first layer: a little depth at the outer lashes, visible color in one uncoated area, or simply the expectation that mascara always needs several coats. These are different reasons to continue. You can stop when the definition looks sufficient. If the product instructions allow building, add a restrained pass only where you want more pigment. Follow its layering directions rather than assuming every formula accepts the same waiting time or behaves identically when partly set.
Do not keep revisiting the tips simply because they look less dark than the base. Repeated deposits there can make a rounded bead more noticeable without giving the lash line the effect you wanted. Watch how a second pass changes the spacing. If separate hairs immediately start joining, stop adding product and remember that moment for the next application. More strokes are not automatically more precise. An intentional fuller look can include small groups of lashes, but choose that effect deliberately rather than feeling compelled to repair an increasingly heavy layer.
Separate gently only while the layer is workable
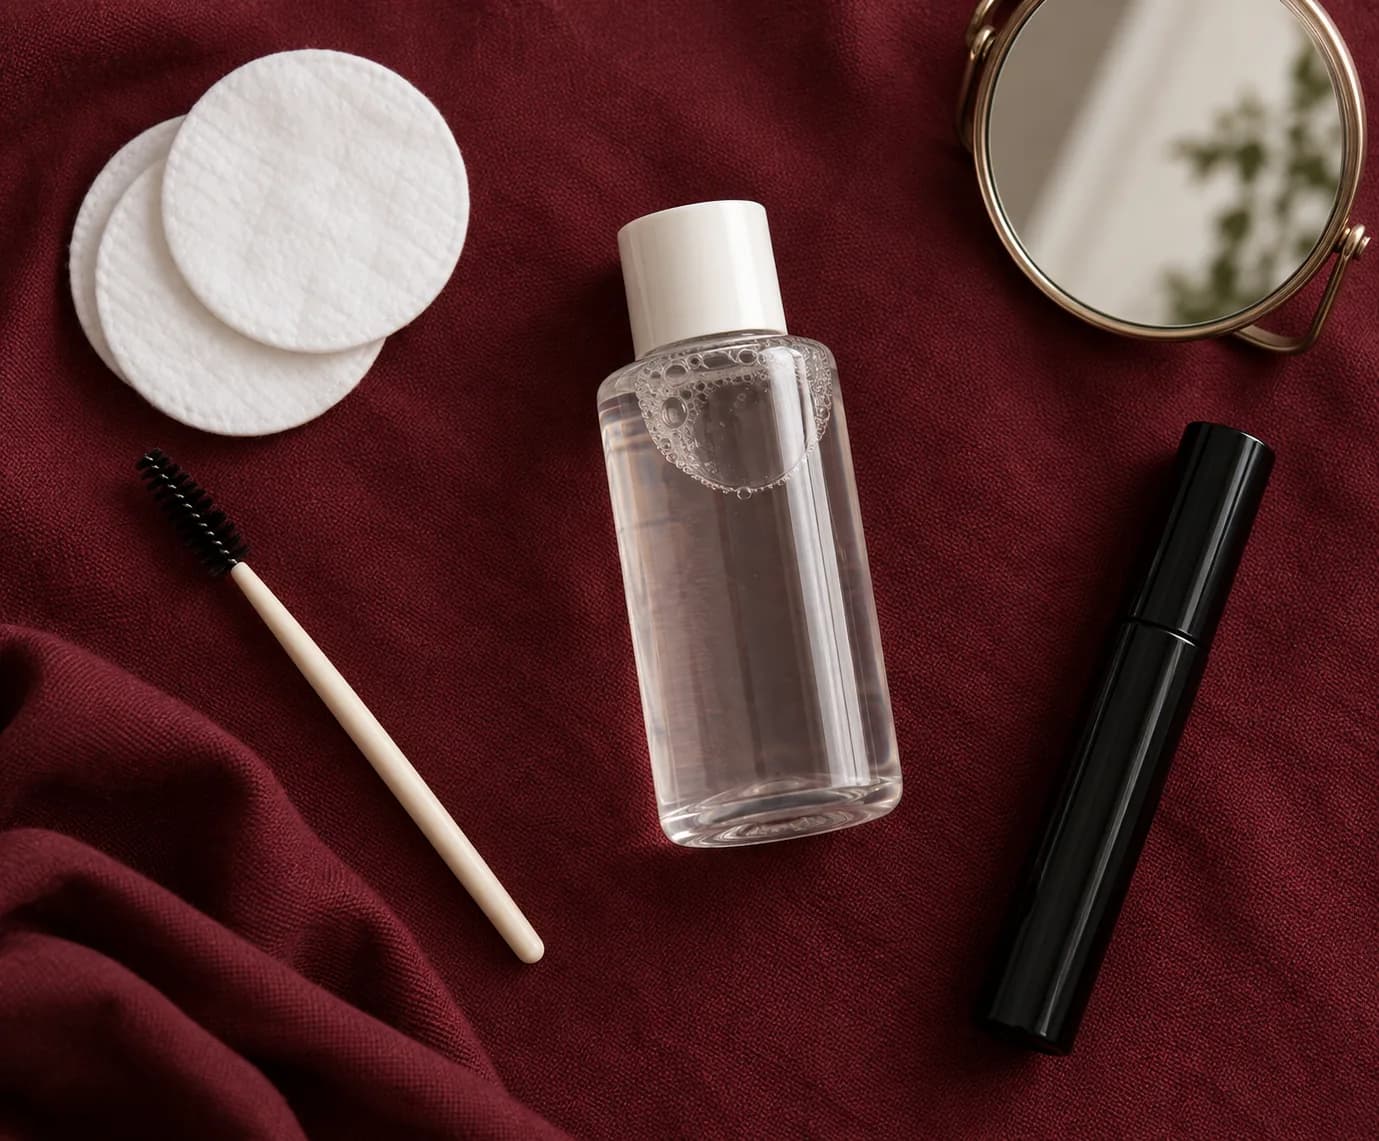
If a small group needs attention, put the loaded wand aside. A clean soft lash spoolie can help guide a still-workable coating along the hair lengths with a light outward pass. Use a tool intended for this area, keep its path clear of the eyeball and stop if it pulls or catches. Do not force a tool between joined hairs. A pin, needle or improvised sharp edge does not become appropriate because a short video presents it as a clever repair.
Once the coating feels hard or brittle, stop trying to comb it into a new shape. More pressure can turn a small cosmetic problem into an uncomfortable session. If the result really needs changing, remove the mascara gently using a suitable eye-makeup remover according to its instructions, then reassess whether to reapply. Allow the remover its instructed contact time and use gentle passes rather than scrubbing the lash line. A quick local adjustment is useful only when it remains controlled; accepting a less perfect finish is also a valid stopping point.
Treat lower lashes and corners as separate areas
Lower lashes may need much less pigment than the upper row. Try leaving them bare first and assess the whole face. If you want definition, use a restrained amount and a brush position you can control, keeping away from the eye. Do not transfer the upper-lash number of strokes automatically to this smaller area. If the brush repeatedly bridges several short hairs, pause rather than painting over the bundle. The simplest improvement may be reducing the area you coat instead of searching for a new formula.
At the inner and outer corners, keep the mirror and your head steady while changing the tool angle. Avoid twisting your neck into a position that makes the hand unsteady. You can work on a few accessible hairs and leave the shortest ones alone. Check the completed upper and lower rows together, since a dense lower patch can make the entire eye appear heavier than expected. If one corner needs more attention than the other, that does not mean both must receive extra coats. Adapt the application to the actual lashes in front of you.
Judge the result in normal light and movement
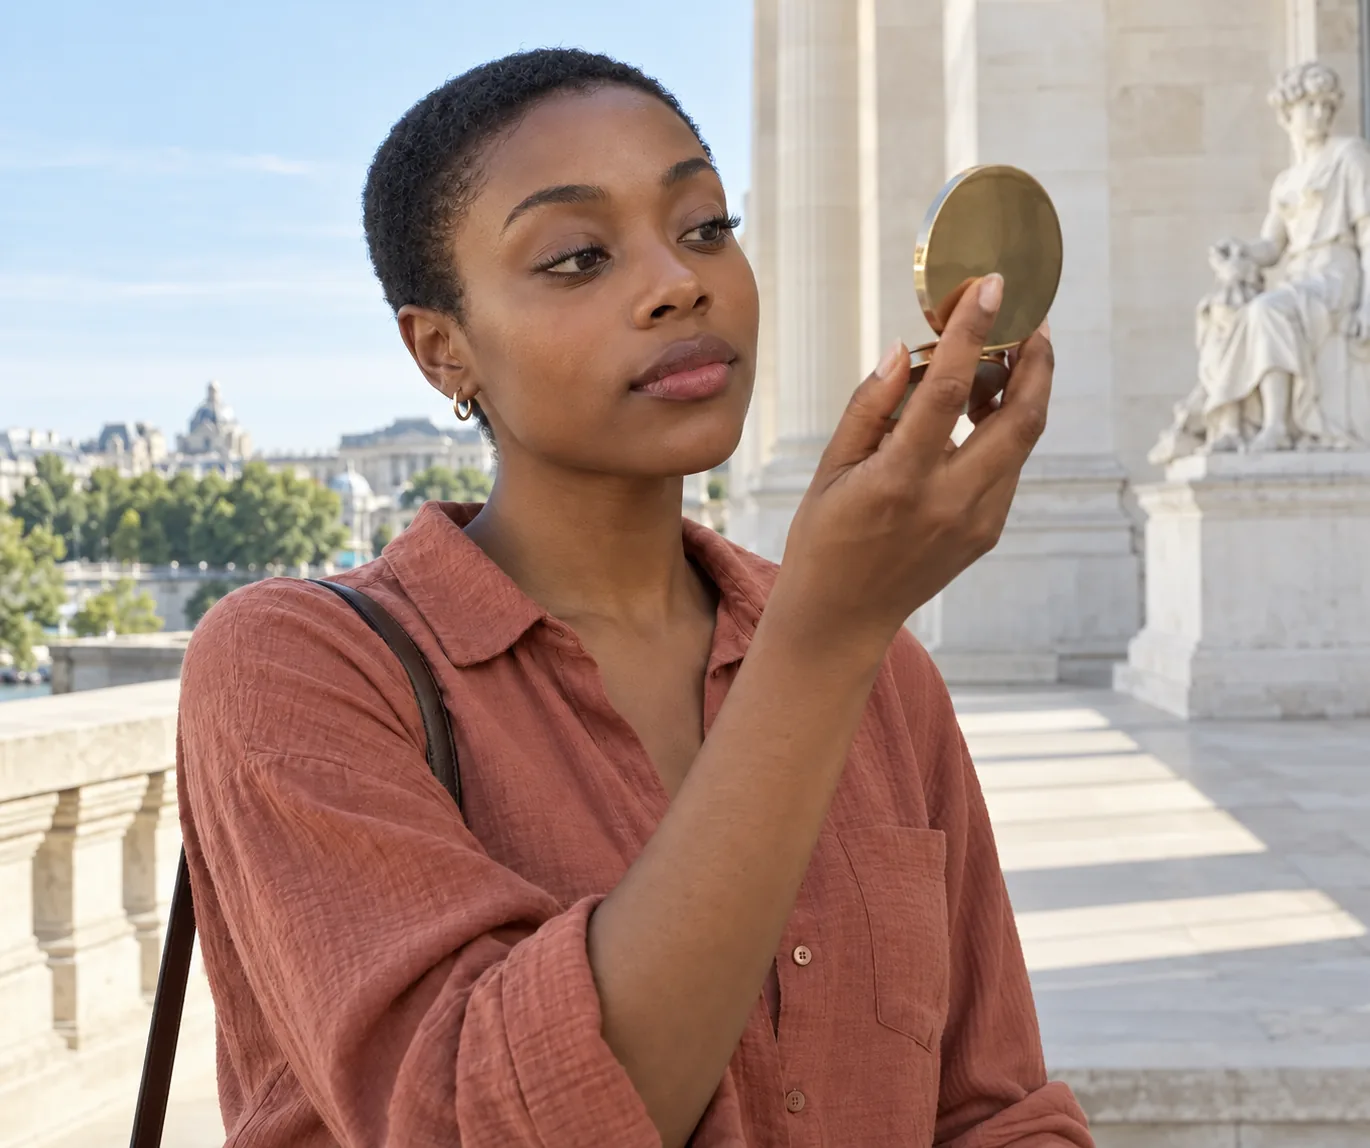
Set down the tools and view both eyes at conversation distance. Look straight ahead, blink naturally and glance gently downward. A magnified close-up is useful for spotting a bead, but it exaggerates small irregularities that may be invisible in ordinary interaction. Check in a familiar indoor setting and, when available, diffuse daylight. Avoid deciding that one formula has failed solely because a high-contrast phone photograph emphasizes every tip. The physical result and your comfort matter more than a perfectly smooth image.
Later, note whether the lashes remain comfortable and whether the original application changes. Joined hairs at the start, flakes later and pigment on the lid are distinct observations, even if more than one happens on the same day. This guide addresses the first; a different troubleshooting question may be needed for later transfer. Do not solve every problem with another coat. If the eye becomes irritated, stop using the product rather than interpreting discomfort as an ordinary stage of setting. A successful routine should be manageable to apply and comfortable to leave alone.
Keep a short record for the next application
Write down the small detail you changed: reduced tip load, fewer passes through the center, lighter inner lashes or no lower-lash coat. Add where the joining began and whether the adjustment changed it. Keep the same familiar preparation and product on the next suitable occasion so the observation stays useful. You are not running a laboratory comparison, and one good morning cannot prove that a formula works for everyone. The record simply helps you avoid repeating the part of your own routine that was difficult to control.
If the same problem persists despite a manageable load and a steady path, consider whether the brush size or product handling suits your lashes. You can choose a different suitable product without treating it as a ranked recommendation or needing a dramatic new look. Read its directions and begin with a restrained trial rather than transferring every habit from the previous wand. End with a clear stopping rule: enough definition, comfortable eyes and no need to keep chasing isolated strands. That gives your next application a practical starting point instead of another round of emergency repairs.