
Eyebrow guide
Free eyebrow mapping guide: balance your natural shape
Map a soft starting point, compare one change at a time, and keep the brow that still looks like yours in real light.
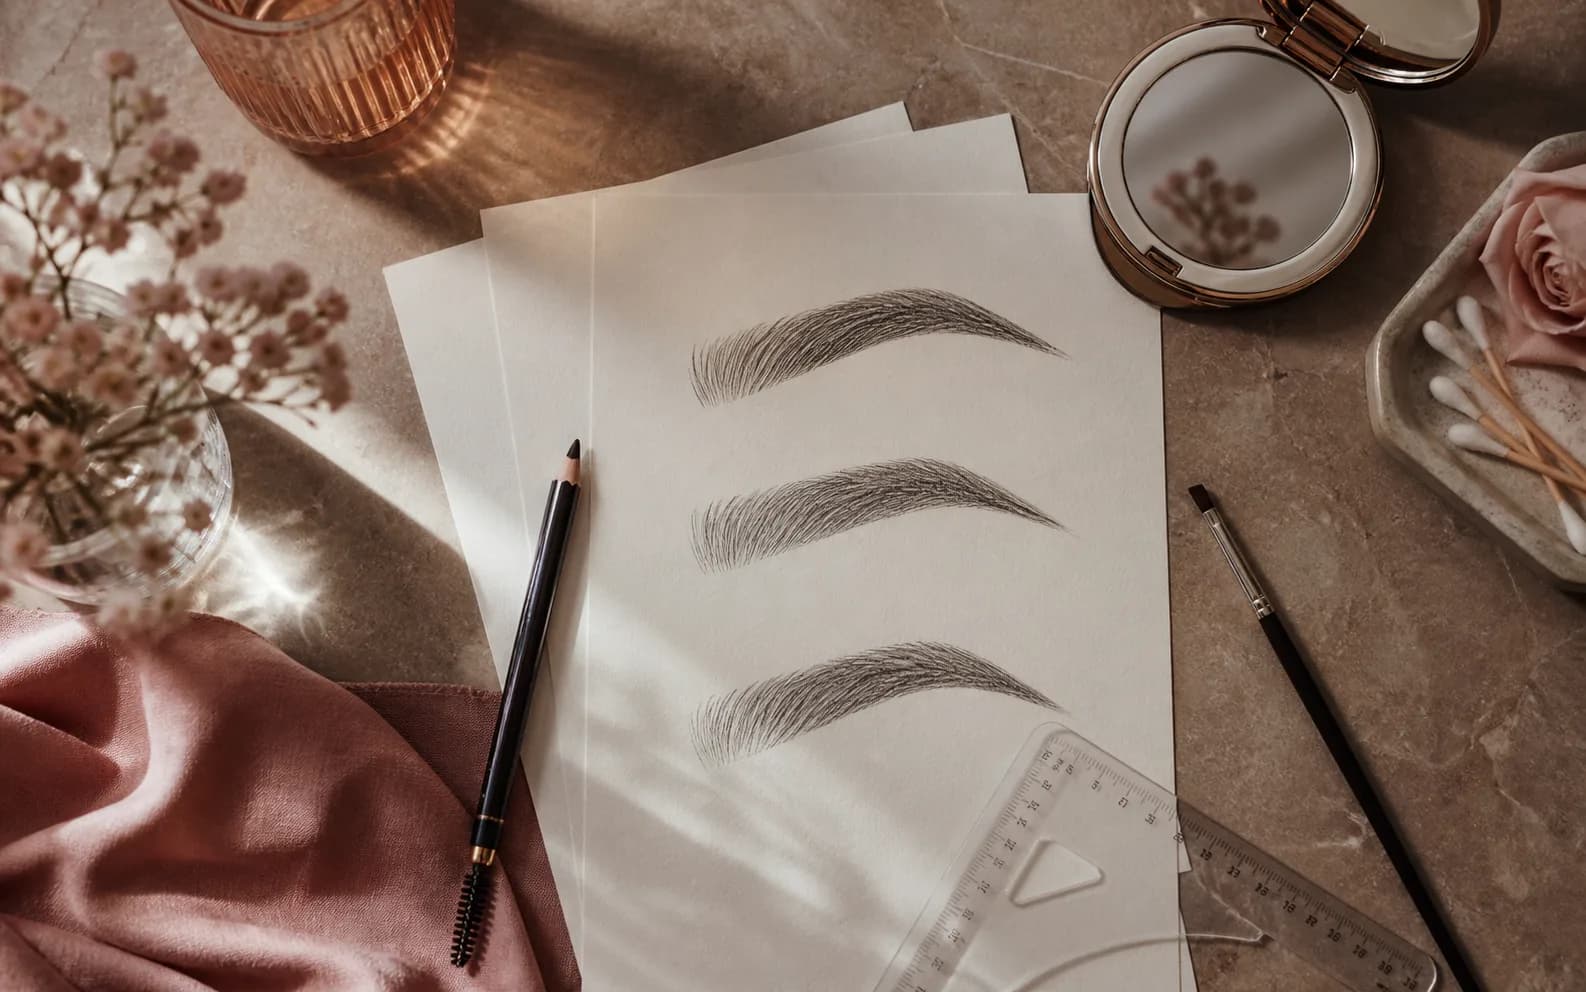
A brow can feel wrong even when every individual line looks neat. The start may be too square, the arch may rise too early, the tail may pull the eye down, or the shade may make a soft face look severe. This free eyebrow mapping guide turns that vague reaction into a reversible comparison. You will observe the natural hair pattern, mark flexible reference points, preview only one variable at a time, and confirm the winner with ordinary brow makeup before making any lasting change.
Mapping is not a mathematical order to make both sides identical. Faces move, brow bones differ, hair grows in different directions, and expression changes the height of each brow. The useful goal is visual balance at conversation distance. MaqAI can help you compare a few directions on one clear portrait, but it cannot prove exact pencil color, hold, texture, skin response, or the result of tweezing, waxing, tinting, lamination, microblading, or another professional service.
Why brows look unbalanced before they look obviously uneven
Brows frame the eyes through several relationships at once: where each head begins, how quickly the lower line rises, where the arch turns, how long the tail extends, how much open space remains above the eyelid, and how dense the color appears. A small change in one relationship can alter expression more than adding a large amount of product everywhere. That is why copying a complete brow from a close-up often creates a polished shape that still feels disconnected from the rest of the face.
Begin with a neutral diagnosis. Brush both brows upward and outward with a clean spoolie, then let the hairs settle. Look straight ahead without lifting the forehead. Note gaps, downward-growing sections, different tail lengths, and areas where the skin naturally shows. Do not decide that every gap needs filling. Negative space can keep a brow airy, while overfilling can turn separate hairs into one heavy block.
Choose a visual objective before choosing a shape. You might want a softer start, slightly more lift, a fuller tail, clearer definition under the arch, or a more even relationship between the two eyes. Write one sentence such as ‘keep the fullness, soften the inner corners, and stop the tail before it drags downward.’ That sentence is a better brief than ‘perfect brows’ because it identifies what should change and what should remain familiar.
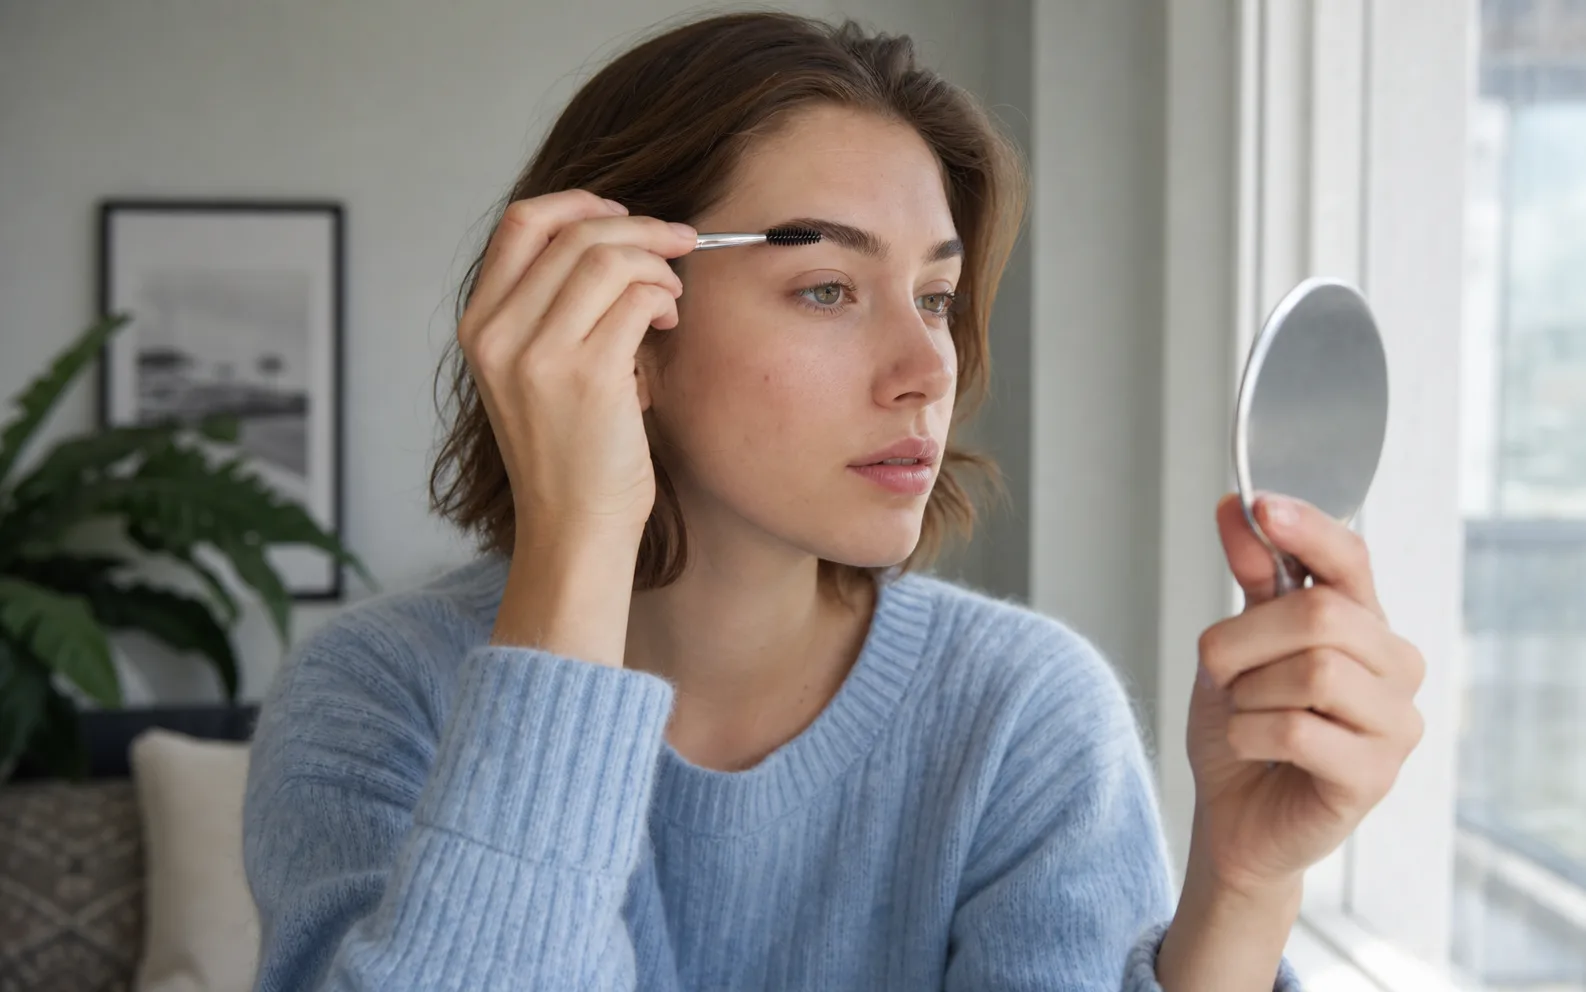
Use the free eyebrow mapping guide as a flexible reference
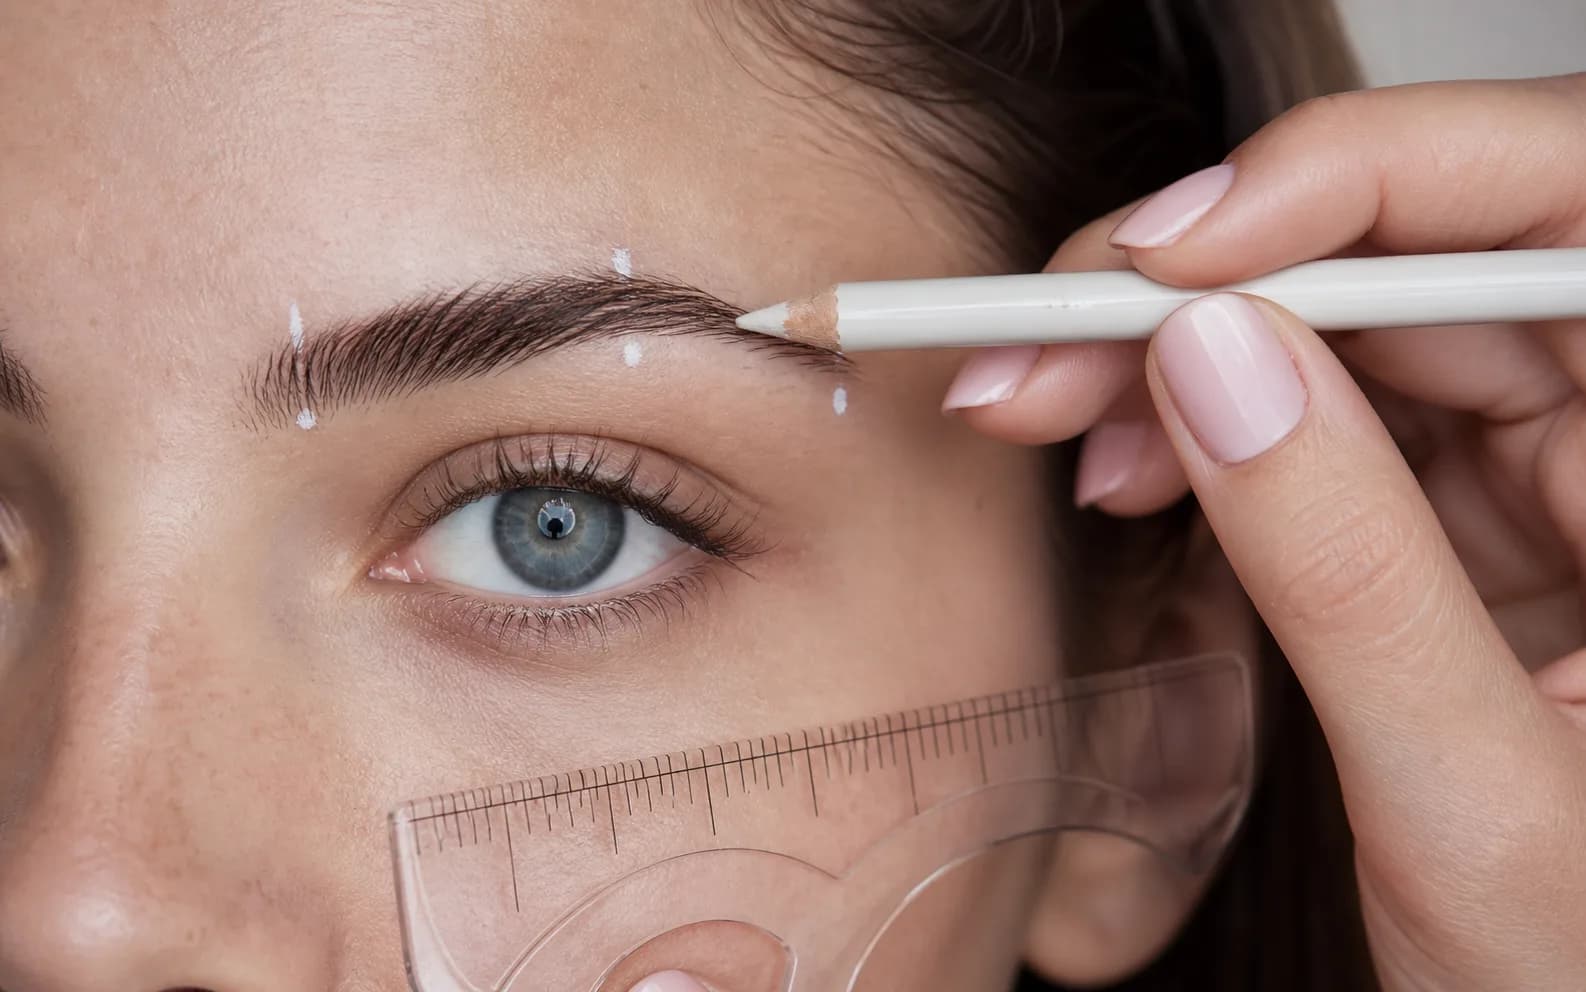
The classic three-point method gives you a starting line, not a verdict. Hold a slim brush vertically near the side of the nose to estimate where the brow head could begin. Angle it through the outer iris area to explore an arch reference, then toward the outer eye corner to estimate a tail. Camera angle, nose width, eye spacing, brow bone, and personal style all influence how those lines read, so treat every mark as a candidate you can move.
Place tiny dots with a pale, removable cosmetic pencil and compare the two sides with your face relaxed. Then smile, speak, and raise the brows normally. A map that looks exact on a frozen face may feel rigid in motion. If one natural brow sits higher, lowering it heavily and raising the other can require too much product. Often the better solution is a smaller adjustment: soften the higher arch, extend the shorter tail slightly, or equalize color weight rather than coordinates.
Keep the first outline inside a conservative range. Follow the existing lower edge through the body, preserve the strongest natural curve, and avoid removing hair while you are still testing. If you are considering tweezing or waxing, fill the proposed shape for several normal days first. Brow hair grows slowly and removal is less reversible than pencil, powder, tinted gel, or a washable marker made for the area.
Separate start, arch, tail and thickness into four decisions
The brow head controls how open or concentrated the center of the face appears. A dense square at the inner corner can create strong definition, while a soft gradient lets the eyes remain the focus. Instead of drawing a vertical border, place the least product at the first hairs and increase density through the body. If the natural heads begin at slightly different positions, compare their visual weight before extending both to a theoretical line.
The arch is a change in direction, not necessarily a sharp peak. Moving it outward can make a brow feel elongated; moving it inward can create a more surprised or angular expression. First test the natural high point with hair direction and a trace of pencil beneath it. If you need several millimeters of opaque product above bare skin to create the desired arch, the idea may look convincing only from one angle and become harder to reproduce.
The tail should complete the eye without becoming the darkest, lowest feature on the face. Check its angle relative to the outer eye and the upper cheek. A tail can be short and lifted, long and soft, or straighter, but it should not depend on a heavy line that vanishes as soon as the face turns. Thickness belongs to the whole silhouette. Add it in small zones rather than outlining a much larger brow and filling every space equally.
Compare natural brow shapes with MaqAI one variable at a time
Use a clear, front-facing portrait in neutral light with the full forehead, both brows, eyes, cheeks, and jaw visible. Keep the expression relaxed and avoid beauty filters. In MaqAI, establish one baseline that resembles your bare or lightly groomed brows. Then create a small set of focused directions: softer heads, a slightly straighter body, a restrained lift, or a fuller tail. Do not change shade, thickness, arch and eye makeup simultaneously.
Keep crop, face, hair, complexion, eye makeup, lip color, lighting, and expression fixed as far as possible. Compare the whole face at normal screen size before zooming into individual hairs. Ask which version supports the expression, leaves enough space around the eye, and feels plausible with your actual density. Save two finalists at most. A large gallery encourages you to compare novelty rather than the specific problem you wanted to solve.
Write a practical note under each finalist: ‘soft taupe, gradient head, keep natural arch, add two millimeters to sparse tail’ is useful. ‘Brow option three’ is not. MaqAI is a planning aid, so inspect the preview for unintended changes to eyes, skin, face shape, hair, or light. Ignore any polish the tool added beyond your request and carry only the brow direction into the next step.
See the focused AI makeup try-on workflowPrepare a stable portrait for comparisons
Choose shade, pressure and finish after the shape
A good outline can still look wrong when the product is too dark, warm, cool, shiny, or opaque. Compare color at the same shape so shade does not disguise a placement problem. Start near the visible undertone of the brow hairs rather than relying only on head-hair color. Blonde, grey, red, brown, and black hair can contain cooler or warmer strands that change what taupe, ash, auburn, neutral brown, or soft black looks like on the face.
Pressure changes color. A fine pencil used with light, hair-like strokes can appear much softer than the same shade pressed into a continuous border. Powder creates a diffused shadow, tinted gel colors and directs existing hairs, clear gel changes shape without adding pigment, and pomade can create a more graphic edge. Choose the behavior that solves the real gap instead of layering every product because a tutorial used them.
Swatch two or three likely shades as thin strokes, not thick blocks, and view them near the face in daylight. Then fill only one sparse zone on each brow and step back. If the brow becomes the first feature you see when that was not your intention, reduce pressure or choose a quieter shade before changing the map. Exact product color and finish must be confirmed on your skin and hair; a screen preview cannot predict either.
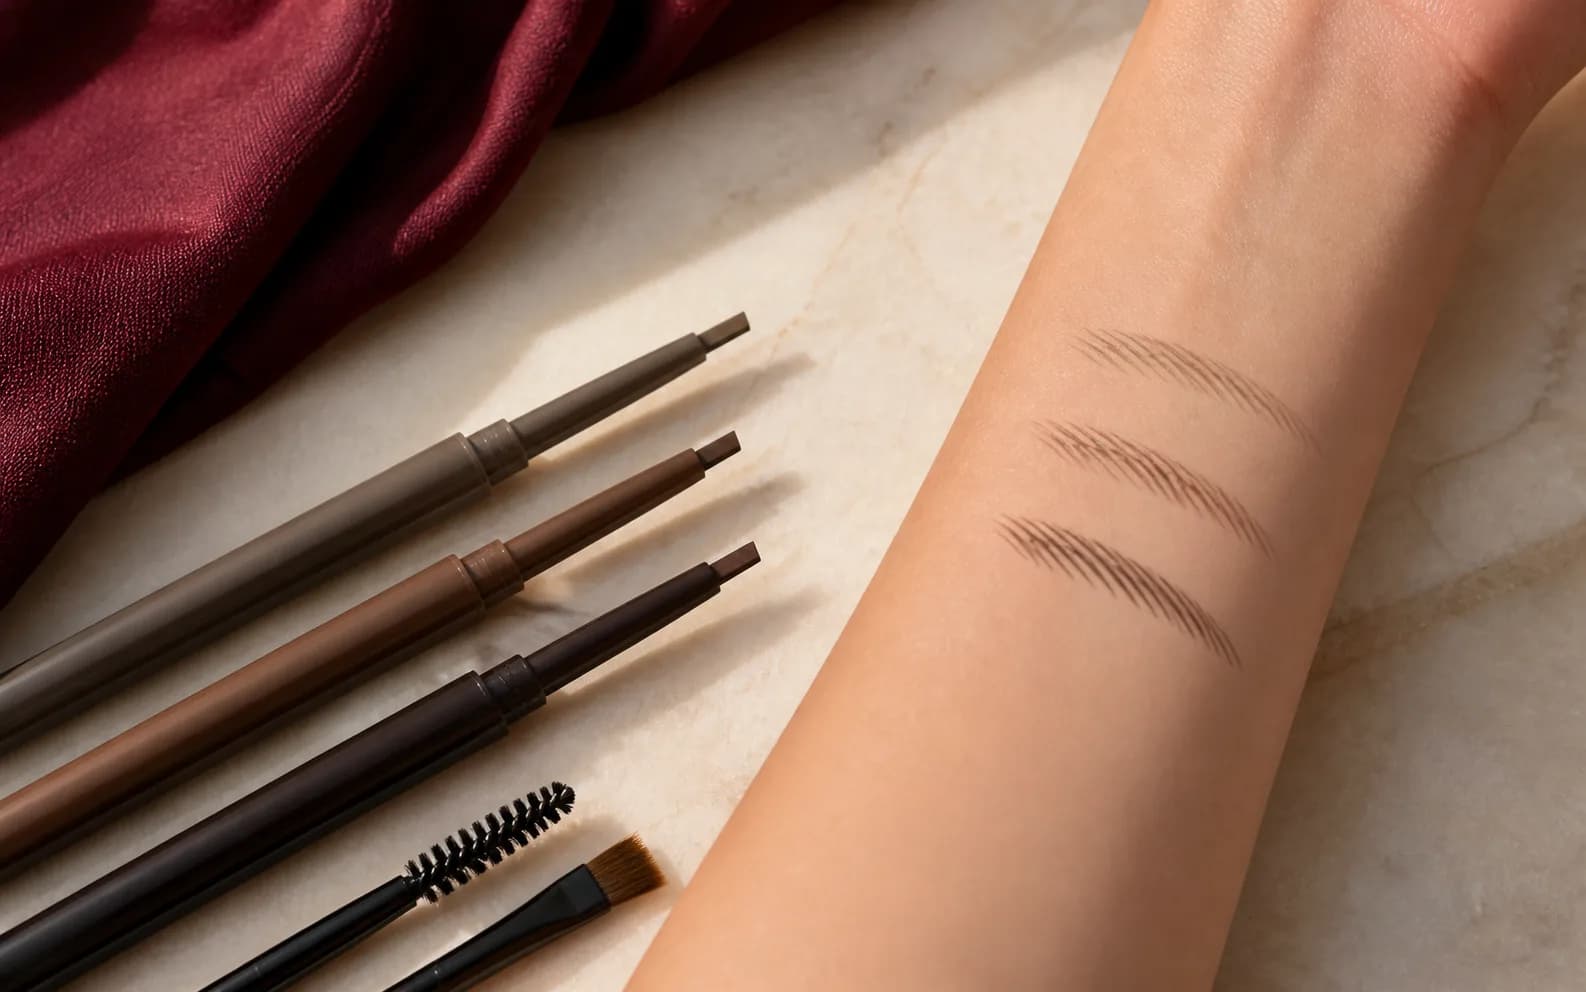
Fill sparse areas without drawing a solid frame
Start with the zone that needs the most information, usually a gap in the body or a short tail. Anchor your hand against the cheek or temple and make short strokes in the direction of growth. Leave small pieces of skin visible between marks. Brush through after every few strokes; the spoolie removes excess, redistributes pigment, and shows whether the underlying shape is already complete.
Keep the lower line tidy but not carved into a single dark stripe. At the head, move mostly upward with little pressure. Through the body, angle strokes outward. Near the tail, reduce both stroke length and width so the shape tapers. If using gel, wipe excess from the wand and work backward only where you need to coat hidden hairs, then smooth them into the chosen direction.
Correct with restraint. A clean cotton bud can soften a misplaced edge; a small amount of base product around the brow can sharpen the result, but a bright concealer halo often makes the map more obvious. Check the brow with eyes open, because placement that looks balanced while stretching or lowering the eyelid may shift when the face returns to its normal expression.
Check movement, distance and real light before deciding
A close mirror rewards detail and can make you add more than anyone sees. Stand at conversation distance and look at both brows together with the eyes, nose, cheeks, lips, hairline, and hairstyle visible. Take one straight photo with the standard camera, then a three-quarter photo. If the tail disappears or the inner corners become heavy only from one angle, adjust the smallest responsible zone.
Move through the lighting you use: window light, bathroom light, work light, and the evening setting if the brows are for an event. Warm bulbs can make an ash shade look flatter; bright cool light can exaggerate edges. A real product may darken as wax and oil warm on the skin, and a gel can relax after several hours. Wear the test before making a purchase or removing hair.
Treat comfort and eye-area safety as part of the result. Use cosmetics intended for the eye area, follow product directions, keep pencils and brushes clean, avoid sharing tools, and stop using anything that irritates. The U.S. Food and Drug Administration publishes practical eye-cosmetic safety guidance; local product rules and qualified professional advice should guide any treatment beyond ordinary removable makeup.
Know when mapping should stop and professional help should start
Home mapping is suitable for exploring removable makeup and conservative grooming. It does not diagnose sudden hair loss, skin disease, infection, allergy, eye irritation, or a medical cause of changing brows. If loss is new, patchy, painful, itchy, inflamed, or accompanied by other symptoms, pause cosmetic experiments and seek appropriate healthcare advice rather than covering the change and guessing.
For waxing, tinting, lamination, threading, microblading, tattooing, or another longer-lasting service, take your map and photos to a qualified provider. Explain which parts of the natural brow you want preserved, how much daily maintenance you accept, and which finalist looked best in real light. Ask about training, hygiene, ingredients, contraindications, patch testing where relevant, healing, aftercare, correction, and the realistic range of results.
The record is simple: one unedited baseline, two controlled previews, one real makeup test in several lights, and a short recipe listing start, arch, tail, thickness, shade, tool, pressure, and hold. That record lets you repeat the brow or communicate it clearly. The aim is not perfect symmetry. It is a believable shape that supports your expression and remains manageable after the novelty of the map is gone.
Map with removable color, compare at normal distance, and make the least permanent decision last.