
Makeup bag
Clean a makeup bag without soaking the wrong material
Check the material, lift loose powder, clean as directed and dry every pocket before repacking cosmetics.
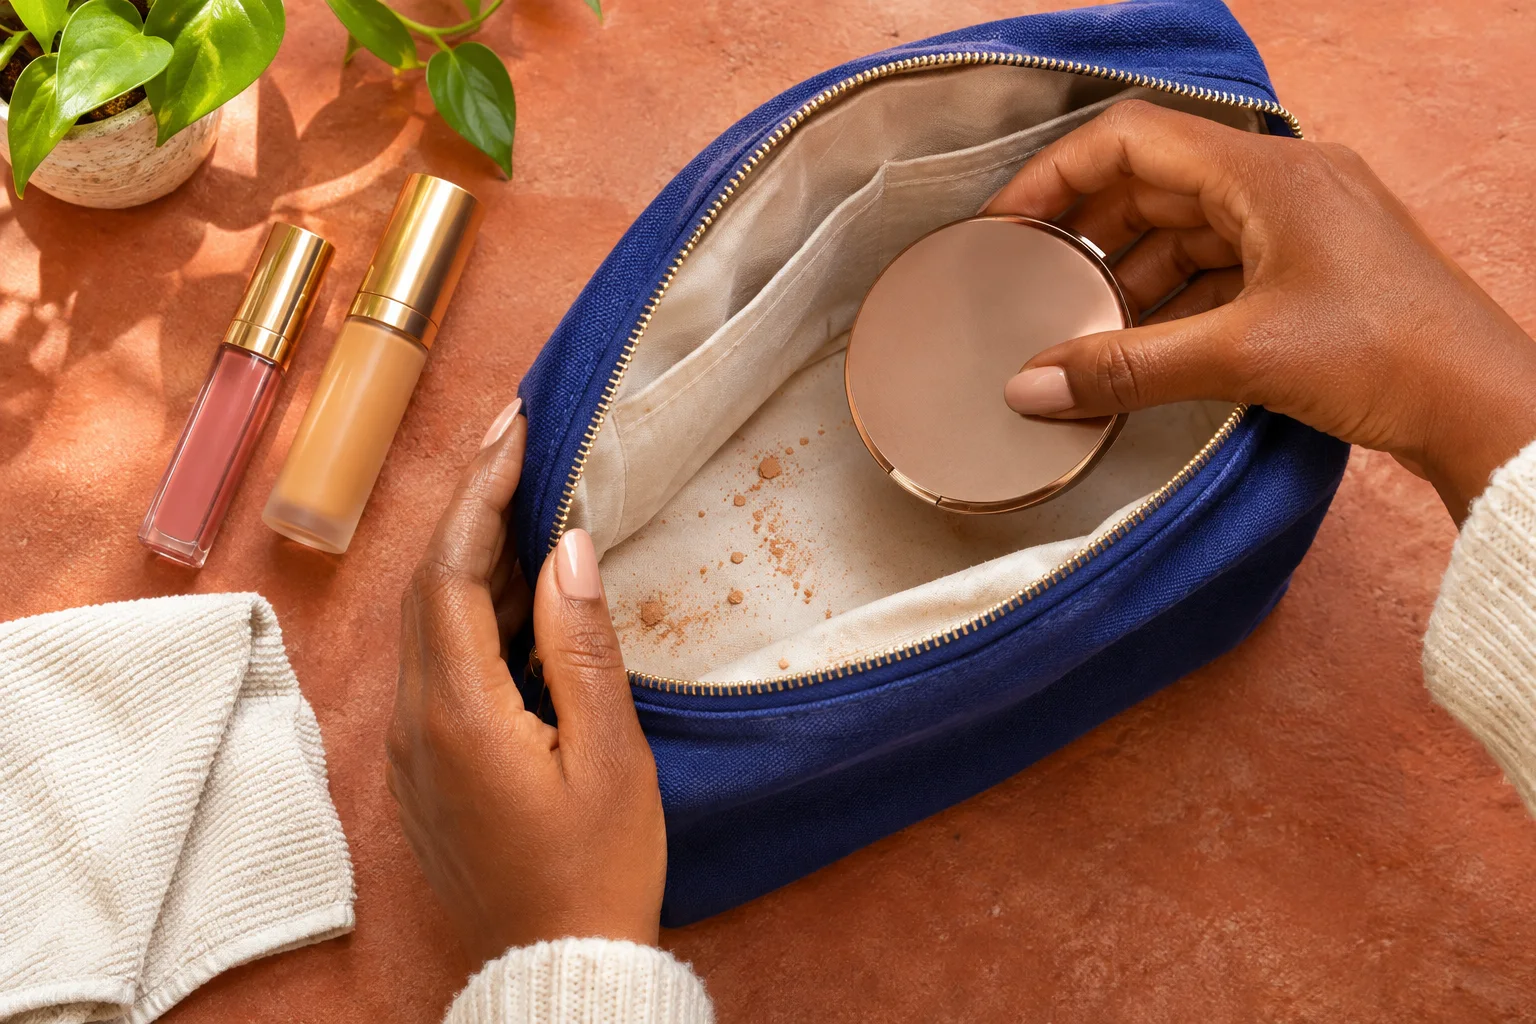
Clean a makeup bag by emptying it first, checking its care instructions and choosing a method for its actual lining and outer material. A washable fabric pouch, a coated case and a bag with a cardboard insert cannot automatically share the same treatment. Remove loose debris before introducing moisture, clean only as the model allows, and let every pocket dry before packing cosmetics again. The aim is a usable, well-maintained container, not a promise of sterilization or a spotless original color.
MaqAI publishes this practical guide for a personal makeup routine. You can complete it with the bag in front of you and the manufacturer's instructions; an app is not needed to decide whether a fabric tolerates water. Set aside enough drying time, a clean work surface and a temporary place for your products. If you need the bag immediately afterward, postpone any wet cleaning until it can stay open and empty.
Clean a makeup bag according to its construction
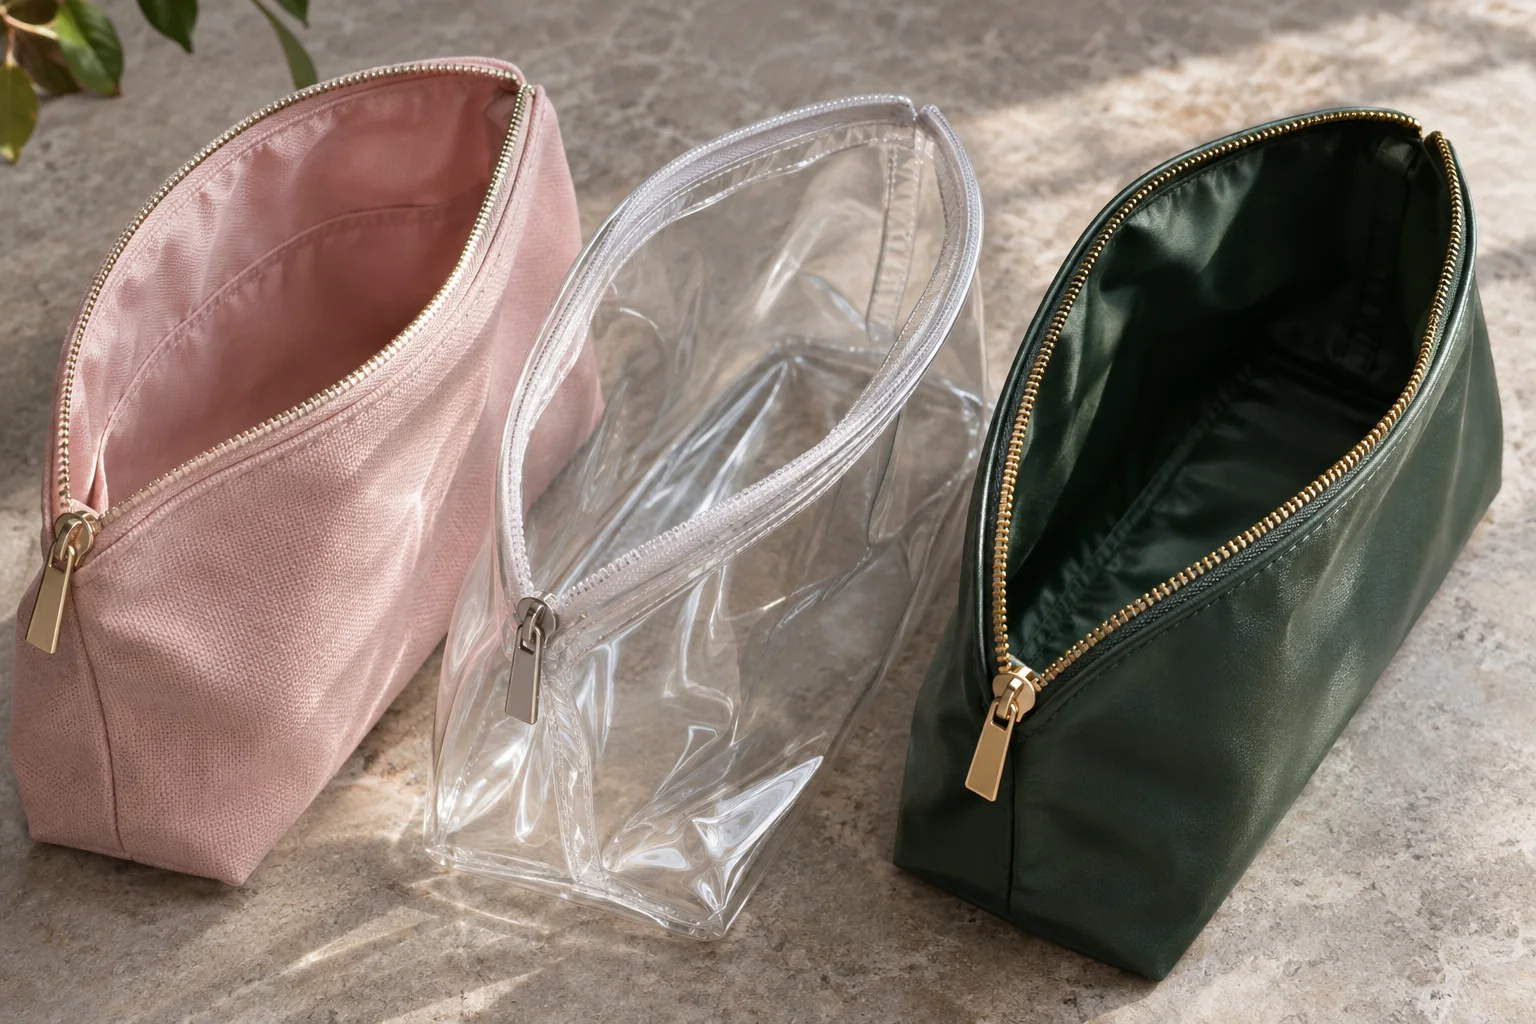
Find the care label or model-specific instructions before selecting a cleaner. Look at the outside, lining, seams, padding, zipper and any removable insert. A water-resistant interior does not make every seam waterproof or the whole bag machine washable. A rigid base may conceal a material that should not be saturated. Photograph how dividers fit before taking out parts that are explicitly removable, and avoid pulling a fixed lining away from its seams.
If you cannot identify the material or permitted treatment, begin with dry debris removal and ask the manufacturer about the exact model. Do not use a household washing symbol from a different bag as a substitute. The Samsonite product-care guidance illustrates why care varies between constructions. Your own bag's directions take priority. Leather, delicate decoration, glued layers and coatings may need a different approach from a simple unlined textile pouch.
Empty every pocket onto a clean surface
Remove everything, including small pencils, spare applicators and products tucked beneath dividers. Work over a tray or towel so a loose cap cannot roll onto the floor. Close containers that are intact and keep them away from the cleaning area. Put leaking or damaged packages in a separate place for inspection rather than returning them automatically when the bag looks better. Cleaning the container does not repair a broken hinge, cracked bottle or loose lid.
Open each pocket and check its corners with adequate light. If you find broken glass or another sharp object, stop using bare fingers to search through the lining and deal with the damage appropriately. Separate used tools from clean products. A damp sponge needs its own care and drying space; it should not wait inside a temporary sealed pouch while you wash the bag. Do not tip loose makeup back into its original container, even if you recognize the color.
Lift loose powder before using a damp cloth
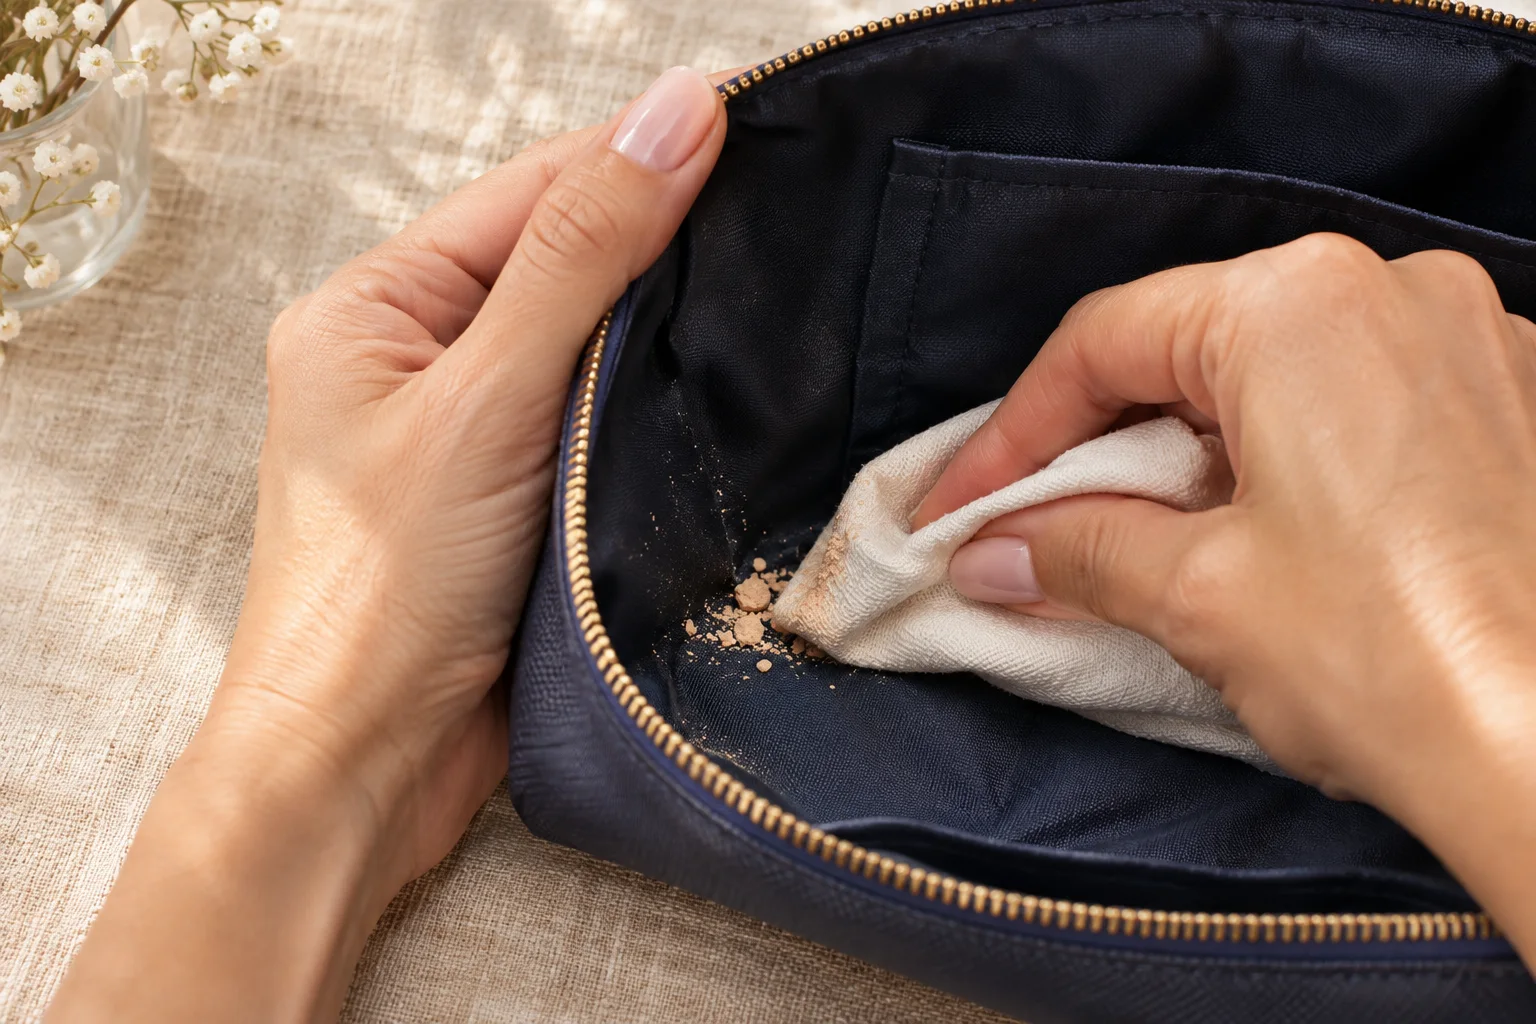
With the contents removed, hold the opening over a waste container and gently release loose crumbs if the bag's construction permits. Support the seams instead of snapping or violently shaking the pouch. Use a soft dry cloth to collect remaining powder from accessible corners. Work from the cleaner area toward the debris so you do not spread a streak of pigment across the entire lining before it has been lifted.
Do not grind powder into the fabric with a stiff brush. Avoid scraping the zipper teeth with metal tools or pushing into a hidden layer you cannot inspect. Check a removable divider separately, keeping its orientation clear. Dry removal may already solve an ordinary loose-powder problem without any washing. If a mark remains, identify whether it is loose residue or an absorbed stain before increasing the treatment. A darker patch does not always indicate material still sitting on the surface.
Test the permitted method in a small area
If the instructions allow spot cleaning, choose an inconspicuous area and use only a compatible method. Apply a small amount to the cloth rather than pouring liquid straight into the bag, unless the maker directs otherwise. Watch for color transfer from the bag itself, loss of gloss, tackiness or a change in texture. Allow the test area to dry before deciding that the surface has tolerated the treatment; a wet patch can hide a change in finish.
Do not combine cleaners, add perfume to cover an odor or assume that a makeup remover is suitable for a coating because it removes foundation from skin. Alcohol, bleach, solvents and abrasive products can be inappropriate for particular materials. An instruction to wipe clean is not permission to soak. If the test changes the finish, stop and ask for model-specific advice. Keeping a faint old stain is preferable to dissolving a lining or damaging a closure merely to achieve a uniform color.
Wipe an approved lining in small sections
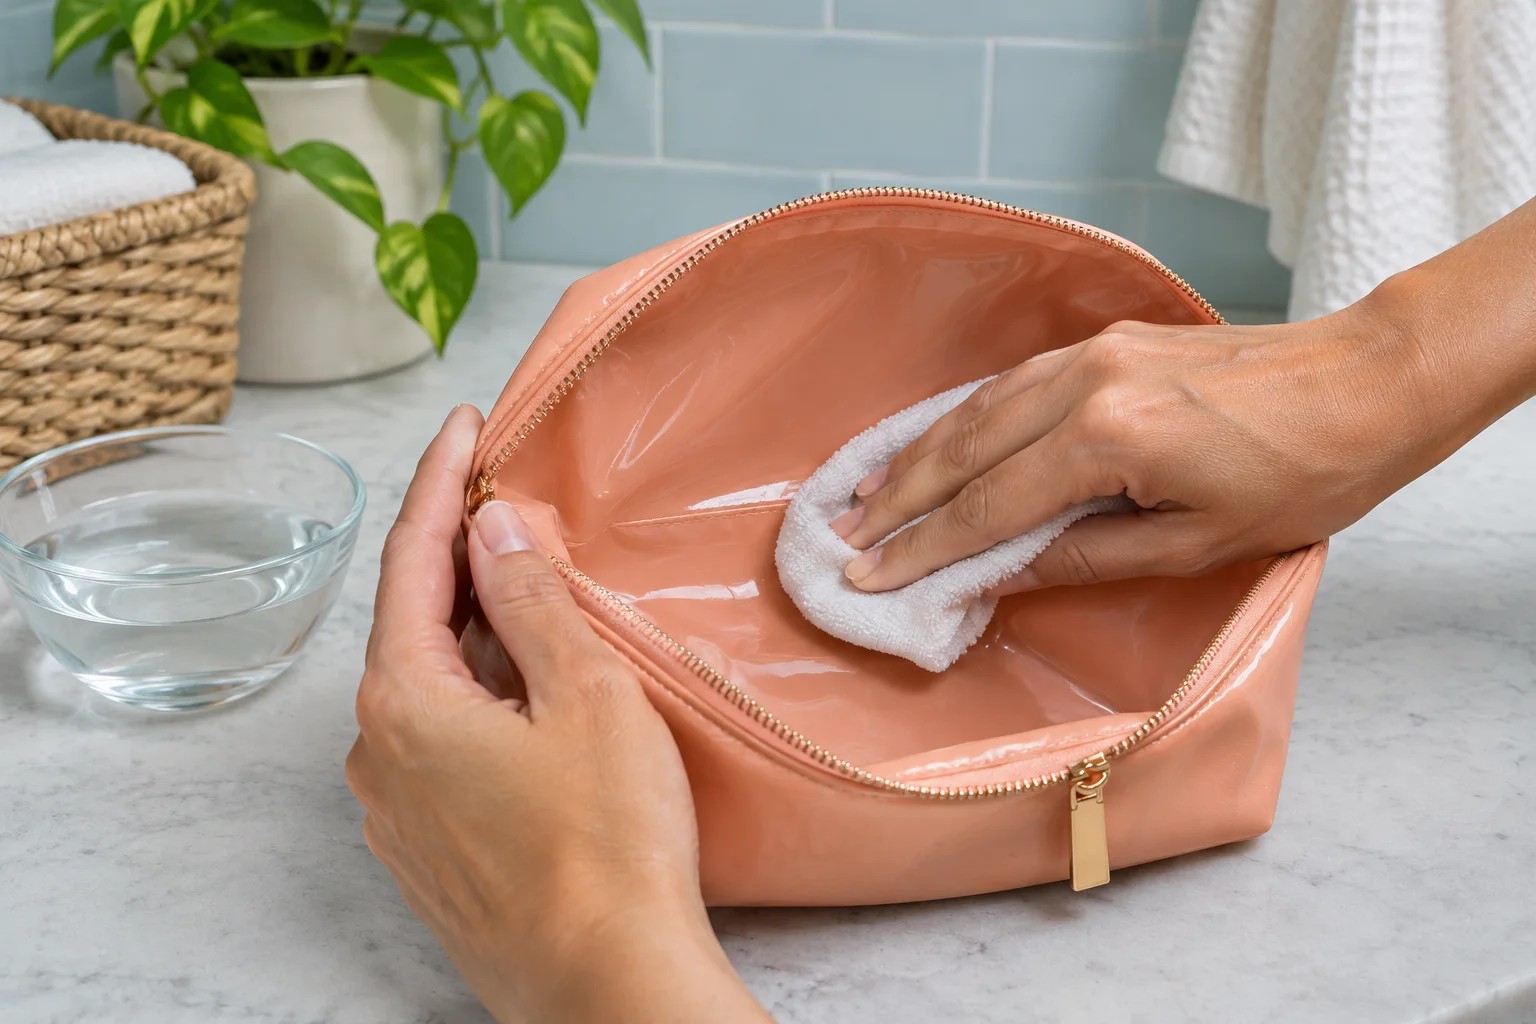
For a bag whose directions permit a damp wipe, use a well-wrung soft cloth and support the surface with your other hand. Clean a small section, inspect the cloth, then move to a clean part before continuing. This avoids carrying lipstick or foundation from one corner through every pocket. Keep moisture away from components the manufacturer excludes, and do not flood a seam to reach pigment buried beneath it.
Remove any cleaning residue as the instructions require, using a separate clean cloth where appropriate. Check the rim, zipper tape and handles without forcing the zipper across trapped debris. If a detachable insert has different care directions, treat it separately. Do not take this wipe-clean example as a washing recipe for every makeup pouch. A model that explicitly allows hand or machine washing should follow its own directions for temperature, cycle, detergent and drying, including any preparation for removable parts.
Let the whole bag dry before judging the result
Leave the bag open with pockets accessible in a clean, ventilated place appropriate for its care instructions. Support its shape without stretching the seams. Keep wet surfaces away from cosmetics and clean brushes. Avoid a heater, hair dryer or strong sun unless the manufacturer specifically permits that method. Faster surface drying does not prove that padded corners, zipper tape or an insert are dry all the way through.
Check the deepest pocket and the underside of any permitted removable part before reassembly. There is no universal drying time for different materials and room conditions. Use the actual condition of the bag, not a fixed countdown. If it still feels damp or has an unexplained persistent odor, do not conceal that by closing it and adding scented products. Leave it empty while you investigate the cause. A bag with damaged coating, trapped moisture or unmanageable residue may need repair or replacement rather than another stronger cleaner.
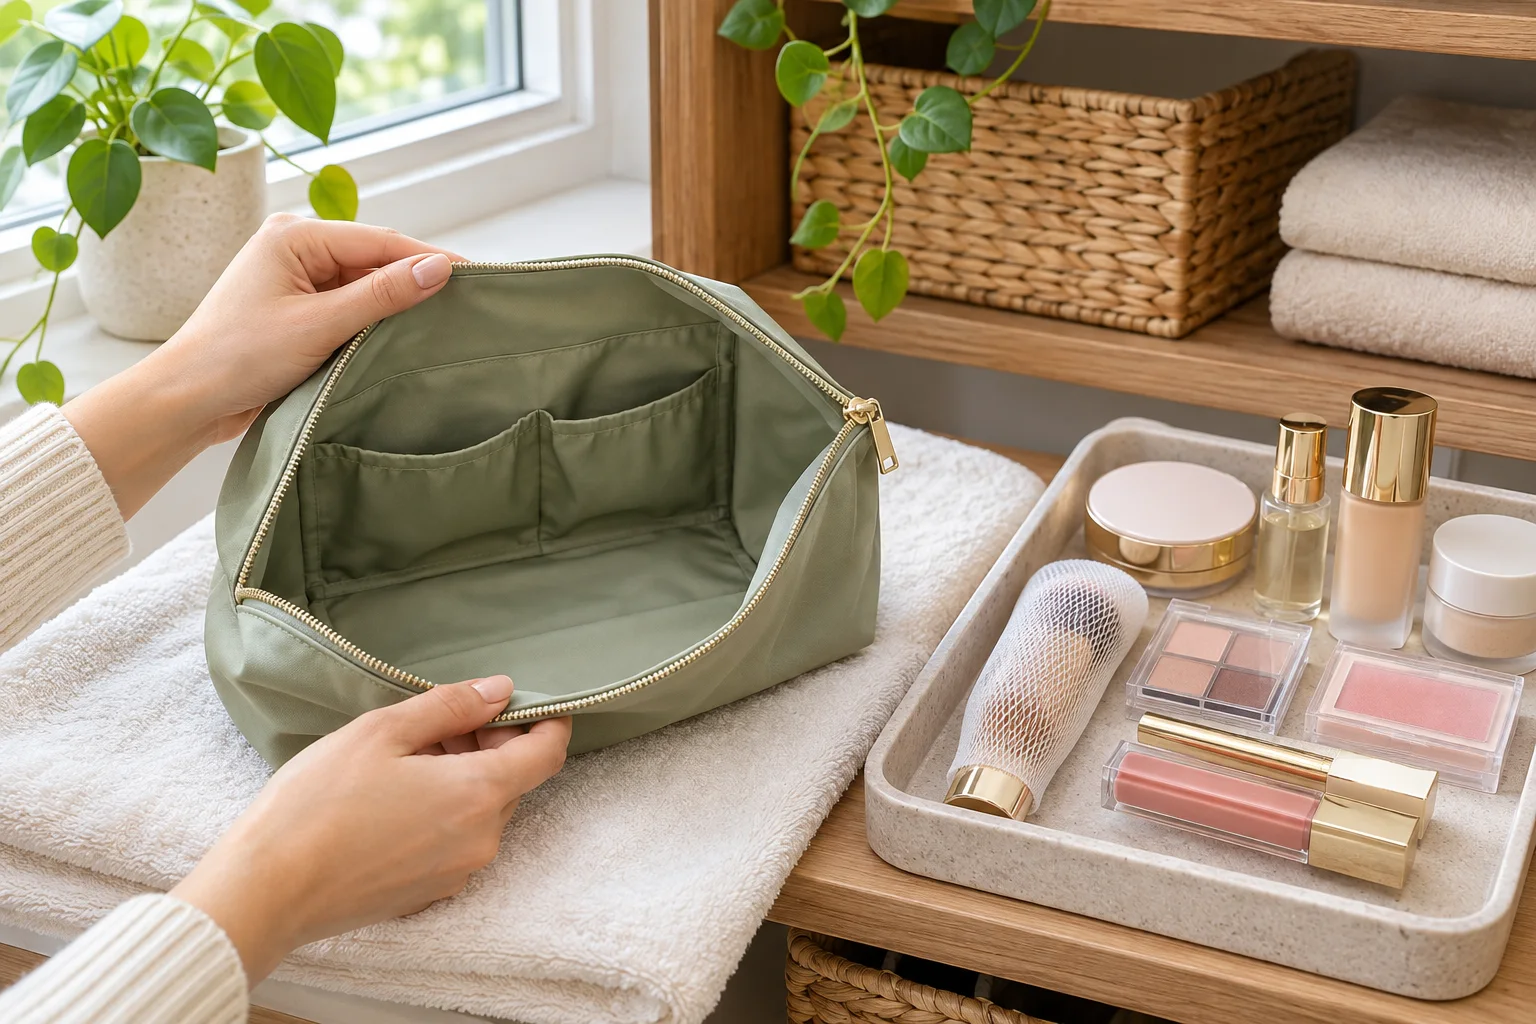
Review the products before packing them again
Inspect package edges and lids while they are outside the bag. Remove exterior residue only in a way compatible with the packaging, keeping liquid away from openings. Do not wash a palette or mascara tube in the sink along with the pouch. Set aside products with a damaged seal, uncertain history or a concerning change in condition for their own assessment. A clean container does not make an unsuitable cosmetic usable again.
The FDA cosmetic-handling guidance supports following product directions and keeping containers properly closed. Keep this separate from deciding how to clean the bag. Tools have their own materials and care routines too: our makeup-sponge cleaning guide covers washing and open drying for an appropriate reusable sponge. Finish that process separately. Repacking only dry, appropriately maintained items prevents the freshly cleaned lining from immediately receiving wet tools or leaking color.
Repack with enough space to see what is happening
Return products only when the bag and contents are dry. Keep caps secure and place items so the zipper closes without pressing against a palette hinge or pencil tip. Separate applicator heads from loose cosmetic packaging with a suitable clean holder. Do not compress a damp brush into a sealed sleeve simply to fit everything back inside. The space available should guide the number of products rather than forcing the case to stretch around them.
Group the items you actually use for a routine and leave seldom-used extras elsewhere in suitable storage. Our travel makeup capsule guide can help narrow that selection when you are packing for a trip. You do not need a larger collection to justify a clean bag. A visible, manageable set makes a loose cap, powder spill or damaged closure easier to notice before it spreads residue into several pockets.
Build a maintenance cue around real use
Choose a simple occasion to inspect the bag: after a trip, after noticing a spill or while changing the products you carry. Look for loose powder, leaking closures and moisture rather than treating an arbitrary calendar interval as proof that everything remains clean. Empty the affected pocket when you notice a problem, keep its contents apart and repeat the material check before applying a cleaner. Spot maintenance can be brief when it begins before residue spreads.
Record any care instruction you had to look up so you can find it next time. If an old stain remains on otherwise intact material, distinguish its appearance from an ongoing spill. Do not escalate to a stronger treatment just because the original color has not returned. A useful result is an intact, dry bag with accessible pockets, sound closures and appropriately stored products. Keep that practical endpoint in view, and cleaning becomes a repeatable part of the makeup routine rather than a search for an impossible like-new finish.