
AI makeup guide
What is AI makeup try-on—and what can it actually show?
Understand what a generated beauty preview can clarify, what it cannot prove, and how to turn the image into a better decision.
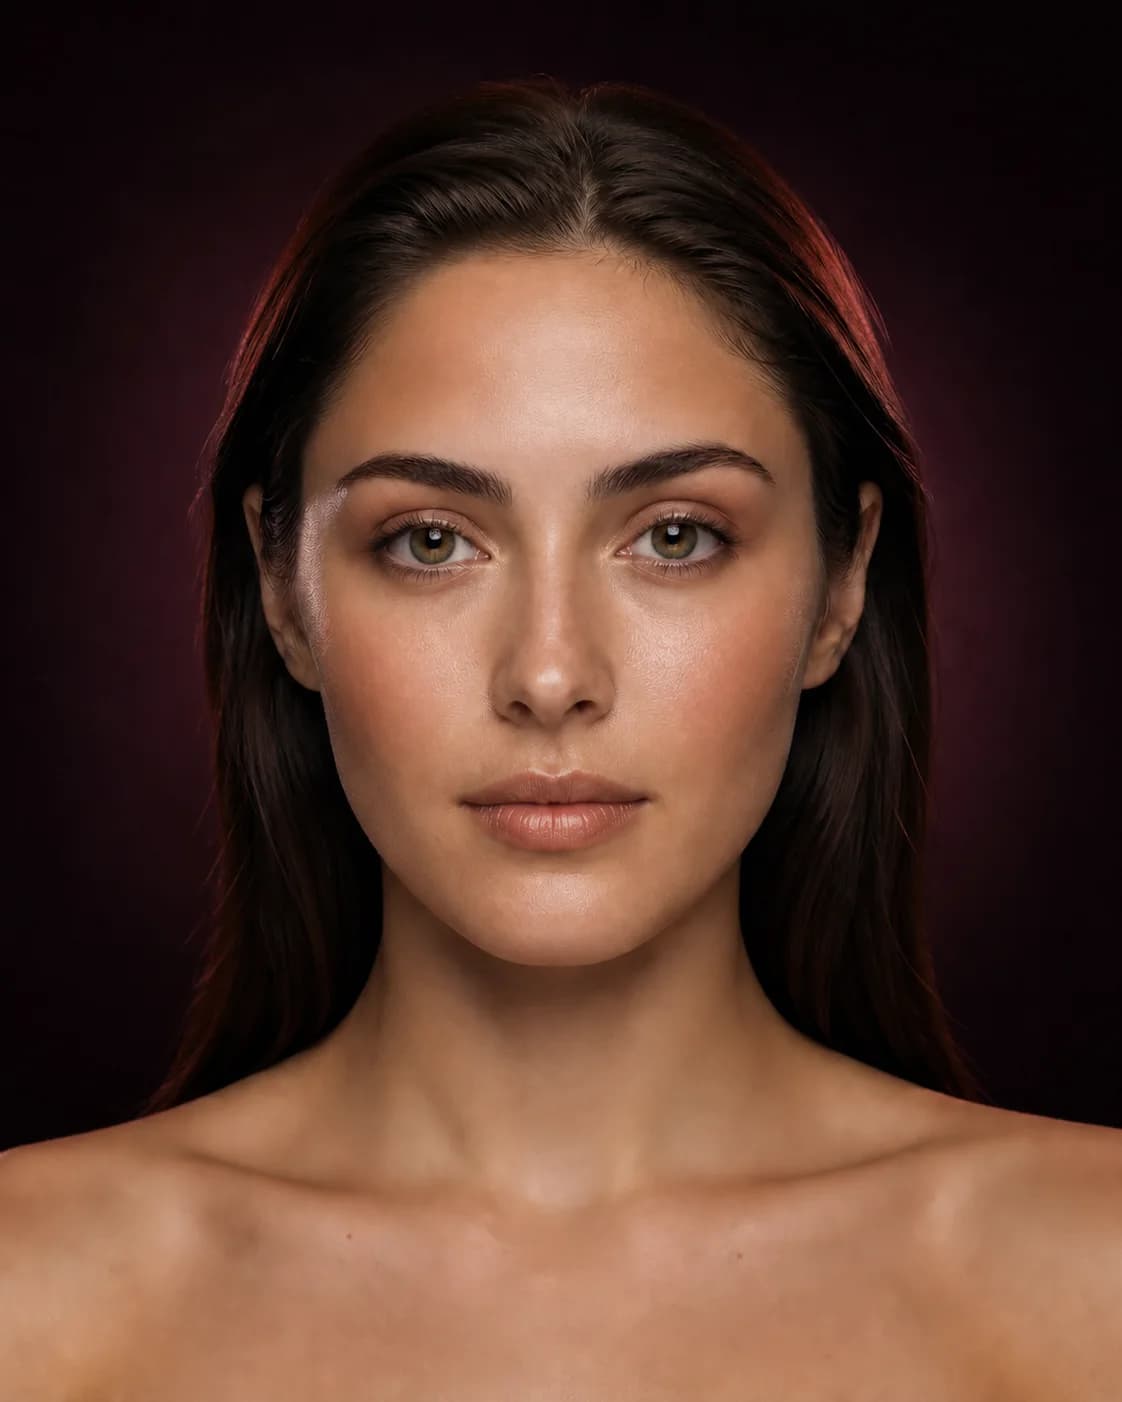
AI makeup try-on creates a new visual interpretation of a chosen portrait based on the look or category you request. It can make an abstract beauty idea concrete enough to compare, discuss, and refine.
The result is not a live product swatch or a prediction of exactly how cosmetics will sit on skin. Its value comes from reading direction—color, placement, contrast, finish, and focal point—while keeping the limits visible.
How an AI makeup preview is created
You begin with a portrait and a requested direction: a complete look, a lip family, an eye design, a complexion finish, a transferred reference, or a custom description. The system analyzes visible information and generates an image intended to express that request.
Unlike a transparent sticker placed over the photo, a generative preview can reinterpret texture, light, edges, and small facial details. That flexibility creates more expressive results, but it also means you must separate the requested change from details the model may invent.
What the preview is useful for
A strong preview helps you judge the overall mood, the feature carrying the look, the relationship between lip, cheek, eye, and skin, and whether the level of contrast feels familiar or exciting.
It is especially useful for comparing two deliberately different directions on the same portrait. You might compare a warm muted lip with a cool saturated one, central blush with lifted blush, or a dewy base with a soft-matte finish.
- Visualizing a complete makeup mood
- Comparing color families and intensity
- Exploring placement and focal point
- Creating language for a routine or product test
What one image cannot know
A portrait cannot reveal how a formula blends, oxidizes, reflects flash, emphasizes texture, reacts to skincare, lasts through heat, or feels on your skin. A generated finish is not evidence that a particular product will create it.
The preview also cannot know your comfort, technique, available time, allergies, sensitivities, or the social context in which you plan to wear the look. Those constraints belong in the real decision.
Why the source portrait changes the result
Angle, expression, crop, sharpness, existing makeup, filters, and lighting affect what the system can read. Colored light can shift every shade; a turned face can make placement look asymmetrical; smoothing filters can erase the same texture and edges needed for a realistic comparison.
Use a clear front-facing portrait in soft neutral light as the baseline. Keep it stable across a comparison set so the makeup—not the photography—is the main variable.
How to judge the generated result
Read the image from large to small. Start with mood and focal point. Move to balance, warmth, depth, saturation, and placement. Finish with the details you could actually recreate, such as liner direction, blush zone, lip edge, or skin finish.
If one invented detail is distracting, name it and isolate the requested change. A useful color direction does not become useless because the generated lashes are too dramatic.
The right question is not “Is every pixel real?” It is “What did this comparison teach me about the look I want?”
Turn the preview into a real beauty decision
Save the original, one wearable direction, and one more expressive option. Describe each in plain language: shade family, placement, finish, intensity, and anchor. Then test real products and technique under the lighting that matters.
If the preview becomes a routine, adapt it to your tools, time, skin preparation, and skill level. The generated image is the beginning of the decision—not the final proof.