
Makeup look guide
The no-makeup makeup look: natural definition that still looks like skin
Build a believable no-makeup makeup look with selective coverage, quiet definition, skin-related color, and a finish that survives real light.
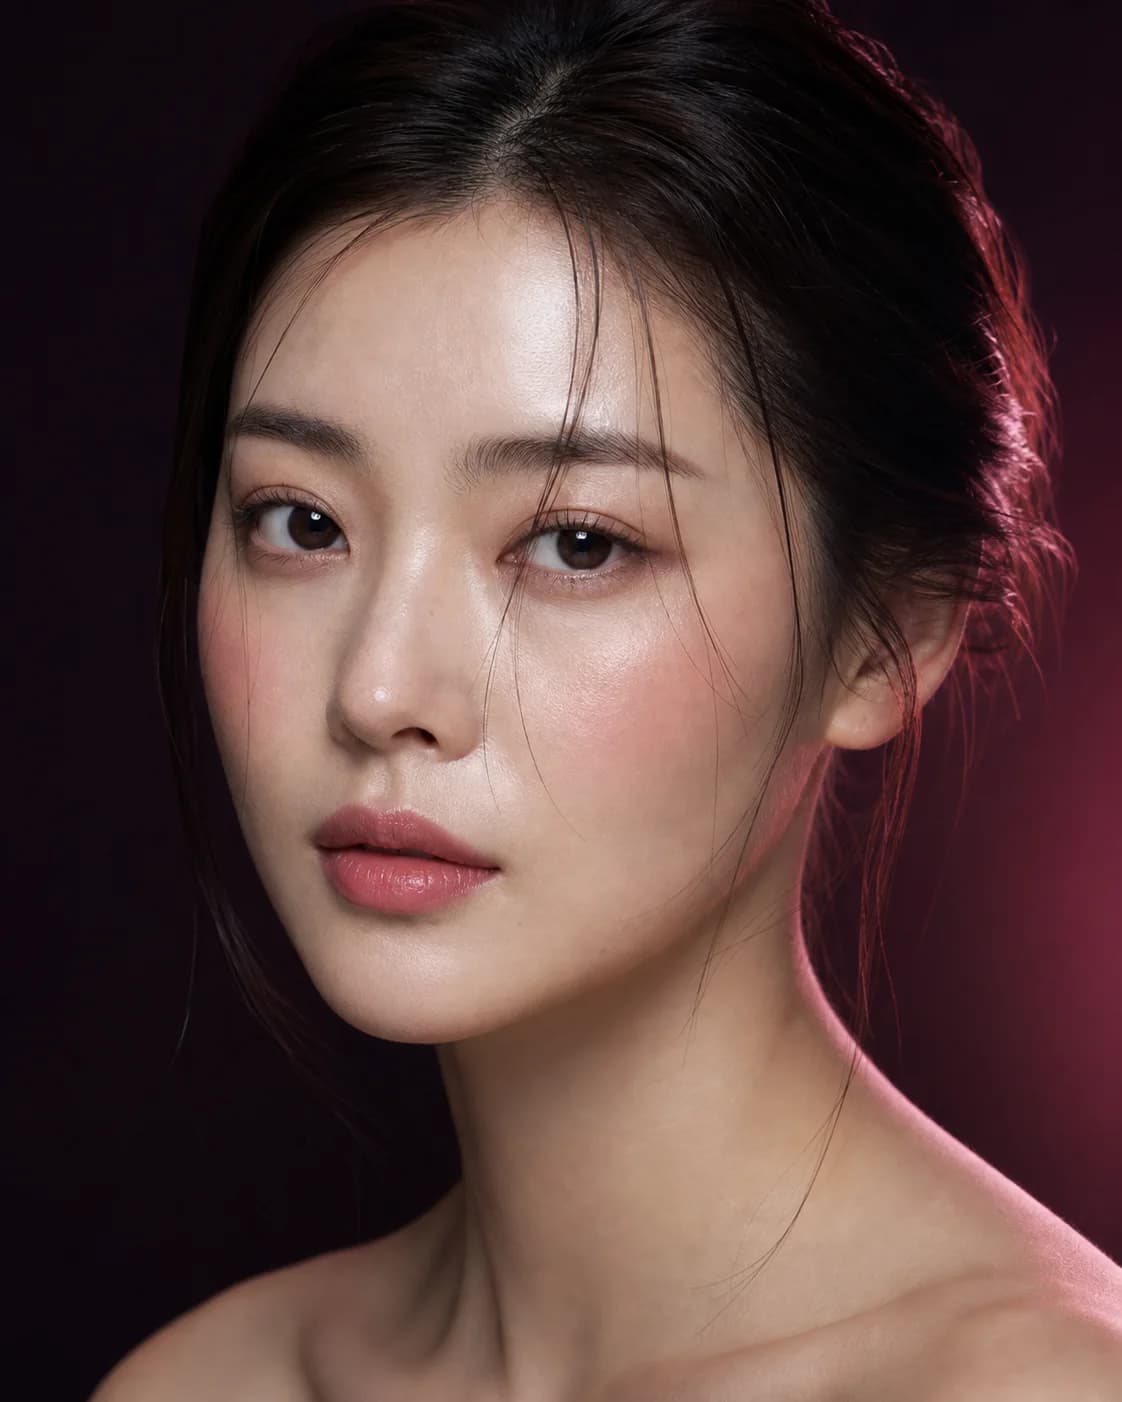
A no-makeup makeup look uses makeup selectively so the face reads as rested, even, and softly defined rather than visibly layered. The goal is not flawless or texture-free skin. It is to preserve real variation, keep edges quiet, and make each correction look connected to the face around it.
Start by deciding what you actually want to change: uneven color, a tired eye area, sparse brow sections, missing cheek color, or low lip definition. MaqAI can help compare two or three natural directions on one portrait, but a preview is a planning aid. Shade, texture, comfort, oxidation, and wear must still be checked with real products in real light.
Define what natural means for this no-makeup makeup look
Natural makeup is not one universal beige palette. On one face it may mean visible freckles, softly groomed brows, and a berry balm; on another it may mean more complexion correction, warm cheeks, and almost no eye product. Your normal skin contrast, coloring, style, and comfort set the baseline.
Write a short brief before applying anything: even the center of the face, keep skin texture visible, lift the lashes, and restore a muted rose flush. This gives every step a reason. If a product does not serve the brief, leave it out rather than adding it because a tutorial lists it.
The most convincing natural finish comes from editing. Correct what distracts you, then stop before the correction becomes the new focal point.
Prepare the surface without turning skincare into a claim
Use a familiar routine that leaves the skin comfortable, then allow each layer to settle. Makeup cannot treat a skin condition, and more preparation is not automatically better. Too many incompatible layers can pill, separate, or create extra shine beneath lightweight complexion products.
Keep your usual daytime sun protection and follow its directions. If a product stings, burns, or causes discomfort, remove it and stop using it. For a major event, avoid introducing an untested skincare-and-makeup combination on the same day.
Use selective coverage instead of one heavy veil
Look at the whole face from conversation distance. Apply a thin skin tint or foundation only if it improves the areas that matter to you, then place concealer precisely where more correction is useful. Feather every edge into uncovered skin so there is no obvious border between product and face.
Do not chase complete sameness. Natural redness, freckles, under-eye structure, and small variations make skin look like skin. If the base appears heavy, remove or sheer product at the outer face and around expression lines before adding powder. Set only zones that crease, transfer, or become more reflective than you want.
- Check the jaw and hairline in window light
- Let liquid and cream layers settle before judging coverage
- Correct small areas before increasing product everywhere
- Photograph the full face, not only a magnified skin crop
Keep brows, eyes, and lashes recognizable
Brush brows into their natural direction and fill only gaps that change the overall shape. Use short marks rather than one opaque block, and soften the front edge. Brow gel can hold existing hair, but it does not need to laminate every strand into the same angle.
For the eyes, choose the minimum definition that restores clarity: curled lashes, one light mascara coat, a soft shadow near the lash line, or a quiet wash that echoes natural lid depth. Black liner is not forbidden, but a sharp high-contrast wing may become the focal point. Compare it with a diffused brown or no visible line.
Choose cheek and lip colors already present in the face
A useful starting point is a cheek color related to your natural flush and a lip color related to your own lip pigment, adjusted warmer, cooler, brighter, or deeper to taste. They do not need to match. They only need a shared undertone, muted quality, depth, or finish that makes the relationship intentional.
Build color in thin layers and step back between them. Place blush according to the effect you want rather than a fixed face-shape rule, then soften the perimeter. On lips, a blurred pencil, stain, sheer lipstick, or tinted balm usually preserves more natural variation than a fully opaque, sharply outlined layer.
Compare a no-makeup makeup look with MaqAI, then test it
Use one clear, neutral portrait in MaqAI and create three directions: almost bare with targeted correction, fresh cheeks with a quiet eye, and softly defined eyes with a restrained lip. Keep hair, crop, expression, and lighting fixed. Describe the difference through coverage, placement, saturation, edge, and finish—not vague labels such as better or prettier.
Recreate the best direction with products you already own before buying anything. Check a mirror at conversation distance, window light, ordinary indoor light, and a normal phone photo. Wear it long enough to see settling, fading, transfer, and comfort. The preview organizes visible choices; it cannot promise an exact shade match, real texture, or wear time.
- Change one strong variable per comparison
- Keep the original portrait beside every preview
- Record product, placement, layers, and finish
- Prefer the smallest real-world adjustment that restores balance