
Photography guide
How to compare makeup for daylight, conversation, and photos
Evaluate one look at real viewing distance, in natural light, and through a camera without assuming the photograph is the truth.
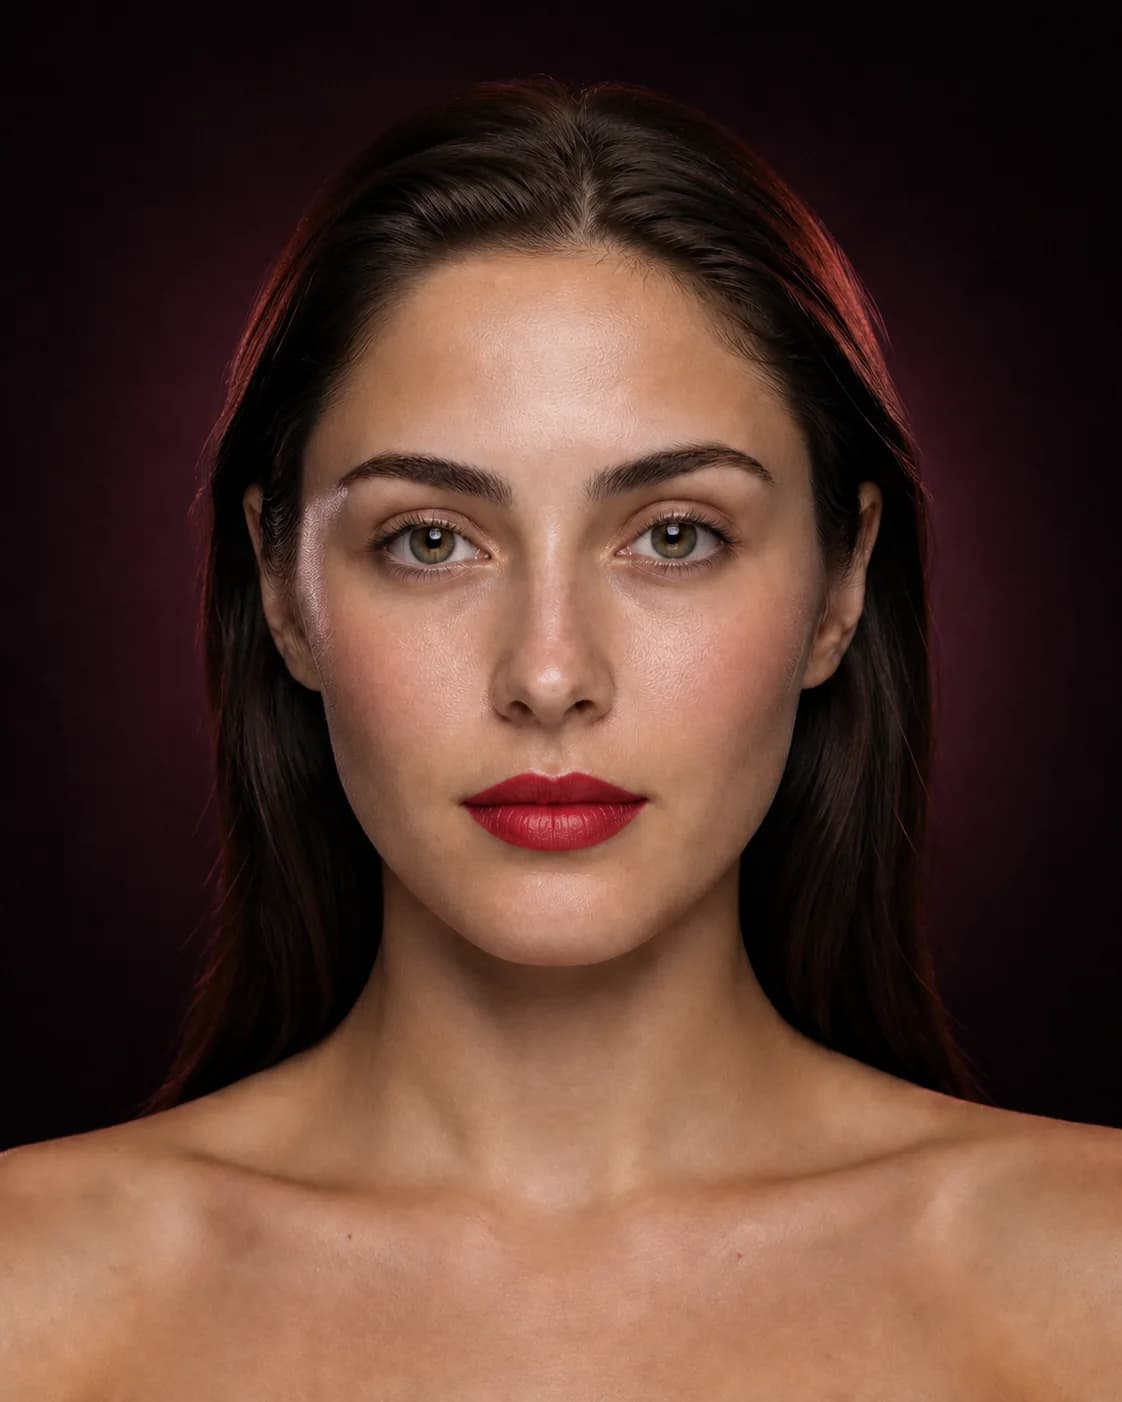
Makeup is seen from moving conversation distance, close-up mirrors, phone cameras, wide event photographs, and changing light. A look optimized for only one view can feel different everywhere else.
Use a preview to define the intended balance, then test the real application through the views that matter for your day or event.
Begin at normal conversation distance
Step back from the mirror and look at the face as a whole. Check the focal point, overall contrast, symmetry of direction, and whether any category dominates unexpectedly.
Small blending imperfections that disappear at this distance may be less important than a cheek that reads too low or a lip that loses the intended shape.
Use daylight to read color and texture
Indirect daylight reveals color relationships and surface texture without the extreme flattening of flash. Check foundation-to-neck transition, cheek saturation, lip family, and where reflection appears.
Daylight is honest but not the only context. Keep the look aligned with where it will be worn rather than correcting every detail for a window.
Understand what a phone camera changes
Phones can sharpen edges, increase local contrast, lift shadows, smooth noise, change white balance, and process HDR. Front and rear cameras may render the same makeup differently.
Use the same camera and settings for comparisons. Turn off beauty filters and avoid judging a real application only through a social-media preview.
Test flash and distance separately
Direct flash can increase powder reflection, reduce subtle sculpting, and make some finishes or products appear different. Wide photos can make quiet eye or cheek detail disappear.
Take a close, conversation-distance, and wider image. Decide which features need cleaner shape or contrast rather than simply adding more product everywhere.
Keep an in-person and camera compromise
If the makeup is mainly for an event, aim for a result that still feels comfortable in person while remaining readable in photographs. Strategic liner, lip edge, cheek placement, and controlled center-face finish often translate better than globally heavier makeup.
Ask which view matters most and which differences you are willing to accept. There is no single setting that makes every camera and light identical.
The camera is another context to design for—not an objective judge of the face.
Record the successful real application
When the look works, photograph it in neutral light and note the products, placement, finish, and camera conditions. This real reference is stronger for repetition than the original AI preview.
Use the preview and the real test together: one communicates the intended direction, and the other proves how your products and technique delivered it.